
Related Manuals for Sanyo DC-TS780


Summary of Contents for Sanyo DC-TS780
- Page 1 INSTRUCTION MANUAL DC-TS780 DVD Home Theatre System JCX-TS780 DVD Receiver SX-TS780W Subwoofer SX-TS780S Satellite speaker REMOTE CONTROLLER RB-TS780 Problems with set-up? Call freephone 0870 240 7475...
-
Page 2: Table Of Contents
CONTENTS PRECAUTIONS .......... 1 VARIOUS ADJUSTINGS ......11 PICTURE CD OPERATION ......23 CONTROLS ..........2 PLAYABLE DISCS ........12 LISTENING TO THE RADIO ....24 REMOTE CONTROL ........3 DISC PLAY ..........13 LISTENING TO OTHER SOURCES ..24 BASIC CONNECTIONS ...... -
Page 3: Controls
ACCESSORIES RB-TS780 remote control FM aerial wire R6 (HP 7) battery x 2 Video lead AM loop aerial Either the main unit or remote control can be operated. However, for convenience, this instruction manual explains operation using the remote control. Note: This handling description is printed prior to product development. -
Page 4: Remote Control
REMOTE CONTROL Note: In this instruction manual, any operation of pressing any button while pressing the SHIFT button is as shown below. Example: “Press the SHIFT + 1 ANGLE buttons.” Controls 1. Power button (z/ON) 2. Number and other function buttons Number buttons (1 - 9, 0) Angle button (ANGLE) Angle replay button (A.REPLAY) -
Page 5: Basic Connections
BASIC CONNECTIONS After all connections have been made, connect the mains lead to an AC outlet. Note: Do not connect the mains lead to an AC outlet until all connections have been made. The system is not completely disconnected from the mains when the z/ON button is set to the z position. Speaker connections To achieve proper stereo reproduction, connect the speaker wires without shorting to adjacent wires as shown in figure. - Page 6 Speaker placement Front right speaker Centre speaker Front left speaker Surround right speaker Subwoofer Surround left speaker The centre and front left/right speakers have built-in magnetic stray field Centre speaker compensation. They may be placed close to a TV without affecting the Front left speaker Front right speaker colour purity.
- Page 7 Aerial connections AM loop aerial Assemble the loop aerial. FM external aerial Unwind the aerial wires, then connect the plug to the AM LOOP terminal. If you have difficulty inserting the plug, turn it over and reinsert it. Place the AM loop aerial loop aerial in a position which yields the best AM reception, or attach it to a wall or other surface.
-
Page 8: Additional Connections Examples
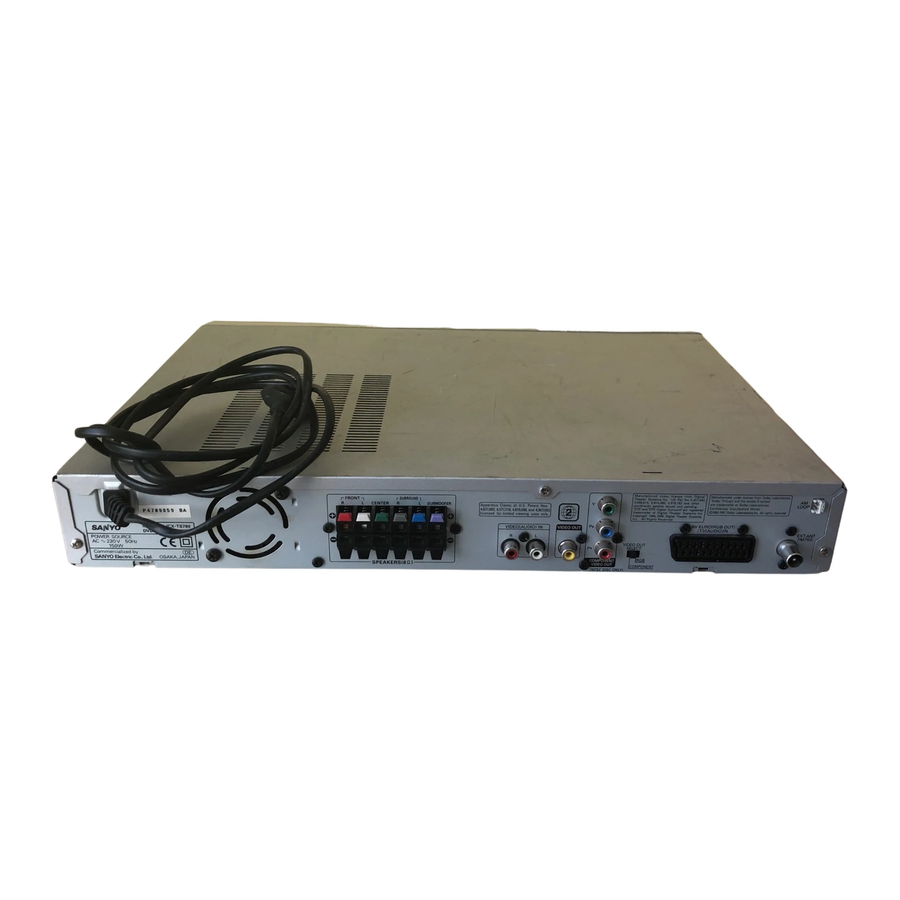
ADDITIONAL CONNECTIONS EXAMPLES Connecting to a TV with an EURO-AV/SCART lead Please follow the steps below before turning on the power. 1. If your TV has an EURO-AV/SCART socket, connect the unit as EURO-AV/SCART shown. (Do not connect the video lead to the VIDEO OUT socket.) You (RGB input facility) can enjoy high quality picture playback. -
Page 9: System Connections Examples
SYSTEM CONNECTIONS EXAMPLES JCX-TS780, TV and Audio equipment Aerial EURO-AV/SCART (RGB input facility) Aerial lead (not supplied) EURO-AV/SCART lead (not supplied) Audio equipment JCX-TS780 (such as MD deck etc.) Audio lead (not supplied) JCX-TS780, TV and VCR Aerial EURO-AV/SCART (Audio monitor out) Aerial lead (not supplied) EURO-AV/SCART lead (not supplied) - Page 10 JCX-TS780, TV, VCR and Audio equipment Aerial EURO-AV/SCART (Audio monitor out) Aerial lead (not supplied) EURO-AV/SCART lead EURO-AV/SCART lead (not supplied) (not supplied) Audio equipment JCX-TS780 (such as MD deck etc.) Aerial lead (not supplied) Audio lead (not supplied) JCX-TS780, TV, VCR, STB (Set Top Box) and Audio equipment Aerial EURO-AV/SCART (Audio monitor out)
-
Page 11: Before Operation
BEFORE OPERATION To reduce the volume temporarily Either the main unit or remote control can be operated. However, Press the MUTE button. “MUTE” blinks on the display. To restore the for convenience, this instruction manual explains operation using previous volume setting, press the MUTE button again. the remote control. -
Page 12: Various Adjustings
VARIOUS ADJUSTINGS Selecting surround mode Adjusting the speaker volume balance Press the SURROUND button to select the surround mode. Each time the This unit is set to the standard level before shipping from the factory. You button is pressed, the surround mode changes as follows: may not need adjustment. -
Page 13: Playable Discs
PLAYABLE DISCS The following types of discs can be played on this unit. Note: Only the above types of discs can be played on this unit. Disc type and logo mark DVD-Audio, DVD-ROM, DVD-RAM, DVD-RW (VR mode), CD-ROM, CVD, SACD, etc. cannot be played. This unit can play back Video CDs (VCD). -
Page 14: Disc Play
TV screen for several seconds. When the COMPONENT VIDEO OUT sockets of the unit are connected 1. Press the FUNCTION button to select “DVD/CD”. “SANYO” logo to the component video input sockets of a TV with NTSC colour system appears on the TV screen. -
Page 15: Stopping Play
If a menu appears on the TV screen... Continuing play from where you stopped watching (Last memory Press the 4, a, 5 or b button (or the number buttons) play) [DVD] to select the menu, then press the ENTER button. 1. -
Page 16: Various Disc Playing Functions
VARIOUS DISC PLAYING FUNCTIONS “ ” may appear on the TV screen during operation. This icon means that the function is not available on the disc now. Selecting a DVD menu [DVD] Track search [VCD] [CD] 1. Press the MENU button during play. The DVD menu screen appears. Press the number buttons to enter the track number, then press the 2. - Page 17 Picture zoom [DVD] Repeat play Press the REPEAT button during play. Each time the button is pressed, the repeat mode changes as follows. TV screen Operation [DVD] Chapter Repeat of chapter being played 1. Press the SHIFT + 3 ZOOM buttons during normal, slow or still play. Title Repeat of title being played Repeat off mode...
- Page 18 Programmed play [VCD] [CD] Note: In some cases, the subtitle language is not changed to the selected Up to 20 selections can be programmed. one. Programming procedure When a disc supporting closed caption is played, the subtitle and the 1. Press the PROGRAM/RANDOM button once (VCD) or twice (CD) in closed caption may overlap each other on the TV screen.
- Page 19 Selecting on-screen information Example for VCD: 1. Press the ON SCREEN button during play. Press the ON SCREEN button repeatedly to show the disc information (Title, Chapter, Title elapsed playing time, Language, etc.). Track elapsed playing time Example for DVD: 1.
-
Page 20: Initial Settings
INITIAL SETTINGS Once the initial settings have been completed, the unit can always be Setting display operated under the same conditions. 1. Press the SETUP button in the stop mode. The setup screen appears. The settings will be retained in the memory until they are changed, even if the power is turned off. -
Page 21: Setting Audio
Setting audio Setting parental The sound from speakers can reach the listening position at different times 1. Press the SETUP button in the stop mode. The setup screen appears. depending on the speaker placements. You can allow for this difference by changing the delay time of the centre and surround speakers. -
Page 22: Language Code List
LANGUAGE CODE LIST Enter the appropriate code number for the initial settings “Audio”, “Subtitle” and “DVD Menu”. Abbreviation of Abbreviation of Abbreviation of Code Language Code Language Code Language the language the language the language 6565 Afar 7369 Interlingue 8278 Kirundi 6566 Abkhazian... -
Page 23: Mp3 Cd Operation
MP3 CD OPERATION Before starting MP3 CD play This unit can play back the CD that has recorded music data, MP3 files. 1. Load the MP3 CD. Select “DVD/CD” function. “FILE LIST” appears on the display and a table of contents in the first The file system is ISO9660 level 1 and level 2. -
Page 24: Picture Cd Operation
PICTURE CD OPERATION You can view digital images from KODAK Picture/JPEG files. While the thumbnail pictures are displayed, the disc is rotating. Press the Select “DVD/CD” function. n or MENU button to stop the disc. The file list appears. The file system is ISO9660 level 1 and level 2. Example: If the CD has both audio CD tracks and JPEG files, only audio CD tracks are played. -
Page 25: Listening To The Radio
LISTENING TO THE RADIO In this example, “FM 103.25 MHz” is preset on the preset number To turn the unit on and listen to the last received station, press the TUNE/BAND button. Automatic/Manual tuning 1. Press the TUNE/BAND button to select the band (FM or AM TUNER). 2. -
Page 26: Sleep Timer Operation
SLEEP TIMER OPERATION The sleep timer automatically switches off the power after a preset time To check the remaining sleep time has elapsed. The volume will gradually be reduced (fade-out) during the Press the SHIFT + 6 SLEEP buttons once. After several seconds, the 1-minute period before the unit turns off. -
Page 27: Specifications
SPECIFICATIONS Amplifier Tuner Main amplifier Reception frequency: Stereo mode: 50 W/ch (at 8 , 1 kHz, 10% distortion) FM: 87.5 - 108 MHz Dolby Digital mode: 50 W/ch (at 8 , 1 kHz, 10% distortion, with the AM: 522 - 1611 kHz other amplifiers off) Centre amplifier: 50 W (at 8 , 1 kHz, 10% distortion, with the other... - Page 28 Sanyo dealer. He will be pleased to give you a quotation for 4. Failure due to fair wear and tear of any item, such as batteries, the repair.
Need help?
Do you have a question about the DC-TS780 and is the answer not in the manual?
Questions and answers