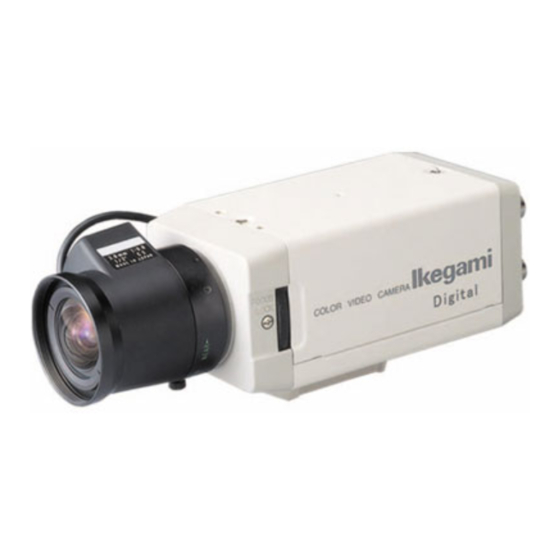
Summary of Contents for Ikegami ICD-808
- Page 9 Setting Procedure for ICD-808/P, ICD-828/P, ICD-848/P (SET UP MENU) Ikegami Tsushinki Co.,Ltd.
- Page 10 Setting procedure for ICD-808/P, ICD-828/P, ICD-848/P (SET UP MENU) [1] Setting Switches Set up of these camera are operated by pressing following switches, which are located at rear panel of camera or on RCU-701 remote set up unit. Switch name...
- Page 11 Setting procedure for ICD-808/P, ICD-828/P, ICD-848/P (SET UP MENU) Select characters for an ID code. Enter the characters one by one in the ID display line (marked with the cursor in Fig.2). Up to 16 characters are acceptable. (a) Position the start point of the ID display line: ç...
- Page 12 Setting procedure for ICD-808/P, ICD-828/P, ICD-848/P (SET UP MENU) The marker is explained as follows Default condition at factory è • • • • • • • Gain Area Video Level Area AGC/HYPER-AGC MAX. In the default condition at factory, it is set up to switch Color – B/W at the point of AGC/HYPER-AGC Gain maximum, when the marker location is center.
- Page 13 Setting procedure for ICD-808/P, ICD-828/P, ICD-848/P (SET UP MENU) Adjust variable shutter speed by using the L and R VARIABLE SHUTTER Switches. You can see it’s changing on the screen. Move to the bottom line by using the U and D switch.
- Page 14 Setting procedure for ICD-808/P, ICD-828/P, ICD-848/P (SET UP MENU) (b) BLC ON Select ON by using the L and R switches. The screen changes to Fig.11. Move to BLC LEVEL by using the U and D LIGHT CONTROL switches, and adjust by using the L and R switches.
- Page 15 Setting procedure for ICD-808/P, ICD-828/P, ICD-848/P (SET UP MENU) 5. GAIN Move the cursor to the position shown in Fig 15. SET UP MENU By using the L and R switches select GAIN item from AGC, HYPER-AGC, LOW, MID and HIGH.
- Page 16 Setting procedure for ICD-808/P, ICD-828/P, ICD-848/P (SET UP MENU) (3) AWC entry SET UP MENU The characters “AWC PUSH” start blinking in the CAMERA ID position as shown in Fig.18. Now shoot a white target and press the E switch.
- Page 17 Setting procedure for ICD-808/P, ICD-828/P, ICD-848/P (SET UP MENU) Adjust the COARSE by using the L and R switches. SYNC LL Move to FINE by using the U and D switches. And adjust by using the L and R switches.
- Page 18 Setting procedure for ICD-808/P, ICD-828/P, ICD-848/P (SET UP MENU) 8. MENU LOCK The menu lock function is provided to protect the settings from unintentional changes. (1) Locking SET UP MENU Move the cursor to the position shown in Fig.26. CAMERA ID Press the E switch.
- Page 19 Setting procedure for ICD-808/P, ICD-828/P, ICD-848/P (SET UP MENU) 9. SPECIAL MENU Move to the cursor to the EXIT position in the SET UP MENU setting menu as shown in Fig.28. CAMERA ID Hold down the R and L switches at once until the screen as shown in Fig.29 will show up.


Need help?
Do you have a question about the ICD-808 and is the answer not in the manual?
Questions and answers