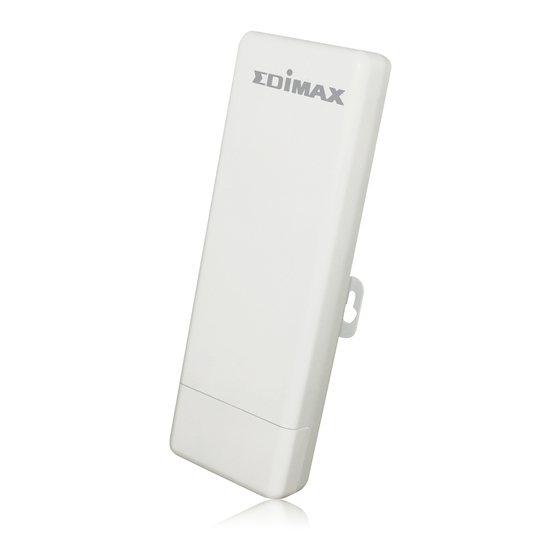
Edimax EW-7303HPn V2 Quick Installation Manual
Quick install guide
Hide thumbs
Also See for EW-7303HPn V2:
- User manual (73 pages) ,
- Specifications (2 pages) ,
- Connection manual (5 pages)
Table of Contents
Advertisement
Quick Links
Download this manual
See also:
User Manual
Advertisement
Table of Contents

Summary of Contents for Edimax EW-7303HPn V2
- Page 1 EW-7303HPn V2 Quick Installation Guide 09-2011 / v2.0...
-
Page 2: Package Content
Stated ranges are based on independent test results and are not guaranteed. Long range coverage requires an additional high power access point to receive the wireless signal from the EW-7303HPn V2 – coverage range from an EW-7303HPn directly to a computer/wireless device is significantly less. -
Page 3: Front Panel Description
Front panel description LED Indicator State Description The WLAN Broadband Router is powered ON. 1. PWR LED The WLAN Broadband Router is powered Off. Wireless Radio ON. Wireless Radio Off. 2. WLAN LED Flashing Data is transmitting or receiving on the wireless. Port linked. -
Page 4: Rear Panel Description
Rear panel description Interfaces Description For external antenna. You can use the SMA connector to connect with SMA connector 2.4GHz external antenna. The RJ-45 sockets allow LAN connection through Category 5 cables. Secondary(Middle) Support auto-sensing on 10/100M speed and half/ full duplex; comply with IEEE 802.3/ 802.3u respectively. -
Page 5: Installation
Installation Notes: The product shot is for reference only please refer to physical product. 1.LED Panel 2. Waterproof Sliding Door 3. Pass trough Ethernet cable from this cable 4. Push this button to remove upper housing... - Page 6 Wall Mount 6. Pole Mount Secondary port with POE 8. Main port 9. SMA connector for external antenna...
-
Page 7: Hardware Installation Steps
Hardware installation steps Step2: Pass through Ethernet cable from the hole; insert the cable to Secondary port. Note: RJ-45 8P8C Ethernet cable is required. Step3: Install the upper housing and make sure the housing is well installed. -
Page 8: Software Installation
Software Installation Step4: Install POE Injector DC: Insert adapter POE: This hole is linked to Secondary port of the Outdoor Router with RJ-45. LAN: This hole is linked to LAN side PC/Hub or Router/ADSL modem device with RJ-45... - Page 9 Step5: Complete the hardware installation as diagram at below Notes: Use Reset button on POE injector. Push continually the reset button of POE injector about 5 ~ 10 seconds to reset the configuration parameters to factory defaults. There is no software driver or utility installation needed, but only the configuration setting.
-
Page 10: Software Configuration
Software configuration There are web based management and configuration functions allowing you to have the jobs done easily. The Outdoor Router is delivered with the following factory default parameters on the Ethernet LAN interfaces. Default IP Address: 192.168.2.1 Default IP subnet mask: 255.255.255.0 WEB login User Name: admin WEB login Password: 1234... -
Page 11: Federal Communication Commission Interference Statement
Federal Communication Commission Interference Statement This equipment has been tested and found to comply with the limits for a Class B digital device, pursuant to Part 15 of FCC Rules. These limits are designed to provide reasonable protection against harmful interference in a residential installation. - Page 12 Notice According to GNU General Public License Version 2 This product includes software that is subject to the GNU General Public License version 2. The program is free software and distributed without any warranty of the author. We offer, valid for at least three years, to give you, for a charge no more than the costs of physically performing source distribution, a complete machine-readable copy of the corresponding source code.
- Page 13 1. You may copy and distribute verbatim copies of the Program’s source code as you receive it, in any medium, provided that you conspicuously and appropriately publish on each copy an appropriate copyright notice and disclaimer of warranty; keep intact all the notices that refer to this License and to the absence of any warranty; and give any other recipients of the Program a copy of this License along with the Program.
- Page 14 rights under this License. However, parties who have received copies, or rights, from you under this License will not have their licenses terminated so long as such parties remain in full compliance. 5. You are not required to accept this License, since you have not signed it. However, nothing else grants you permission to modify or distribute the Program or its derivative works.
- Page 15 YOU FOR DAMAGES, INCLUDING ANY GENERAL, SPECIAL, INCIDENTAL OR CONSEQUENTIAL DAMAGES ARISING OUT OF THE USE OR INABILITY TO USE THE PROGRAM (INCLUDING BUT NOT LIMITED TO LOSS OF DATA OR DATA BEING RENDERED INACCURATE OR LOSSES SUSTAINED BY YOU OR THIRD PARTIES OR A FAILURE OF THE PROGRAM TO OPERATE WITH ANY OTHER PROGRAMS), EVEN IF SUCH HOLDER OR OTHER PARTY HAS BEEN ADVISED OF THE POSSIBILITY OF SUCH DAMAGES.


Need help?
Do you have a question about the EW-7303HPn V2 and is the answer not in the manual?
Questions and answers