Do you have a question about the OREGON OREGON450 and is the answer not in the manual?
Questions and answers
Dewald v d Berg
January 23, 2025
where exactly do I find the garmin oregon 450 serial number
1 comments:
Mr. Anderson
February 10, 2025
The serial number for the Garmin Oregon 450 can be found in the device’s setup menu under "About" or in the documentation provided with the device.
This answer is automatically generated
Fred Kroeger
January 22, 2025
My garmin oregon 450t does not show an icon for satellites. How can I tell if it has aquired sattelites?
1 comments:
Mr. Anderson
February 10, 2025
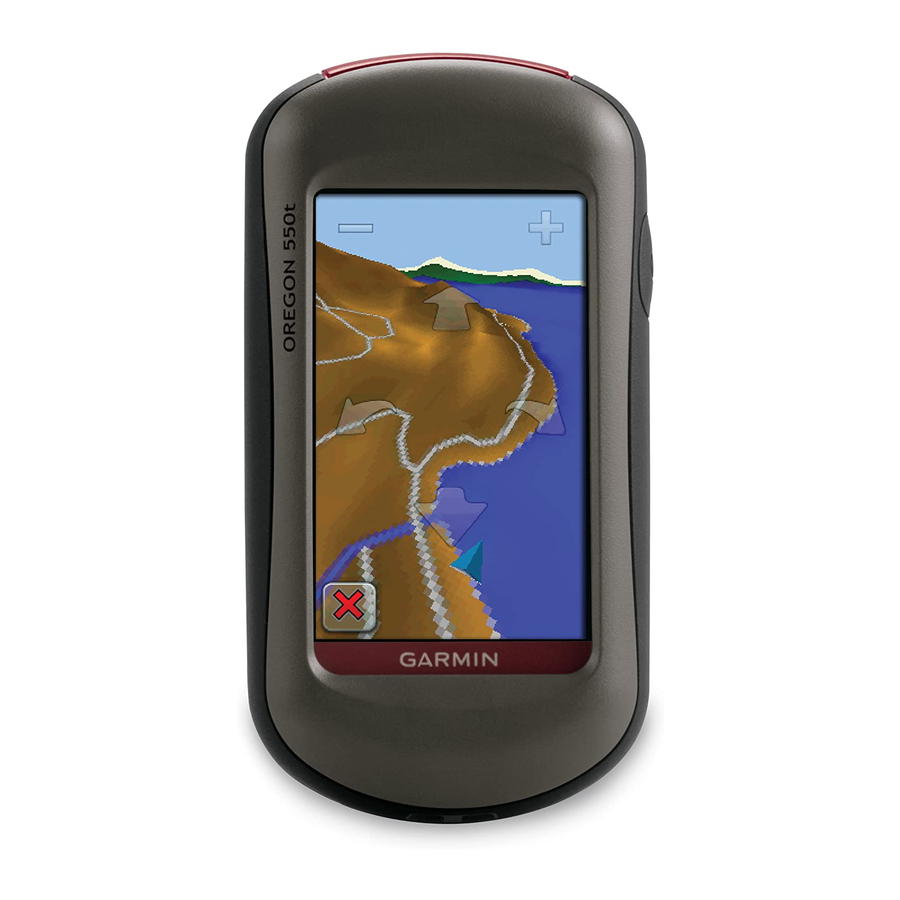
You can tell if your Garmin Oregon 450 has acquired satellites by checking the Satellite page. On this page:
- Green bars indicate GPS satellite strength, showing that the unit has acquired satellite signals. - White bars indicate that the device is still collecting satellite data.
This answer is automatically generated
Fred Kroeger
January 22, 2025
I updated the software on my garmin oregon 450t because the arrow was not pointing the correct direction I needed to go and now when I push on the apps they change color but nothing else happens. What do I need to do to fix this?
1 comments:
Mr. Anderson
May 14, 2025
If your Garmin Oregon 450t apps change color but do not respond after a software update, you should first back up your data and then try calibrating the compass or resetting the device. If the problem continues, reapply the firmware update or contact support.


Need help?
Do you have a question about the OREGON OREGON450 and is the answer not in the manual?
Questions and answers
where exactly do I find the garmin oregon 450 serial number
The serial number for the Garmin Oregon 450 can be found in the device’s setup menu under "About" or in the documentation provided with the device.
This answer is automatically generated
My garmin oregon 450t does not show an icon for satellites. How can I tell if it has aquired sattelites?
You can tell if your Garmin Oregon 450 has acquired satellites by checking the Satellite page. On this page:
- Green bars indicate GPS satellite strength, showing that the unit has acquired satellite signals.
- White bars indicate that the device is still collecting satellite data.
This answer is automatically generated
I updated the software on my garmin oregon 450t because the arrow was not pointing the correct direction I needed to go and now when I push on the apps they change color but nothing else happens. What do I need to do to fix this?
If your Garmin Oregon 450t apps change color but do not respond after a software update, you should first back up your data and then try calibrating the compass or resetting the device. If the problem continues, reapply the firmware update or contact support.
This answer is automatically generated
how do I get vmg on Oregon 450?