Table of Contents
Advertisement
Advertisement
Table of Contents

Subscribe to Our Youtube Channel
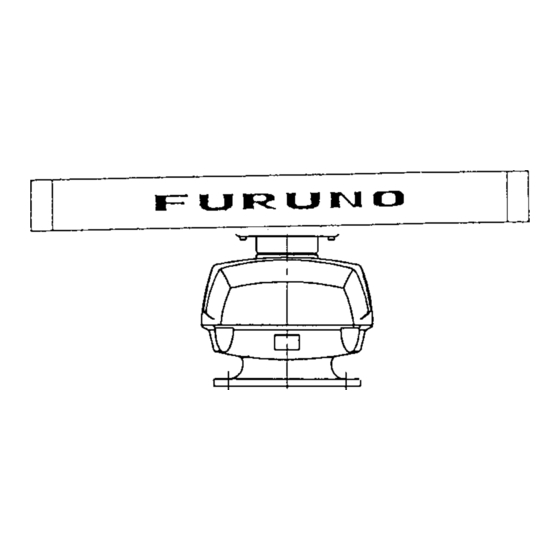
Related Manuals for Furuno 1932 MARK-2


Summary of Contents for Furuno 1932 MARK-2
- Page 2 9 - 5 2 , A s h i h a r a - c h o , N i s h i n o m i y a , J a p a n T e l e p h o n e : 0 7 9 8 - 6 5 - 2 1 1 1 T e l e f a x : 0 7 9 8 - 6 5 - 4 2 0 0...
-
Page 3: Safety Instructions
Note: If the scanner unit is installed at a close distance in front of the wheel house, your administration may require halt of transmission within a certain sector of scanner revolution. This is possible Ask your FURUNO representative or dealer to provide this feature. - Page 4 WARNING WARNING Do not open the equipment unless totally familiar with electrical circuits and service manual. Only qualified personnel ELECTRICAL should work inside the SHOCK equipment. HAZARD Wear a safety belt and hard hat when working on the scanner unit. Serious injury or death can result if someone falls from the radar scanner mast.
-
Page 5: Table Of Contents
TABLE OF CONTENTS SYSTEM CONFIGURATION ... iv EQUIPMENTS LIST ... v 1. MOUNTING 1.1 Mounting Methods for Scanner Unit ... 1-1 1.2 Fixing Holes in Mounting Platform ... 1-1 1.3 Fastning the Radiator to the Radiator Bracket ... 1-2 1.4 Mounting the Scanner Unit... 1-2 1.5 Display Unit Mounting ... -
Page 6: Scanner Unit
(24 rpm only) 12 VDC: 24/32 VDC: 5A 12/24/32 VDC >VHW>VHW >HDT >VHW>VHW *1: calculate by magnetic drift. MODEL 1932 MARK-2 XN10A-RSB-0070-064 (24 rpm) XN10A-RSB-0073-064 (48 rpm) MODEL 1942 MARK-2 XN12A-RSB-0070-059 (24 rpm) XN12A-RSB-0073-059 (48 rpm) Radar Plotter RP-110 Remote Display... -
Page 7: Equipment Lists
Standard Supply l l a Optional Supply i f i t EQUIPMENT LISTS — — — — — c i f a l i y t i... -
Page 8: Mounting
1.1 Mounting Methods for Scanner Unit • The scanner unit is generally installed ei- ther on top of the wheelhouse or on the radar mast on a suitable platform. Locate the scanner unit where there is a good all- round view. Any obstruction will cause shadow and blind sectors. -
Page 9: Fastning The Radiator To The Radiator Bracket
1.3 Fastening the Radiator to the Radiator Bracket For your reference, scanner installation ma- terials list appears in the packing lists at the back of this manual. 1. Remove the radiator cap from the radia- tor bracket. 2. Coat contacting surface between scan- ner radiator and radiator bracket with an- ticorrosive sealant as shown in Figure 1-2 (scanner unit XN10A) or Figure 1-3 (scan-... - Page 10 2. Lay the scanner unit on the mounting plat- form, orienting it as shown in Figure 1-6. STERN Figure 1-6 Scanner unit (Shown: XN12A) CAUTION Do not lift the scanner unit by the radiator; lift it by the housing. The radiator may be damaged. 3.
-
Page 11: Display Unit Mounting
Fixing holes inside szcanner unit This method requires removal of the RF unit in the scanner unit to access inside fixing holes. Use hex head bolts, flat washers, spring washers and nuts (local supply) to mount the scanner unit, confirming lengh of bolts. -
Page 12: Connections
2.1 Connecting the Signal Cable Only the signal cable runs from the display unit to the scanner unit. In order to minimize the chance of picking up electrical interfer- ence, avoid where possible routing the sig- nal cable near other onboard electrical equipment. -
Page 13: Display Unit Connections
7. Unfasten four screws shown in the figure below. Figure 2-5 Scanner unit chassis, cover opened 8. Pass the signal cable through the cable protector. Figure 2-6 Scanner unit chassis, cover opened 2.2 Display Unit Connections Power cable connector Signal cable connector (DJ-1, waterproof) Left: HDG connector Middle: NMEA connector (for NAV) -
Page 14: Connection Of External Equipment
Connection procedure 1. Connect the power cable to the power cable connector on the rear of the display unit. 2. Connect the signal cable to connector DJ- 1 on the rear of the display unit. 3. Run a ground wire (local supply) between the ground terminal on the rear of the dis- play unit and the ship’s superstructure. -
Page 15: Exchange Of Fuse For 24/32V Power Supply
2.4 Exchange of Fuse for 24/32V Power Supply The power cable comes with a 10A fuse in its the fuse its holder. This fuse is for use with a 12V DC power supply. For 24V/32V DC power supply, replace the fuse with the 5A fuse (supplied) and attach 5A label (supplied) to fuse holder. -
Page 16: Adjustments
This section covers adjustment of the radar after installation. You will need to • adjust tune/video amplifier level • enter antenna height • align heading • adjust sweep timing • adjust main bang suppression • select STC curve • set a dead sector, and •... -
Page 17: Aligning Heading
3.4 Aligning Heading (Adjustment sector: 0~359.90) You have mounted the scanner unit facing straight ahead in the direction of the bow. Therefore, a small but conspicuous target dead ahead visually should appear on the heading marker (zero degrees). In practice, you will probably observe some small bearing error on the display because of the difficulty in achieving accurate initial positioning of the scanner unit. -
Page 18: Adjusting Mbs
[ Sweep Timing Adjustment ] Use omnipad to straighten target and press ENTER key. Correction 0.000 nm <Press MENU for inst setup> Figure 3-5 Sweep timing adjustment message 4. Operate the trackball to straighten the tar- get selected at step 2, and then press the [ACQ/ENTER] key. -
Page 19: Checking Magnetron Heater Voltage
3.9 Checking Magnetron Heater Voltage Magnetron heater voltage is formed on the MD Board of the scanner unit, and is preadjusted at the factory for use with any length of signal cable. Therefore no adjust- ment is required. However, check magnetron heater voltage as follows: 1. -
Page 20: Installation Of Arp-10 (Option)
4. INSTALLATION OF ARP-10 (OPTION) NOTICE This option is not available with 48 rpm scanner unit. 4.1 Necessary Parts 4.2 Mounting 1. Turn off the power. Remove the cover from the display unit as follows: 1 Unfasten four binding screws (M4 x 10). 2 Unfasten six binding screws (M3 x 10).
Need help?
Do you have a question about the 1932 MARK-2 and is the answer not in the manual?
Questions and answers