
Related Manuals for Clarion CZ201A


Summary of Contents for Clarion CZ201A
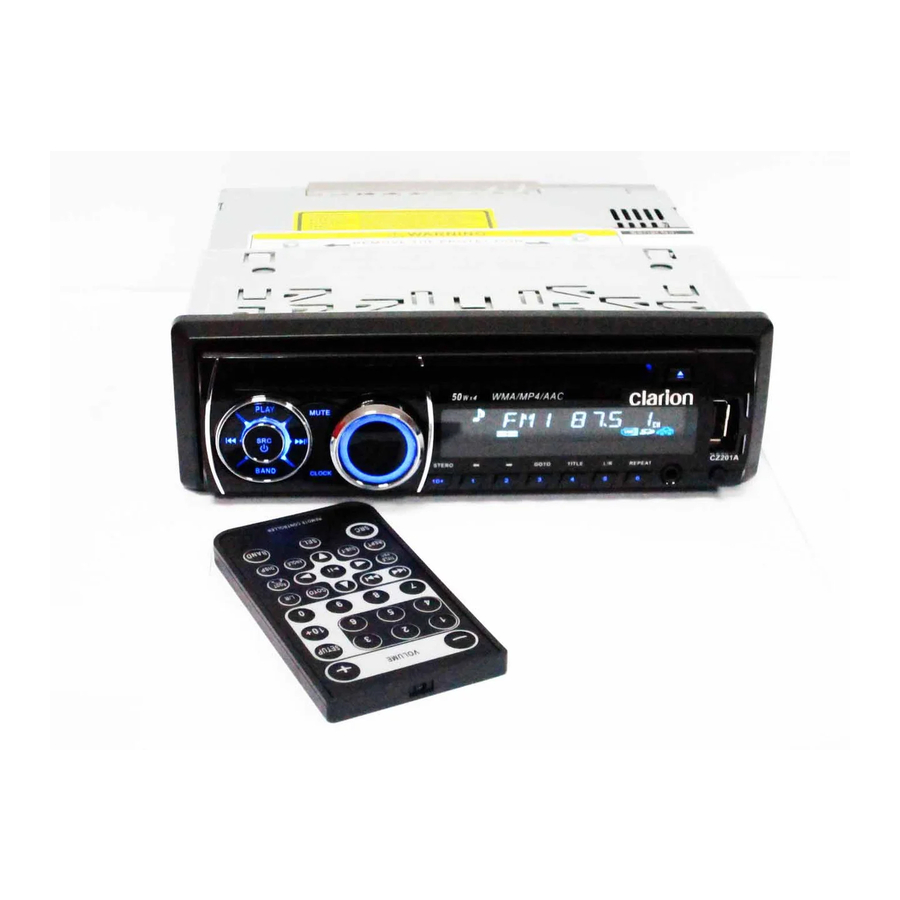
- Page 1 Owner's manual & Installation manual 使用说明书&安装手册 사용설명서 및 설치설명서 CD/USB/MP3/WMA RECEIVER CD/USB/MP3/WMA 接收机 CD/USB/MP3/WMA 수신기...
-
Page 2: Table Of Contents
Contents Thank you for purchasing this Clarion product. • Please fully read this owner’s manual before operating this equipment. • Check the contents of the enclosed warranty card and store it in a safe place with this manual. 1. FEATURES ........................3 Expanding Systems ...................... -
Page 3: Features
1. FEATURES ® ® Compatible with iPod / iPhone via USB 2ch/2V RCA Output with Subwoofer Control and BEAT-EQ with 3 Band Parametric Equalizer Detachable Front Panel with 3.5mm Auxiliary Input MP3/WMA compatible with ID3-TAG display Expanding Systems Expanding audio features 2 Channel Amplifier USB Memory (Connect via CCA-755) -
Page 4: Precautions
This product includes technology owned by Microsoft Corporation and cannot be used or distributed without a license from MSLGP. nology owned by Microsoft Corporation and cannot be used or distributed without a license from MSLGP. ed without a license from MSLGP. CLARION CO.,LTD. 7-2,SHINTOSHIN,CHUO-KU,SAITAMA-SHI,SAITAMA-KEN,JAPAN U,SAITAMA-SHI,SAITAMA-KEN,JAPAN MANUFACTURED: CHINA... -
Page 5: Front Panel / Generalities
Doing so may damage or deform the When the memorized data is lost or body. damaged by any chance, Clarion shall • If a problem should occur, have the set not be liable for any damage. inspected at your store of purchase. -
Page 6: Remove The Dcp
Remove the DCP The control panel can be detached to prevent theft. When detaching the control panel, keep it in the safety place and prevent scratches. W e r e c o m m e n d t a k i n g t h e D C P (DETACHABLE CONTROL PANEL) with you when leaving the car. -
Page 7: Controls
3. CONTROLS Operational Panel Disc Slot USB Connector [MENU] [PS/AS] AUX Jack [OPEN] [BAND] [VOLUME] [1~6] [ D ] [ SRC / [SOUND] [ISR] Names of Buttons [ SRC / ] Button [SOUND] Button • Power / Toggle the audio source •... -
Page 8: Remote Control (Rcx001:Sold By Separately)
Remote Control (RCX001:Sold by separately) [SRC / ] Button [RDM] Button • Toggle the audio source • Random play • Power on / Power off (long press) [RPT] Button • Repeat play ] Buttons • Preset station up/down • Previous / next track [MUTE] Button •... -
Page 9: Cautions On Handling
4. CAUTIONS ON HANDLING Handling Discs Handling Storage • New discs may have some roughness • Do not expose discs to direct sunlight or around the edges. If such discs are used, any heat source. the player may not work or the sound •... -
Page 10: Operations
5. OPERATIONS Basic Operations Note: Volume adjustment • Refer to the diagrams in “3. CONTROLS” Turn the [VOLUME] knob on the front panel when reading this chapter. or press the [ ] or [ ] button on the remote control. CAUTION The adjustable range of volume is 0 to 40. -
Page 11: System Setup
System Setup At all mode, press and hold [ D ] button to S-CTRL (IPOD mode) : ON/OFF enter system setup. Press [ ] or [ ] button Rotate the [VOLUME] knob to choose S-CTRL to select options, rotate the [VOLUME] knob (Simple control) ON or OFF. -
Page 12: Audio Setup
Audio Setup Press the [SOUND] button to enter sound MID-F: 500 / 1K / 1.5K / 2.5K effect setting mode. First press shows current MID-Q: 0.5 / 0.75 / 1.00 / 1.25 EQ. Rotate the [VOLUME] knob to changes TRE-F: 10.0K / 12.5K / 15.0K / 17.5K BEAT EQ in this order: OFF ->... - Page 13 FM3 and AM. FM3 and AM can store When LOCAL seeking is on, only those by AS function. Each bands can store 6 radio stations with strong radio signal stations, CZ201A can store 24 stations in could be received. total. To open or close LOCAL function,...
-
Page 14: Cd/Mp3/Wma Operations
CD/MP3/WMA Operations Folder structure This unit can play back MP3/WMA files A disc with a folder having more than 8 hierarchical levels will be impossible. Notes: • If you play a WMA file with active DRM Number of files or folders (Digital Rights Management), no audio is 1. -
Page 15: Pausing Play
CD/MP3/WMA Operations Pausing play Fast-forward/Fast-reverse 1. Press the [ 4 ] button to pause play. Fast-forward “PAUSE” appears in the display. Press and hold the [ ] button . 2. To resume CD play, press the [ 4 ] button Fast-reverse again. - Page 16 CD/MP3/WMA Operations Random play This function allows you to play all tracks Other various play functions recorded on a disc in a random order. Scan play Press the [ 3 ] button to perform random play. This function allows you to locate and play Random function activates when jumping to the first 10 seconds of all the tracks recorded another track.
-
Page 17: Usb Operations
USB Operations 1. Open the cover of the USB connector to the right. Insert a USB cable (CCA-755) into the USB connector. Insert a USB device into the USB cable. When connecting a USB device, the unit will read the files automatically. 2. -
Page 18: Aux Operations
• Some iPod models do not support this 2. Press the [ 3 ] button once or more until “SONG RDM” appears on the LCD to function. Consult your nearest Clarion dealer or website to confirm which models perform random play. -
Page 19: Trouble Shooting
6. TROUBLE SHOOTING GENERAL Problem Cause Measure Replace with new fuse of correct rating. Unit fuse blown. Unit can not power Replace with new fuse of correct rating. Car battery fuse blown. Turn off the power and remove the DCP. Press the [RESET] button with a thin rod. -
Page 20: Error Displays
DISC Player Problem Cause Measure Eject the disc before loading the new one. Another disc is already loaded. Disc cannot be There is an object installed inside the loaded. Remove the object inside the unit. unit. Clean the compact disc with a soft cloth. Compact disc is dirty. -
Page 21: Specifications
8. SPECIFICATIONS FM Tuner General Frequency range: 87.9-107.9MHz Power supply voltage: 14.4VDC (10.8 to 15.6V allowable), Usable sensitivity: 8dBμ Frequency response: 30Hz-15kHz negative ground Stereo separation: 30dB (1kHz) Pre-Amp output voltage: 2.0V (CD play mode: 1kHz, 0dB, 10k Signal/noise ratio: >55dB load) Fuse: 15A Dimensions of the Main Unit:... -
Page 22: Installation / Wire Connection Guide
For tough dirt, drop anything into the unit during apply a little cold or warm water to a installation, consult your dealer or an authorized Clarion service center. soft cloth and wipe off the dirt gently. -
Page 23: Cautions On Installation
Notes: 1. Some car models require special mounting kits for proper installation. Consult your Clarion dealer for details. 2. Fasten the front stopper securely to prevent the source unit from coming loose. • Console opening dimensions (182 mm) -
Page 24: Unit Installation
positive pole first and then the negative Notes of installation pole. 1. Before installation, please make sure 7. DO NOT block the cooling fan exit to proper connections are conducted and ensure sufficient heating dissipation of this the unit operates normally. Improper unit, or it may result in damage to this unit. -
Page 25: Removing The Source Unit
Method B 6) Removing the Source Unit Disassemble trim ring 1. Push the trim ring to right and pull out the right part. M5x6 2. Push the trim ring to left and pull out the left part. Dashboard Mounting Frame 1. -
Page 26: Wiring And Connections
7) Wiring and Connections White Black Rear audio output (Left)/ Subwoofer output 1 Black Rear audio output (Right)/ Subwoofer output 2 2 Channel Amplifier Fuse 15A Antenna (Black) Refer to next page... -
Page 27: Connecting The Accessories
16-Pin Connector Extension Lead (attached to the source unit) Gray Front Right Brown wire (Phone mute lead) Gray/Black Connect to cellular phone mute lead. White Front Left White/Black Yellow wire (Memory back-up lead) Purple Connect directly to battery Rear Right Purple/Black Green Red wire (Power lead) - Page 28 Clarion Co., Ltd. All Rights Reserved. Copyright © 2010: Clarion Co., Ltd. Printed in China PN: 127075022852...
Need help?
Do you have a question about the CZ201A and is the answer not in the manual?
Questions and answers