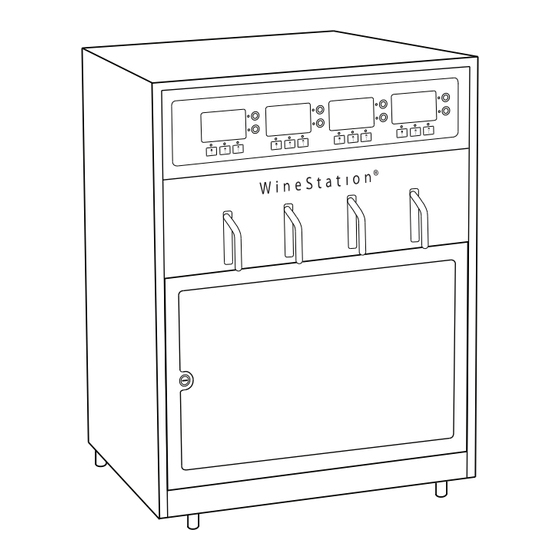
Dacor DYWS4 Installation Instructions Manual
Wine dispensing system
Hide thumbs
Also See for DYWS4:
- Manual (32 pages) ,
- Installation instructions manual (9 pages) ,
- Quick start (4 pages)
Table of Contents

Subscribe to Our Youtube Channel
Summary of Contents for Dacor DYWS4
- Page 1 Installation Instructions Wine Dispensing System Model DYWS4 Part No. 107376 Rev. C...
-
Page 2: Table Of Contents
Dacor Customer Service Team. label ® For repairs to Dacor appliances under warranty call the Dacor Distinctive Service line. Whenever you call, have the model and serial number of the appliance ready. The model and serial number are on the product data label. The label is located on the back of the unit. -
Page 3: Important Safety Instructions
Have it appliance. Dacor cannot be held responsible for damage replaced only by a qualified service technician. to property or injury to persons caused by failure to comply with the safety and installation instructions • When moving the appliance away from the wall, be... -
Page 4: General Safety Precautions
Important Safety Instructions General Safety Precautions To reduce the risk of fire, electric shock, serious injury or death when using your appliance, follow basic safety precautions, including the following: wArnIng wArnIng • If the appliance is damaged, immediately contact the • Do not place your hands or fingers in area of moving dealer. -
Page 5: Installation Specifications
Installation Specifications wArnIng • Observe all governing codes and ordinances during planning and installation. Contact your local building department for further information. • For safe and proper operation, all the requirements in the Installation Specifications section including, but not limited to, the electrical specifications, minimum clearances and cabinet specifications must be met or exceeded. Technical Specifications/Dimensions All product tolerances are ±1/16”... -
Page 6: Electrical Requirements
Installation Specifications Electrical Requirements • The electrical outlet for the wine dispensing system must be located to allow for easy access when the unit is installed for easy disconnection. wArnIng • Use an electrical outlet which cannot be turned off with a switch or pull chain. - Page 7 Installation Specifications 1” (2.5 cm) min. Allow for Proper Air Circulation All cabinet tolerances: +1/16” (+1.6 mm) -0 unless otherwise stated. 26 5/8” min. (67.6 cm) 16” min. (40.6 cm) 19 11/16” min. (50.0 cm) Minimum Clearance requirements...
-
Page 8: Installation Instructions
IMPOrTAnT: The required argon gas cylinder is not shipped with the system and must be ordered separately. Order on-line at www.everythingdacor.com or by calling Dacor Customer Service at (800) 793-0093 ex. 2822. Your first gas argon gas cylinder is provided free of charge. •... -
Page 9: Installation
• Do not use any power supply other than the one connected to the Power Input connector on the back provided with the system or a Dacor approved of the unit. Also, check to make sure that both of the replacement. - Page 10 Installation Instructions 8. Find the gas regulator assembly shipped with the unit. Regulator 9. Make sure the regulator adjustment knob is turned adjustment all the way in the OFF direction. knob 10. Plug the end of the gas tubing leading to the wine dispensing system into the gas regulator assembly.
-
Page 11: Installation Checklist
Installation Instructions Installation Checklist wArnIng To ensure a safe and proper installation, the installer must complete the checklist below to ensure that no part of the installation has been overlooked. Proper installation is the responsibility of the homeowner. The importance of proper installation of your appliance cannot be overemphasized. - Page 12 Dacor ● 14425 Clark Avenue, City of Industry, CA 91745 ● Phone: (800) 793-0093 ● Fax: (626) 403-3130 ● www.dacor.com...


Need help?
Do you have a question about the DYWS4 and is the answer not in the manual?
Questions and answers