GE JK3000SFSS Owner's Manual
Built-in electric 27"/30" single/double wall oven
Hide thumbs
Also See for JK3000SFSS:
- Installation instructions manual (17 pages) ,
- Dimensions and installation information (3 pages)
Table of Contents
Advertisement
For a Spanish version of this
manual, visit our Website at
GEAppliances.com.
Para consultar una version
en español de este manual
de instrucciones, visite
nuestro sitio de internet
GEAppliances.com.
Printed in the United States
GEAppliances.com
. . . . . . . . . 2
. . . . . . . . . . . . . . . . . . . . . 4
Using The Oven
Oven Controls . . . . . . . . . . . . . . . . . . . 6
Special Features . . . . . . . . . . . . . . . . 8
Cooking Modes . . . . . . . . . . . . . . . . 10
Cookware . . . . . . . . . . . . . . . . . . . . . . 10
Cooking Guide . . . . . . . . . . . . . . . . . 11
Care and Cleaning
Control Panel . . . . . . . . . . . . . . . . . . 12
Oven Exterior . . . . . . . . . . . . . . . . . . 12
Stainless Steel Surfaces . . . . . . . . 12
Oven Interior . . . . . . . . . . . . . . . . . . . 12
Flat Racks . . . . . . . . . . . . . . . . . . . . . . 12
Maintenance . . . . . . . . . . . . . . . . . . . 13
Write the model and serial
numbers here:
Model # __________________
Serial # ___________________
You can find them on a label
on the side trim or on the front of
the (lower) oven behind the oven
door.
JK3000 - 27" Single Wall Oven
JT3000 - 30" Single Wall Oven
. . . 5
JK3500 - 27" Double Wall Oven
JT3500 - 30" Double Wall Oven
. . . . . . 15
Owner's Manual
Printed on
Recycled Paper
49-80656-2 04-13 GE
Advertisement
Table of Contents

Related Manuals for GE JK3000SFSS


Summary of Contents for GE JK3000SFSS
-
Page 1: Table Of Contents
You can find them on a label nuestro sitio de internet on the side trim or on the front of Printed on GEAppliances.com. the (lower) oven behind the oven Recycled Paper door. 49-80656-2 04-13 GE Printed in the United States... -
Page 2: Important Safety Information
IMPORTANT SAFETY INFORMATION. READ ALL INSTRUCTIONS BEFORE USING. WARNING Read all safety instructions before using the product. Failure to follow these instructions may result in fire, electrical shock, serious injury or death. STATE OF CALIFORNIA PROPOSITION 65 WARNING The California Safe Drinking Water and Toxic Enforcement Act requires the Governor of California to publish a list of substances known to the state to cause cancer, birth defects or other reproductive harm, and requires businesses to warn customers of potential exposure to such substances. - Page 3 KEEP FLAMMABLE MATERIALS AWAY FROM THE OVEN WARNING Failure to do so may result in fire or personal injury. ■ ■ Do not store or use flammable materials in or near Never wear loose-fitting or hanging garments while an oven, including paper, plastic, pot holders, using the appliance.
-
Page 4: Warranty
GE at the time of service. For the period of one year from the date of the original purchase. GE will provide any part of the range which fails due to a defect in materials or workmanship. During this limited one-year warranty, GE will also provide, free of charge, all labor and in-home service to replace the defective part. -
Page 5: Assistance / Accessories
Have a question or need assistance with your appliance? Try the GE Appliances Website (www.geappliances.com/service_and_support/) 24 hours a day, any day of the year! For greater convenience and faster service, you can now download Owner’s Manuals, order parts or even schedule service on-line. -
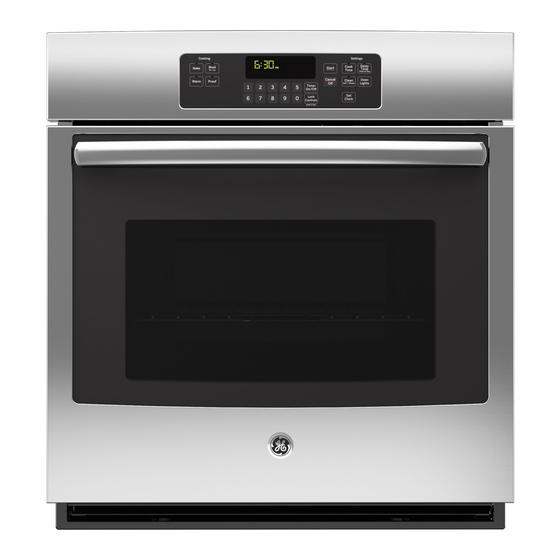
Page 6: Oven Controls
Single Wall Oven 1. Bake: 10. Timer: Touch this pad to select the bake Works as a countdown timer. Press the function. See the Cooking Modes section for more Timer pad and the number pads to program the information. time in hours and minutes. Press the Start pad. The oven will continue to operate when the timer 2. - Page 7 Double Wall Oven 1. Upper Oven and Lower Oven: 11. Timer: Designates Works as a countdown timer. Press the which oven the controls will operate. Timer pad and the number pads to program the time in hours and minutes. Press the Start pad. 2.
-
Page 8: Special Features
Special Features There are several different special features on your wall oven. To change the settings of these special features, press the BAKE and BROIL pads at the same time and hold for three seconds. "SF" will appear in the display. Select the feature you want to change. -
Page 9: Oven Racks And Rack Positions
Oven Racks and Rack Positions Your oven has six rack positions. Recommended rack positions for various types of foods are provided in the Cooking Guide. Adjusting rack position is one way to impact cooking results. For example, if you would prefer darker tops on cakes, muffins, or cookies, try moving food one rack position higher. -
Page 10: Cooking Modes
Cooking Modes Your new oven has a variety of cooking modes to help you get the best results. These modes are described below. Refer to the Cooking Guide section for recommendations for specific foods. Remember, your new oven may perform differently than the oven it is replacing. Bake Broiling Modes Always broil with the door closed. -
Page 11: Cooking Guide
Cooking Guide RECOMMENDED RECOMMENDED FOOD TYPE MODE(S) RACK POSITION(S) ADDITIONAL SUGGESTIONS Baked Goods Layer cakes, sheet cakes, bundt cakes, muffins, quick Bake Use shiny cookware. breads on a Single Rack Layer cakes* on Multiple Ensure adequate airflow Bake 2 and 4 Racks (see illustration below). -
Page 12: Control Panel
Cleaning The Oven Be sure electrical power is off and all surfaces are cool before cleaning any part of the oven. Control Panel It’s a good idea to wipe the control panel after each use. Do not use abrasive cleansers, strong liquid cleansers, Clean with mild soap and water or vinegar and water, plastic scouring pads or oven cleaners on the control rinse with clean water and polish dry with a soft cloth. -
Page 13: Maintenance
Maintenance Oven Light Replacement (on some models) SHOCK OR BURN HAZARD: Before replacing oven light bulb, disconnect the electrical WARNING power to the oven at the main fuse or circuit breaker panel. Failure to do so may result in electric shock or burn. BURN HAZARD: The glass cover and bulb should be removed when cool. - Page 14 Maintenance Lift-Off Oven Door The door is very heavy. Be careful when removing and lifting the door. Do not lift the door by the handle. To remove the door: 1. Fully open the door. Slot 2. Pull the hinge locks down toward the door frame, to the unlocked position.
-
Page 15: Troubleshooting Tips
Troubleshooting tips ... Before you call for service Save time and money! Review the charts on the following pages first and you may not need to call for service. Problem Possible Cause What To Do My new oven doesn't Your new oven has a different cooking For the first few uses, follow your recipe cook like my old one. - Page 16 Troubleshooting tips ... Before you call for service Problem Possible Cause What To Do Oven light does not Light bulb is loose or defective. Tighten or replace bulb. work Pad operating light is broken. Call for service. Oven will not self- The temperature is too high to set a Allow the oven to cool and reset the controls.
Need help?
Do you have a question about the JK3000SFSS and is the answer not in the manual?
Questions and answers