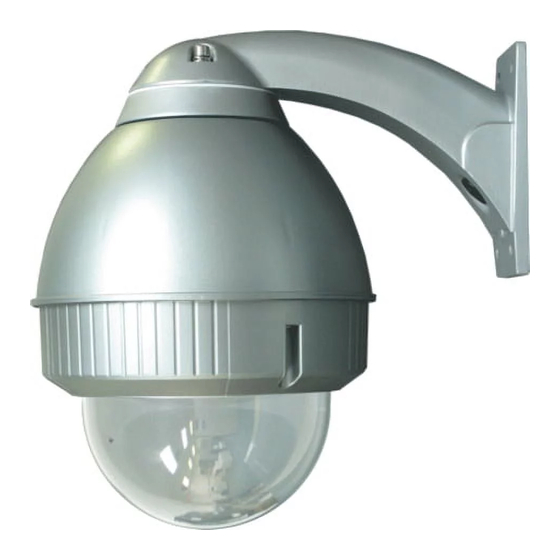
Summary of Contents for Panasonic Videolarm POD9CFW
- Page 1 Installation Instructions Outdoor Domed Housings POD9C(W)/POD9CF(W) Manufactured By: ® Before attempting to connect or operate this product, please read these instructions completely. 81-IN3079 6/8/05...
-
Page 2: Important Safeguards
1. The shipping carton and packaging material. They are the safest material in which to make future shipments of the equipment. 2. These Installation and Operating Instructions. SERVICE For service on Panasonic/Videolarm equipment contact: Panasonic Technical Center 54 West Gude Dr. Rockville MD 20850-1150 Phone: 301-762-5125... - Page 3 NPT pipe. The POD9 can be used with other brackets 52 watts at 24 VAC (Heater & Blower) Accessory Power designed with 1 1/2" male pipe threads, such as the Panasonic Heater: 50 watts PWM20G and PWM30G wall mount brackets.
-
Page 4: How To Assemble The Connector
HOW TO ASSEMbLE THE CONNECTOR • Strip back the cable jacket approximately 0.1 inch WJ-HD316A WU-CU650 (3 mm) and separate the individual conductors. Wiring Color Code Power and Control Inputs Approx. 0.1" Wire POD9C CONNECTOR A Insert CAMERA POWER [13 watts WV-CS954 / WV-CS574] 24 VAC Live Black 24 VAC Live... - Page 5 INSTALLING QUICK RELEASE BRACKET AND PAN/TILT INSTALLATION FOR WV-CS574 UNITIZED CAMERA CAMERA ASSEMBLY (ALL MODELS) 1. Installation for WV-CS574 Unitized Camera. Add additional 1" 1. Open the housing by loosening the (3) screws on the dome spacers (from packet assembly) to the existing spacer already trim ring (Figure 1).
- Page 6 INSTALLING FIXED CAMERA BRACKET (ALL MODELS) 1. Loosen the two pan adjustment screws and rotate the bracket to NOTE: A 90˚ BNC connector is included in the the desired viewing location. packet to assist in fitting the camera (Figure 6). adjustment screw adjustment...
- Page 7 RPFD050 (Model POD9CW) Connection PCB (Fixed Models) RPRH706 (Model POD9CFW) Housing Hardware RPFD040 Housing Top RPPOD08 Panasonic Wall Mount PWM10 Captive Hardware (3 Pcs) RPPOD09 Pendant Coupling Assembly Quick Release Pipe Coupling SD0170 Pendent Housing Coupling RPPOD10 Pendent Mount Bracket...
- Page 8 Mounting Template R .733 2.132 5.500 1.537 2.981 2.000 3.250 - 8 -...


Need help?
Do you have a question about the Videolarm POD9CFW and is the answer not in the manual?
Questions and answers