
Related Manuals for Baby Lock A-Line Natalie BL18A


Summary of Contents for Baby Lock A-Line Natalie BL18A
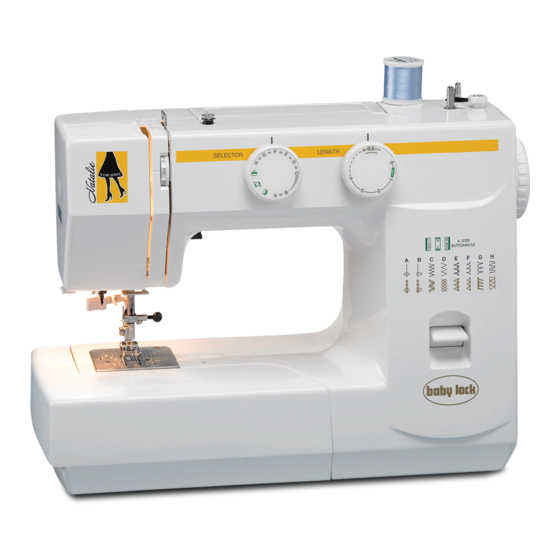
- Page 1 Getting to Know: A-Line SerieS Model BL18A Baby Lock Consumer Helpline: 800-313-4110 www.babylock.com...
- Page 2 – you can always count on her to be there for you. Be sure to ask your Baby Lock Retailer about Natalie's friends in the A-Line Series, like Maria, Audrey, Lauren and Grace. From classic tailored looks to modern-day fashions, the machines in the A-Line Series will help you sew and serge with success –...
-
Page 3: Winding The Bobbin
Winding the Bobbin 1. Pull the handwheel out to the right. 2. Draw the thread from the spool. Guide the thread around the bobbin winder thread guide. 3. Insert the thread through the hole in the bobbin from the inside to the outside. -
Page 4: Threading The Bobbin Case
Threading the Bobbin Case 1. Place the bobbin into the bobbin case. Make sure the thread unwinds in the direction of the arrow. 2. Pull the thread into the bobbin case slot. 3. Draw the thread under the tension spring and into the delivery eye. * Leave about 4 inches of free thread. -
Page 5: Removing & Inserting The Bobbin Case
removing & inserting the Bobbin Case 1. Open the hook cover. 2. Raise the needle by turning the handwheel toward you. Take out the bobbin case by holding the latch. 3. When inserting the bobbin case, pull and hold the latch and then place the bobbin case into the hook as far in as possible. -
Page 6: Threading The Machine
Threading the Machine Raise take-up lever to its highest position by turning the handwheel toward you. Raise presser foot. Place spool of thread on spool pin as shown, with thread coming from the back of the spool. 1. Following the numbers, thread the machine. Draw thread into thread guide using both hands. 2. -
Page 7: Using The Needle Threader
Using the needle Threader 1. Raise the needle to its highest position. Pull down the needle threader knob as far as it will go. 2. Turn the knob in the direction of the arrow in the illustration, and then insert threader hook into the needle eye. -
Page 8: Drawing Up The Bobbin Thread
Drawing Up the Bobbin Thread 1. Raise the presser foot and hold the needle thread lightly with your left hand. 2. Turn the handwheel slowly toward you with your right hand until the needle goes down and continue turning the handwheel until the take-up lever is at its highest position. Lightly pull up the needle thread to form a loop of bobbin thread. -
Page 9: Setting The Stitch
Setting the Stitch • Stitch Pattern Selector Dial Raise the needle above the fabric and match the desired pattern with the setting mark by turning the pattern selector dial. Selecting Stretch Stitch Patterns When sewing stretch stitches, set the stitch length dial at “S.S.” S.S. -
Page 10: Starting To Sew
Starting to Sew Straight Stitch Sewing (1) Pattern selector dial: A or B (2) Presser foot: Zig zag foot (3) Thread tension: 2 - 6 • • (4) Stitch length: 1.5 - 4 1. Raise the presser foot and position the fabric next to a stitching guide line on the needle plate. Lower the needle into the fabric. - Page 11 Dress up a denim jacket by easily turning fun printed fabric into appliqué designs, then add a few quick embellishments for an extra sparkle. Note: You may need to open up part of the inner Skill Level: Beginner sleeve seam to allow enough room to get the sleeve on the machine to stitch the motif.
- Page 12 LBIN-BL18A...
Need help?
Do you have a question about the A-Line Natalie BL18A and is the answer not in the manual?
Questions and answers