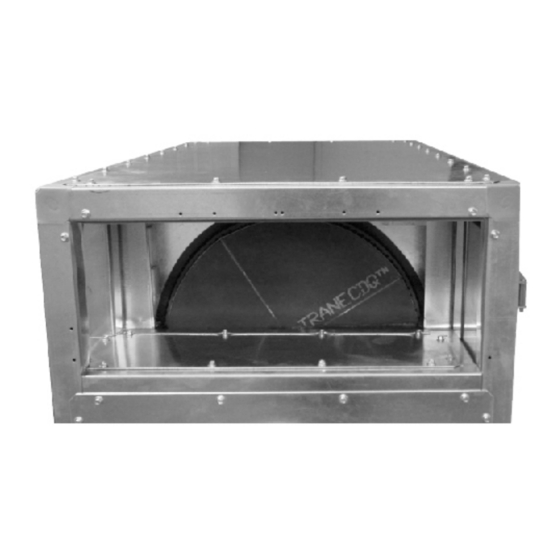
Summary of Contents for Trane CDQ
- Page 1 Installation Operation Maintenance CDQ™ Desiccant Wheels for Climate Changer™ Air Handlers Part No. X39641062010 CDQ-SVX01A-EN June 2006...
- Page 2 ...indicates a potentially hazardous situation which, if not avoided, may result in minor or moderate injury. It may also be used to alert against unsafe practices. CAUTION ...indicates a situation that may result in equipment or property-damage-only accidents. © 2007 Trane All rights reserved...
-
Page 3: Introduction
This process is accomplished without the need for a second regeneration air stream. The addition of the CDQ desiccant wheel to the system enhances the dehumidification performance of the traditional cooling coil. CDQ-SVX01A-EN... -
Page 4: Table Of Contents
Controls ................5 Ultraviolet (UV) Lights ............ 6 Operation CDQ Wheel Startup............7 Wiring CDQ Desiccant Wheel Cassette ........8 Routine Maintenance Cleaning the Desiccant Wheel ........9 Cleaning the Motor ............10 Cleaning the Module ............ 10 Bearing and Motor Lubrication........10 Drive Belt Tension............ -
Page 5: General Information
“ship-to address” from the range for unit operation is -40ºF to vendor unless another address is 140ºF (-40ºC to 60ºC). given on the Trane sales order. For heating applications, a special All factory-mounted control systems motor may be required to withstand (controls that are factory-wired to a the higher temperatures. -
Page 6: Ultraviolet (Uv) Lights
Ultraviolet (UV) WARNING Equipment Damage From Germicidal Ultraviolet (UV) Lights! Irradiation Lights Trane does not recommend field (optional) installation of ultraviolet lights in its air handling equipment for the The United States Environmental intended purpose of improving Protection Agency (EPA) believes indoor air quality. -
Page 7: Operation
Operation WARNING WARNING CDQ Wheel Startup Hazardous Voltage! Rotating Components! 1. Set seals. See “Seal Adjustment” Disconnect all electric power, Disconnect all electrical power, on page 17. including remote disconnects before including remote disconnects before servicing. Follow proper lockout/ servicing. Follow proper lockout/ 2. -
Page 8: Wiring
Sensors disconnect, fuses, etc., as required Factory-Installed Wiring! by local codes, for the CDQ wheel If not factory-wired, connection to Use caution when penetrating unit motor. Do not install a variable the air temperature sensors is made casing. -
Page 9: Routine Maintenance
However, in most cases, it is impractical to remove larger wheels and therefore, the washing procedure must take place within the air handling unit and provisions need to be made to collect CDQ-SVX01A-EN... -
Page 10: Cleaning The Motor
Disconnect all electrical power, then use a vacuum cleaner and brush to Drive Belt Tension remove accumulated material from the CDQ wheel motor. The use of The drive belt is a link stretch belt spray aerosol cleaners is not designed to provide tension recommended. -
Page 11: Service And Repair
Remove belt from motor and wheel. Remove the post (see Figure 8). Support wheel with wooden blocks on both sides of the Figure 8. Remove post. wheel (see Figure 3). Figure 3. Wooden blocks support wheel. CDQ-SVX01A-EN... - Page 12 17 Install the long post on the the two pictures at right. Do not other side and re-install the strike the inner race of the shaft bolt. bearing or it may be damaged 18 Install the short posts. (see Figure 11). CDQ-SVX01A-EN...
- Page 13 20 Install the belt. 21 Start up unit and check wheel for clearance. Seals on the short posts may have to be adjusted for proper sealing. CDQ-SVX01A-EN...
-
Page 14: Procedure For External Bearing Replacement
Remove the bolts securing the bearing to the cassette (see Figure 17). Figure 17. Remove bolts securing bearing. 10 Tighten the bearing mounting bolts. Check alignment of the set screws and tighten to the specifications provided in the literature with the bearing. CDQ-SVX01A-EN... - Page 15 (see Figure 20). Retighten bearing mounting bolts once alignment is correct. 13 Install bearing cover plates. Remove blocks supporting wheel. Install belts. Figure 20. Typical Pillow Block Bearing, Shaft and Hub Assembly CDQ-SVX01A-EN...
-
Page 16: Drive Belt Adjustment/Replacement
Disconnect all electric power, Replacement including remote disconnects before servicing. Follow proper lockout/ The CDQ wheel uses a link belt that tagout procedures to ensure the has no tension devices that need power can not be inadvertently adjustment. Tension the belt by energized. -
Page 17: Seal Adjustment
9. Stretch the belt over the pulley motor. To minimize air the leaks from and engage it in the groove. one side to the next the diameter seals should be adjusted to come in full contact with the wheel face (see Figure 25). CDQ-SVX01A-EN... -
Page 18: Troubleshooting
Troubleshooting WARNING WARNING Toxic Hazards! Hazardous Service Procedures! Do not use a CDQ desiccant wheel in an application where the exhaust air The maintenance and is contaminated with harmful toxins troubleshooting procedures or biohazards. This could result in recommended in this section of the death or serious injury. - Page 19 (upstream) of the wheel. Wheel may be saturated Check for moisture carryover from coil or other possible sources such as steam or water with liquid water leaks in the unit which may be spraying the wheel with water. Remove source. CDQ-SVX01A-EN...
- Page 20 File Number SV-CDQ-SVX01A-EN-606 Supersedes www.trane.com For more information, contact your local Trane Trane has a policy of continuous product and product data improvement and reserves the right to office or e-mail us at comfort@trane.com change design and specifications without notice.


Need help?
Do you have a question about the CDQ and is the answer not in the manual?
Questions and answers