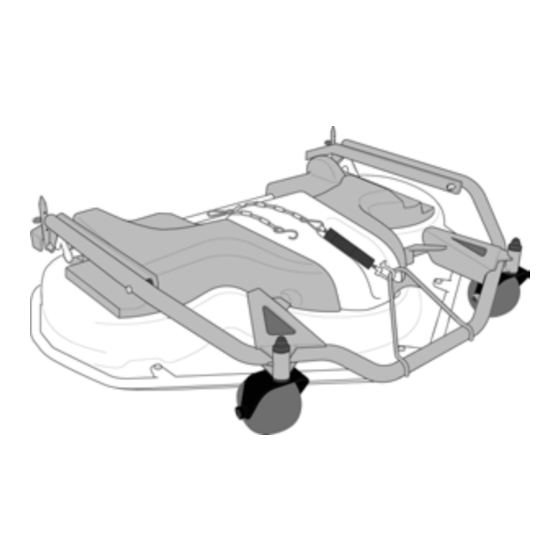
Stiga 110 Combi Pro Instructions For Use Manual
Hide thumbs
Also See for 110 Combi Pro:
- Owner's manual (308 pages) ,
- Specifications (2 pages) ,
- Brochure & specs (76 pages)
Advertisement
Quick Links
BRUKSANVISNING
KÄYTTÖOHJEET
BRUGSANVISNING
BRUKSANVISNING
GEBRAUCHSANWEISUNG
INSTRUCTIONS FOR USE
MODE D'EMPLOI
GEBRUIKSAANWIJZING
ISTRUZIONI PER L'USO
INSTRUCCIONES DE USO
INSTRUÇõES DE UTILIZAÇÃO
INSTRUKCJA OBS£UGI
»HC"P"K÷»fl œOÀ‹«Œ¬¿"EÀfl
NÁVOD K POU®ITÍ
HASZNÁLATI UTASÍTÁS
NAVODILA ZA UPORABO
S T I G A P A R K
SV .... 4
FI ..... 8
DA ..12
NO .16
DE...20
EN...24
FR....28
NL...32
IT.....36
ES ....40
PT ...44
PL ....48
RU...52
CS ...56
HU ..60
SL ....64
8211-7001-70
11 0 Comb i P r o
12 5 Comb i P r o
Advertisement

Summary of Contents for Stiga 110 Combi Pro
- Page 1 S T I G A P A R K 11 0 Comb i P r o 12 5 Comb i P r o BRUKSANVISNING SV ..4 KÄYTTÖOHJEET FI ..8 BRUGSANVISNING DA ..12 BRUKSANVISNING NO .16 GEBRAUCHSANWEISUNG DE...20 INSTRUCTIONS FOR USE EN...24 MODE D’EMPLOI FR..28...
- Page 2 125 Combi Pro Torx T30 F Torx T30...
- Page 3 45 Nm...
- Page 4 2 DESCRIPTION This symbol indicates WARNING. Seri- 2.1 General ous personal injury and/or damage to The cutting deck is intended for use on Stiga’s property may result if the instructions front mowers according to the table below.. are not followed carefully.
-
Page 5: Using The Machine
ENGLISH 1. Set the maximum cutting height. 3 ASSEMBLY 4. Locate the belt around the machine’s belt pul- ley. 3.1 Installing 5. Force the belt onto the cutting deck’s belt pul- 1. Place the cutting deck in position in front of the ley. -
Page 6: Maintenance
ENGLISH B. Remove pins and washer. See fig. 2. 4.2.2 Greater inclination C. Remove the right-hand cotter pin and When the cutting deck is inclined forwards, the washer in the same way. “Multiclip” effect is reduced while the cut grass is dispersed better. -
Page 7: Spare Parts
6 SPARE PARTS 110/125 Combi Pro is fitted with two lubricating cups (15:O) for the vertical shafts. STIGA genuine spare parts and accessories are de- The grease nipples must be lubricated with univer- signed specifically for STIGA machines. Please sal grease after 50 hours of operation. - Page 8 w w w. s t i g a . c o m GGP Sweden AB · Box 1006 · SE-573 28 T RANÅ S...


Need help?
Do you have a question about the 110 Combi Pro and is the answer not in the manual?
Questions and answers