
Related Manuals for Miele T 490


Summary of Contents for Miele T 490
-
Page 1: Operating Instructions
Operating instructions for vented tumble dryer T 490 It is essential to read these operating instructions before installing or using the machine to avoid the risk of accident, or damage to the machine. M.-Nr. 04 939 831... -
Page 2: Table Of Contents
Contents Contents Guide to the appliance..........4 Caring for the environment . - Page 3 Contents Cleaning and care Fluff filter............20 Tumble dryer .
-
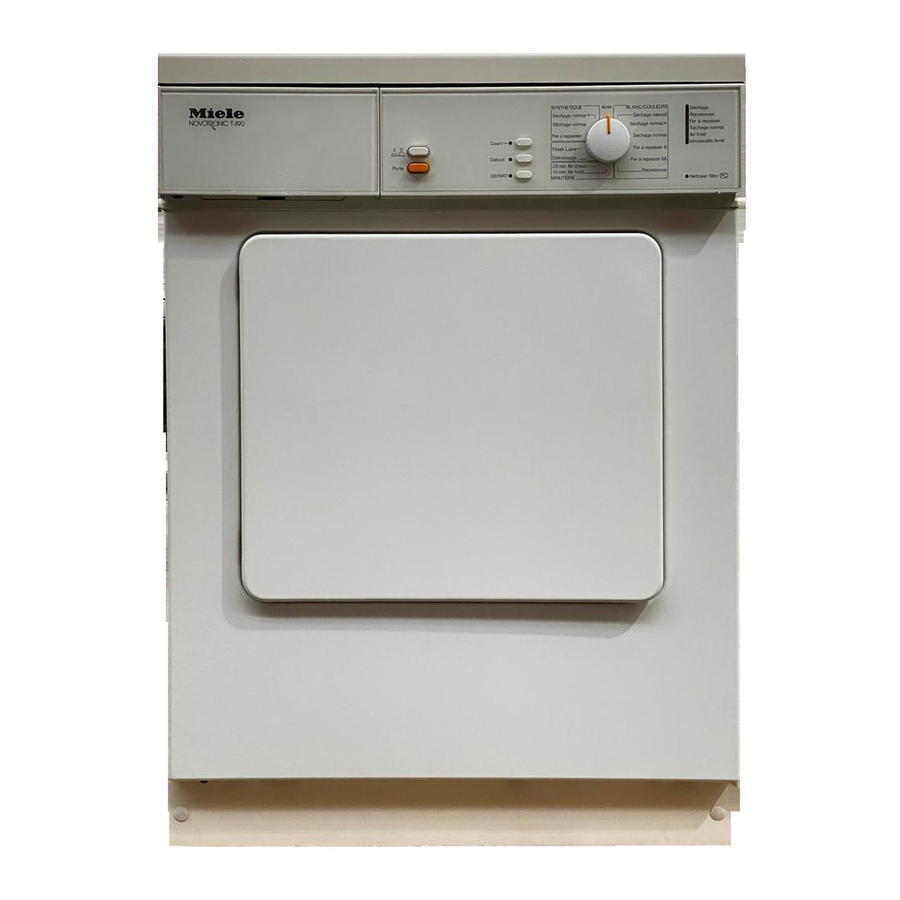
Page 4: Guide To The Appliance
Guide to the appliance Guide to the appliance General view Supply cable for electrical connection Control panel Door Venting connection, rear, right or left (supplied with the rear socket open) Four height-adjustable screw feet... -
Page 5: Control Panel
Guide to the appliance Control panel “I-On/0-Off” button Additional option buttons for switching the appliance on and off. Indicator lights: on= option selected When the machine is switched on, the off= option not selected drum light will come on as you open the door. -
Page 6: Caring For The Environment
Caring for the environment Caring for the environment Disposal of packing Disposal of your old machine/appliance The transport and protective packing has been selected from materials Old machines/appliances contain ma- which are environmentally friendly for terials which can be recycled. Please disposal and can normally be recycled. -
Page 7: Warning And Safety Instructions
Repairs should only be under- washed in a water solution and are taken by a Miele approved engineer. marked on the manufacturer’s wash Adequate ventilation is essential, care label as being suitable for tumble especially where another appliance drying. - Page 8 Faulty components must only be – children climbing into the machine or exchanged for Miele original spare hiding objects in it. parts. Only when these parts are fitted can the safety standards of the ma- There is a danger of fire with fab- chine be guaranteed.
- Page 9 Using accessories Accessory parts may only be fitted when expressly approved by Miele. If other parts are used, guaran- tee, performance and product liability claims may be invalidated. Disposing of your old machine Before discarding an old machine, unplug it and render the plug use- less.
-
Page 10: Brief Instructions
Brief instructions Brief instructions Brief description Please read the sections on “Warn- Programmes are selected by turning ing and safety” and “Notes on the programme selector and can be laundry care”. supplemented by pressing the addi- tional option buttons. Switching the machine on and loading the laundry Press the “START”... -
Page 11: Notes On Laundry Care
Notes on laundry care Notes on laundry care – Pure linen* Before drying, check the drying sym- These items should only be machine bol on the textile care label. dried if specified as suitable by the manufacturer on the textile care label, Significance of symbols: as the surface of the fabric may other- wise “roughen”. -
Page 12: How To Dry Correctly
How to dry correctly How to dry correctly Hints on saving energy Make sure there is no washing detergent dispenser among the Make sure that your laundry has been laundry, as this could melt and dam- thoroughly spun at the highest appro- age the machine and the laundry. -
Page 13: Selecting A Programme
How to dry correctly Low temperature Selecting a programme The drying temperature is reduced. – For delicate fabrics (drying symbol r), eg acrylic. The programme running time is in- creased. Starting a programme Press the “START” button. The drying stage reached display on the right hand side of the facia panel will indicate which drying stage the pro- Turn the programme selector to the... -
Page 14: After Drying
How to dry correctly "Clean out airways" indicator light After drying This indicator light shows that the dryer When the drying programme has fin- is not working most efficiently or econ- ished the “Anti-crease / Finish” se- omically. quence indicator light comes on. The causes of this check message can Press the “Door”... -
Page 15: Altering A Programme
Altering a programme Altering a programme To open the door during a pro- Once a programme has started, no changes to the programme or addi- gramme to add or remove tional options will be accepted. garments If the programme selector is turned to Cancel the programme by: a different programme after a pro- Pressing the “Door”... -
Page 16: Programme Chart
Programme chart Programme chart Programme Fabric type maximum Special notes load COTTONS Multi-layered fabrics, not 5 kg Do not dry jersey wear in the Extra dry thoroughly dried with Extra dry programme – “Normal +” tendency to shrink. Mixed load of cotton fabrics, 5 kg –... - Page 17 Programme chart Programme Fabric type Maximum Special notes load TIMED DRYING Individual items, (eg bathing 5 kg – Warm air costumes, bath towels, tea towels) Multi-layered fabrics whose layers have different drying characteristics. Items which are only to be 5 kg –...
-
Page 18: Programmable Functions
Programmable functions Programmable functions 2. Press the “START” button. The Notes indicator light for “machine iron” goes out. The programmable functions can be 3. Press the “START” button again and used to create drying programmes to keep it pressed in. The indicator suit your individual requirements. -
Page 19: Activating And Storing In The Memory
Programmable functions If the “Machine iron” indicator light Activating and comes on, then the chosen function storing in the memory has been activated. The programmable functions are acti- Each programmable function can be vated using the additional option but- switched on or off by pressing the tons in special combinations with the “START”... -
Page 20: Cleaning And Care
Remove any fluff from the hollow part of the door holder through the wide slit at the bottom. A cleaning brush is available at extra cost from the Miele Spare Parts Department. Push the cleaned filter back into the door holder and close the door. -
Page 21: Problem Solving Guide
Was the “START” button pushed in? – Has the fuse or circuit breaker tripped? If so, contact the Miele Service Department. Static charge can be reduced . . . items made of synthetic by adding a fabric conditioner fibres are charged with static... - Page 22 Problem solving guide What to do if . . . ? Cause . . . Remedy . . . Ventilation to and from the dryer Open a door or window while . . . the drying process goes is insufficient (eg in a small room). the machine is in operation for on too long increased air flow.
- Page 23 If the light continues to flash, there could be a technical fault. Contact the Miele Service Department. Important: Switch the dryer off with the "l-On/0-Off" button..the “Clean out airways” in- dicator light comes on...
- Page 24 Before changing the bulb, discon- The temperature resistant bulb should nect the machine from the mains only be ordered from your Miele dealer power supply. or the Miele Spare Parts Department. Unscrew the plastic cover above the Opening the door in the event of a door inside the drum.
-
Page 25: After Sales Service
– your Miele dealer When, for example, new programmes are developed or new fabrics are intro- – your nearest Miele Service Depart- duced, a service engineer will be able ment (see back cover for the ad- to modify existing programme cycles dress). -
Page 26: Installation
Miele washing machine in a washer and dryer stack. The appropriate stack- ing kit* to match your washing machine is required. * These items are all available from your Miele The screw feet can be adjusted to dealer. compensate for any uneveness in (N.B. -
Page 27: Installation - Venting
Installation - venting Installation - venting Installation to the left or right side of The moist air from the dryer must be the machine vented via a ducting system. When installing avoid: – very long venting systems – too many bends or corners –... -
Page 28: To Calculate The Effective Duct Length
Installation - venting A short passage for the expelled air is To calculate the effective duct preferable to ensure the tumble dryer length: functions as efficiently as possible. Ex- Measure the actual duct length: pelled air is slowed down in the vent duct by friction against the inner walls –... - Page 29 Installation - venting Table II Example: Side connection, left ..2.00 m Effective duct length Internal diameter Length (L) ....1.20 m 0 - 20 m 100 mm Lower radius (R) .
- Page 30 Installation - venting Table III Installing several machines: We recommend that when several ma- Number of Duct diameter chines are being installed each ma- machines increase factor from Table II chine should be fitted with a non-return 1.00 flap (available from a good builders’ 1.25 merchant).
- Page 31 Installation - venting Moist air can be ducted outside by a Example: Window vent kit wall vent kit or window vent kit, both of which are available from the Miele Spare Parts Department. Example: Wall vent kit 1. Louvre frame 4.
- Page 32 Installation - venting Installation - example 1 Installation - example 2 Upward ducting via flexible hose to an exhaust Upward ducting via plastic piping to wall vent kit flue (side view). (side view). 1. Wall pipe A. = Wire spiral-wound hose 1.
-
Page 33: Electrical Connection
Electrical connection Electrical connection The wire which is coloured blue must Electrical connection U.K. be connected to the terminal in the All electrical work should be carried out plug which is marked with the letter N only by a suitably competent person, in or coloured black. -
Page 34: Consumption Data
Consumption data Consumption data Programmes Capa- Final spin speed Electricity Drying time incl. city (in a domestic washing consump- cooling down time machine) tion Minutes 10 A 16 A COTTONS 1200 Extra dry 1400 3.05 1600 1200 Normal + 1400 1600 800 (70 % residual moisture) Normal... -
Page 35: Technical Data
Technical data Technical data Height......850 mm (adjustable +10/-5 mm) Width ......595 mm Depth . - Page 36 Alteration rights reserved/002 0600 This paper consists of cellulose which has been bleached wihout the use of chlorine.
Need help?
Do you have a question about the T 490 and is the answer not in the manual?
Questions and answers