LG LWS3081ST Installation Manual
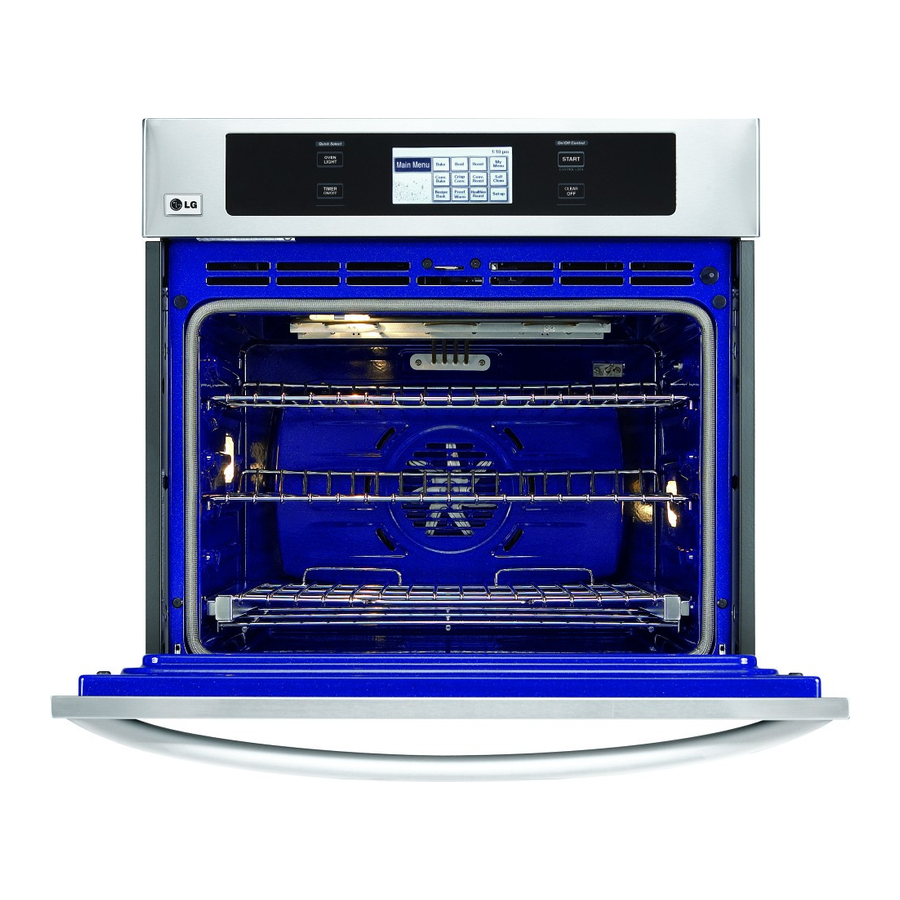
Electric convection built-in oven
Hide thumbs
Also See for LWS3081ST:
- User's manual & cooking manual (42 pages) ,
- Guía del usuario (42 pages) ,
- Installation manual (29 pages)
Table of Contents

Related Manuals for LG LWS3081ST


Summary of Contents for LG LWS3081ST
- Page 1 INSTALLATION MANUAL ELECTRIC CONVECTION BUILT-IN OVEN Please read these instructions thoroughly before installing and operating the oven. LWS3081ST LSWD305ST LWD3081ST LWS3010ST LSWS305ST LWD3010ST www.lge.com P/No.: MFL51224801...
-
Page 2: Before You Begin
Part 1 SAFETY BEFORE YOU BEGIN Remove all tape and packing materials before using the oven. Dispose all plastic bags after unpacking the oven. Never allow children to play with packing materials. IMPORTANT SAFETY INSTRUCTIONS Read and follow all instructions before using your oven to prevent the risk of fire, electric shock, injury to person, or damage when using the oven. -
Page 3: Prepare To Install The Oven
Part 1 SAFETY IMPORTANT NOTE This installation must be completed by a qualified installer or technician. • Please read the entire Installation Instructions prior to installation. • Remove all packing materials from the oven compartments before connecting the electrical supply to the oven. -
Page 4: Installation Requirements
Part 2 INSTALLATION REQUIREMENTS INSTALLATION DRAWINGS (FOR 30” SINGLE BUILT- IN OVEN) The first step of your installation should be to measure your current cutout dimensions and compare them to the cutout dimensions shown below. You may find little or no cabinet work will be necessary. IMPORTANT NOTE •... - Page 5 Part 2 INSTALLATION REQUIREMENTS INSTALLATION DRAWINGS (FOR 30” DOUBLE BUILT- IN OVEN) The first step of your installation should be to measure your current cutout dimensions and compare them to the cutout dimensions shown below. You may find little or no cabinet work will be necessary. IMPORTANT NOTE •...
- Page 6 Part 2 INSTALLATION REQUIREMENTS INSTALLATION DRAWINGS (FOR 30” SINGLE BUILT- IN OVEN UNDERCOUNTER) The first step of your installation should be to measure your current cutout dimensions and compare them to the cutout dimensions shown below. You may find little or no cabinet work will be necessary. IMPORTANT NOTE •...
- Page 7 Part 2 INSTALLATION REQUIREMENTS PREPARATION FOR MOVING THE OVEN The second step of your installation should be to remove any packing material from the oven before you install the oven. 1. Remove all tape from around the oven. 2. Open the oven door and remove packaging materials and oven racks inside the oven. 3.
-
Page 8: Electrical Connection Requirements
Part 3 ELECTRICAL CONNECTIONS ELECTRICAL CONNECTION REQUIREMENTS The third step of your installation should be to follow electrical connection requirements below. Dedicated circuit protection must be prepared as recommended in electrical connection requirements and the oven should be grounded properly. IMPORTANT NOTE Be sure your wall oven is installed and grounded properly by a qualified installer or service technician. -
Page 9: Electrical Connection
Part 3 ELECTRICAL CONNECTIONS ELECTRICAL CONNECTION The fourth step of your installation should be to prepare the electrical connection as follows: 1. Turn off the circuit breaker or remove fuses to the oven branch circuit. 2. With the oven positioned directly in front of the cabinet opening, connect the flexible conduit to the electrical junction box as shown below. - Page 10 Part 3 ELECTRICAL CONNECTIONS IMPORTANT NOTE • You will need to purchase an appropriate conduit connector to complete the connection of the conduit to the junction box. 3-wire circuit connection 4-wire circuit connection To connect to a three-wire circuit, follow these steps: To connect to a four-wire circuit, follow these steps: 1.
-
Page 11: Install The Oven
Part 4 INSTALL THE OVEN CABINET INSTALLATION The fifth step of your installation should be to install the oven into the cabinet as follows: 1. Sliding the oven into the opening. a. Loop (do not tie) a 36” (91cm) string around the conduit before the oven is slid into place.This will keep the conduit from falling behind the oven. -
Page 12: Operation Checklist
Refer to the Owner’s Manual. Follow the instructions for the basic check. 1. Turn on power supply. The initial signal sound will be heard and LG logo should be appear in the display. 2. Check the operation of the broil mode. When the oven is set to broil, the upper element in the oven should become red. - Page 13 LG Customer Information Center 1-800-243-0000 USA, Consumer User 1-888-865-3026 USA, Commercial User 1-888-542-2623 CANADA Register your product Online! www.lg.com Printed in Korea...
Need help?
Do you have a question about the LWS3081ST and is the answer not in the manual?
Questions and answers