Table of Contents

Related Manuals for Russell Hobbs RHM3002


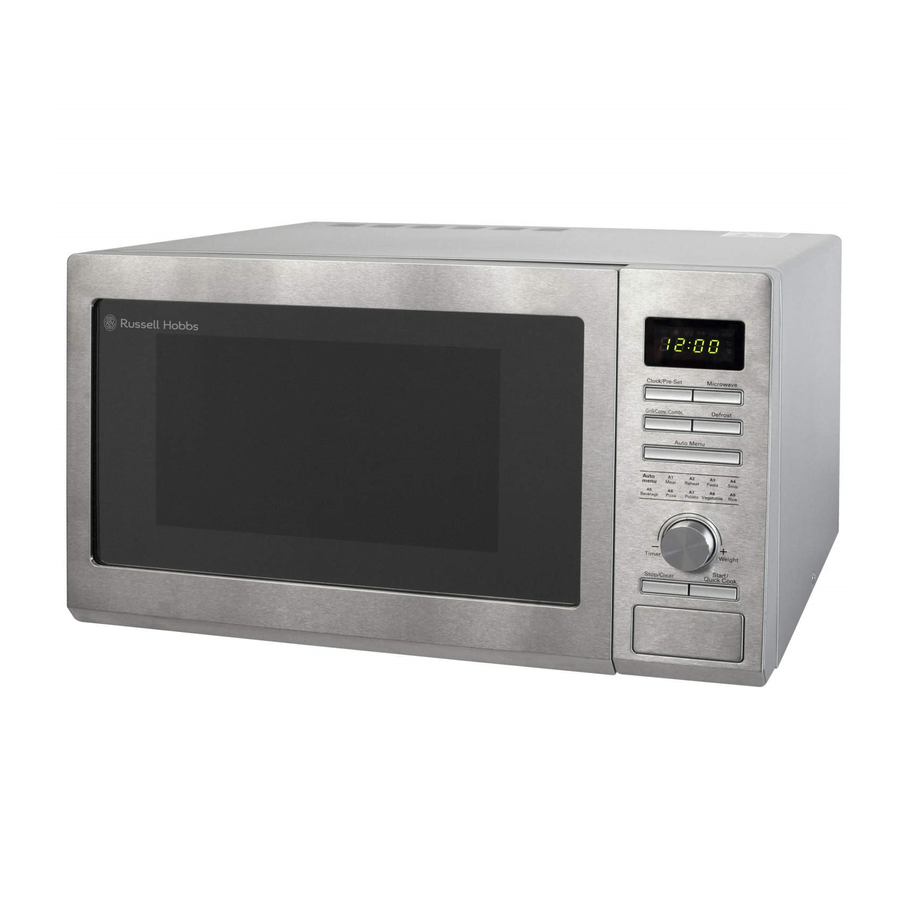
Summary of Contents for Russell Hobbs RHM3002
- Page 1 30 Litre microwave oven User manual Model number: RHM3002 Important safety instructions , please read carefully and keep them for future reference For Customer Services & Spare Parts please call 0845 209 7461 Opening times: Monday – Friday 9am – 5pm...
-
Page 2: Table Of Contents
Contents Page About this microwave oven........Unpacking your microwave oven......Safety instructions............ Microwave oven installation........Feature diagram............Turn table installation…………………..……………….……… Control panel............How to use your microwave oven......Cooking……………………………………......Cleaning and care............ Important utensil information......... Connection to the mains supply......Problem solving.……….......... -
Page 3: About This Microwave Oven
About this microwave oven Microwaves are high-frequency electromagnetic waves similar to radio waves. While radio waves may vary in length from one metre to many kilometres, microwaves are very short (less than 12.5 centimetres). Microwaves do not make any heat themselves but only cause water molecules in food to vibrate. -
Page 4: Unpacking Your Microwave Oven
Unpacking your microwave oven Before you use your microwave oven 1. Remove all the packaging. Do not remove the small piece of card from the right hand side of the cavity wall. This is called a wave-guide cover and allows the microwaves to pass through to cook the food. -
Page 5: Safety Instructions
Safety instructions Do not use the oven for any reason other than preparing food, such as for drying clothes, paper or any other non-food items, or for sterilising purposes. ➢ Do not use the oven when it is empty. This could damage the oven. ➢... - Page 6 Safety instructions ➢ Heat from the contents of a container may be transmitted to the container itself, so please be careful when removing it from the oven. Please remember that the food or liquid inside will be releasing some steam or will be spitting. Never cover any container fully, always leave a gap for steam to escape.
- Page 7 Safety instructions ➢ Food containing a mixture of fat and water (for example, stock) should stand for 30 to 60 seconds in the oven after it has been turned off. This is to allow the mixture to settle and to prevent it from bubbling when a spoon is placed in it, or a stock cube is added.
- Page 8 Safety instructions To reduce the risk of fire in the oven cavity: ➢ Do not overcook food. ➢ Do not leave the microwave oven unattended while you are using it and if using paper or plastic containers check regularly to ensure they do not ignite. ➢...
- Page 9 Safety instructions Warning: it is hazardous for anyone other than a competent person to carry out any service or repair operation which involves the removal of a cover which gives protection against exposure to microwave energy. Warning: if the door or door seals are damaged, the oven must not be operated until it has been repaired by a competent person.
-
Page 10: Microwave Oven Installation
Microwave oven installation ➢ Select a level surface that provides enough space for the outlet vents. ➢ A minimum clearance of 7.5cm is required between the oven and any adjacent walls. One side must be open. Leave a minimum clearance of 30cm above the oven. -
Page 11: Feature Diagram
Feature Diagram Door Safety Lock System Oven Window Turntable Ring Control Panel Door Guard Glass Turntable – To be used for microwave, combination, grilling or convection cooking. Plastic turntable drive Grill rack – To be used in the combination cooking & Grilling. Rack can be used either way up to alter the distance to the grilling element. -
Page 12: Turn Table Installation
Turn table installation ➢ Before first use, check that any securing tape has been removed from the glass tray and turntable ring assembly. These parts must never be restricted from rotating. ➢ Never place the glass tray upside down. ➢ Both the glass tray and turntable ring assembly must always be used during cooking. -
Page 13: Control Panel
Control panel MENU ACTION SCREEN Cooking time, power, action indicators, and clock time are displayed. CLOCK/PRE-SET Press this button to set the clock. MICROWAVE Press this button to use the microwave function. GRILL/CONV./COMBI. Press this button to use the grill, convection, or combination cooking. - Page 14 How to use the microwave oven Clock Setting When the microwave oven is first turned on, the oven will display "0:00", the buzzer will ring once. 1) Press “CLOCK/PRE-SET” to choose hours or minutes for alteration. The hour figures will flash. 2) Turn the “TIMER/WEIGHT”...
-
Page 15: Cooking
Cooking Microwave Cooking 1) Press the “MICROWAVE “ button once, and “P100”will display and flash. 2) Turn the “TIMER/WEIGHT” to select the microwave power. "P100", "P90","P80", "P70","P60", "P50", "P40", "P30","P20", "P10"and "P00"will display in order. 3) Press "MICROWAVE " to confirm. 4)Turn the “TIMER/WEIGHT”... - Page 16 Cooking Grill Cooking 1) Press the “GRILL/CONV./COMBI.” button once, and “G-1” will display. 2) Press “GRILL/CONV./COMBI.” button to confirm. 3)Turn “TIMER/WEIGHT” to adjust the cooking time. (The time setting should be 0:05- 95:00.) 4) Press “START/QUICK START ” button to start the cooking process. Note: Half way through the grill time, the unit will pause and sound twice to tell you to turn the food over.
- Page 17 Cooking Combination Cooking (Microwave + Convection) 1) Press the “GRILL/CONV./COMBI.” button once, and “G-1” will display. 2) Turn the “TIMER/WEIGHT” dial to select the combination preferred cooking method. Stop turning when “C-1”,”C-2”,”C-3” and “C-4” are on the display. These can be found after the cooking temperatures when rotating the dial clockwise.
- Page 18 Cooking Convection Cooking(With preheating function) The convection cooking allows you to cook food using the unit as a traditional oven, the microwave is not used. It is recommended that you should preheat the oven to the appropriate temperature before placing the food in the oven.
- Page 19 Cooking Convection Cooking( Without pre-heating function) 1) Press the “GRILL/CONV./COMBI ” button once, “G-1” will flash. 2) Turn the “TIMER/WEIGHT” dial to select the desired convection function temperature. The temperatures can be found after the “G-3”setting. Note: the temperature can be chosen from 50 degrees to 240 degrees, in 20 & 30 degree increments.
- Page 20 Cooking Pre-set time to start functions 1) Set the clock first. (Consult the instruction of clock setting). 2) Input the cooking program. A maximum of three stages can be set. Do not use the de- frost function in the pre-set function. The auto menu can be set for a single stage only. Example: if you want to cook with 80% microwave power for 7 minutes.
- Page 21 Cooking Speedy Cooking Press the "START/QUICK ST " button to microwave cook with 100% power level for 1 minute. The microwave will start cooking immediately. Each press on the same key can increase the cooking time by 1 minute. The maximum cooking time is 95 minutes.
- Page 22 Cooking Auto Menu 1) Press the " AUTO MENU“ button, so that "A-1" displays on the screen. 2) Turn the “TIMER/WEIGHT” dial clockwise to choose the function required, "A-1","A-2","A-3".."A-9" will be displayed. These refer to the Auto menu printed on the front of the oven, and in the table on the next page, 3) Press the "AUTO MENU "...
- Page 23 Cooking Display Auto Menu Weight(g) Power Meat 100% Reheat 100% P-1 Spaghettini 100% P-2 Macaroni P-3 Spirali P-4 Spaghetti P-5 Fusilli P-6 Penne P-7 Rigatoni P-8 Farfalle For Customer Services & Spare Parts please call 0845 209 7461 Opening times: Monday Friday 9am – 5pm...
- Page 24 Cooking Display Auto Menu Weight(g) Power Soup 100% Beverage 100% Pizza Microwave & Convection Potato 100% Vegetable 100% Rice 100 + 270 ml water 100% & 70% 150 + 300ml water 200 + 380ml water 250 + 450ml water...
- Page 25 Cooking Inquiring Function (1) During the cooking cycle, press the "MICROWAVE" or "GRILL/CONV./ COMBI.“button and the current power will be displayed for 2-3 seconds. (2) In pre-set state, press the " CLOCK/PRE-SET “ button to check the time when the cooking will start.
-
Page 26: Cleaning And Care
Cleaning and care ➢ Before you clean the oven, turn it off and unplug it. ➢ Keep the inside of the oven clean. When food or liquids stick to the oven walls, wipe with a damp cloth. We recommend that you do not use harsh detergent or abrasives. ➢... - Page 27 Cleaning and care ➢ Regularly remove the glass turntable to clean it, and wash it in warm soapy water. ➢ Regularly clean the turntable support and oven floor. Simply wipe the bottom surface of the oven with mild detergent and water, then dry. You can wash the turntable support in mild soapy water.
-
Page 28: Important Utensil Information
Important utensil information ➢ Do not use metal pans or dishes with metal handles without food in the microwave/oven ➢ Do not use anything with a metal trim, without food in the microwave/oven. ➢ Do not use paper covered wire twist-ties on plastic bags. ➢... -
Page 29: Connection To The Mains Supply
Connection to the mains supply WARNING- THIS APPLIANCE MUST BE EARTHED This appliance is designed to operate from a mains supply of 230V – 240V ~ 50HZ. Check that the voltage marked on the product corresponds with your supply voltage. This product is fitted with a 13A plug complying with BS1363. - Page 30 Connection to the mains supply For UK use only – Plug fitting details (where applicable): As the colours of the wires in the mains lead of this appliance may not correspond with the coloured markings identifying the terminals in your plug, proceed as follows: The GREEN/YELLOW wire is the EARTH and must be connected to the terminal which is marked with the letter E or by the earth symbol or coloured GREEN or GREEN/YELLOW.
- Page 31 Non-rewireable mains plug If your appliance is supplied with a non-rewireable plug fitted to the mains lead you will find that it incorporates a fuse, the value of which is indicated either on the base of the plug or on the fuse carrier. Should the fuse need replacing, you must use an ASTA approved fuse (conforming to BS1362) of the same rating.
-
Page 32: Problem Solving
Problem solving The microwave oven may cause interference to your radio, TV or similar equipment. If it does, you can get rid of the interference by moving the radio, TV or equipment as far away from your microwave oven as possible. If the oven doesn’t work - ➢... -
Page 33: Guarantee
Guarantee This product is guaranteed for 12 months from the date of the original purchase. If any defect arises due to faulty materials or workmanship the faulty product must be returned to the place of purchase. Refund or replacement is at the discretion of the store. The following conditions apply: •... -
Page 34: Technical Specification
Specifications Rated Voltage: 230V – 240V ~ 50Hz Rated Input Power(Microwave): 1400-1450W Rated Output Power(Microwave): 850-900W Rated Power(Grill): 1000-1100W Rated Power(Convection): 2300-2500W Oven Capacity: 30 L Turntable Diameter: 315 mm External Dimensions(LxWxH): 520mmX495mmX335mm Net Weight: Approx. 19.3 kg For Customer Services & Spare Parts please call 0845 209 7461 Opening times: Monday Friday 9am – 5pm... - Page 36 For Customer Services please call 0845 209 7461 Opening times: Monday - Friday 9am until 5pm Revision 1 This symbol is known as the 'Crossed-out wheelie bin Symbol'. When this symbol is marked on a product/batteries, it means that the product/batteries should not be disposed of with your general household waste. Only discard electrical/electronic/battery items in separate collection schemes, which cater for the recovery and recycling of materials contained within.
Need help?
Do you have a question about the RHM3002 and is the answer not in the manual?
Questions and answers