Table of Contents
Advertisement
Advertisement
Table of Contents

Related Manuals for Roberts RD-6


Summary of Contents for Roberts RD-6
- Page 1 RD-6 FM RDS/DAB digital radio Please read this manual before use...
-
Page 2: Table Of Contents
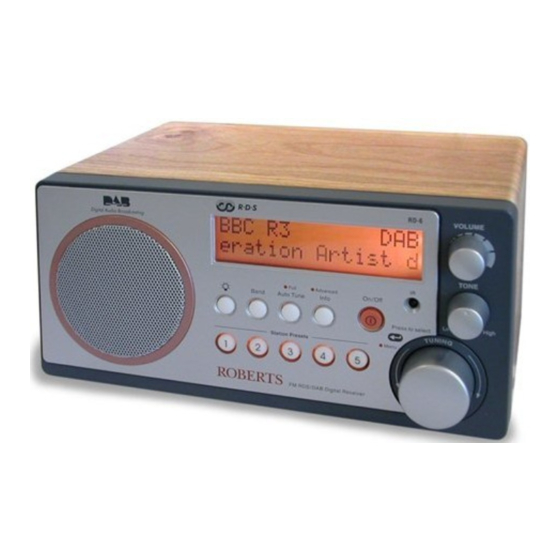
Contents Controls ................2-3 Clock display ..............19 Mains operation ..............4 General ................20 Operating your radio - DAB ..........5 Specifications ..............20 Selecting a station - DAB ..........6 Circuit features ..............20 Secondary services - DAB ..........7 Mains Supply .............. - Page 3 Controls (Front) 1. Light button 7. Infra Red sensor 8. Volume control 2. Band button 3. Auto tune button 9. Tone control 10. Tuning control 4. Info button 5. LCD display 11.Preset buttons 6. On/Off button and StandBy indicator If you need any further advice, please call our Technical Helpline on :- 020 8758 0338 (Mon-Fri)
- Page 4 Controls (Rear) 12.Telescopic aerial 15.Optical output socket (Toslink) 13. Headphone socket 16.Telescopic aerial holder 14.Deep bass boost switch 17.Mains input socket...
-
Page 5: Mains Operation
Mains operation 1. Place your radio on a flat surface. 2. Plug the mains lead into the Socket located on the rear of your radio ensuring that the plug is pushed fully into the socket. 3. Plug the other end of the mains lead into a wall socket and switch on the wall socket. -
Page 6: Operating Your Radio - Dab
Operating your radio - DAB 1. Fully extend the telescopic aerial. 2. Press the On/Off button to switch on your radio. The display will show "Roberts DAB digital radio" for a few seconds. 3. If this is the first time the radio is used a quick scan of UK Band III DAB channels will be carried out. -
Page 7: Selecting A Station - Dab
Selecting a station - DAB 1. The top line of the display shows the name of the station currently selected. 2. Rotate the Tuning control to scroll through the list of available stations. Stop rotating the Tuning control when you find the station that you wish to hear. -
Page 8: Secondary Services - Dab
Secondary services - DAB 1. Certain radio stations have one or more secondary services associated with them. If a station has a secondary service associated with it the display will show ">" next to the station name on the station list. The secondary service will then appear immediately after the primary service as you rotate the tuning control clockwise. -
Page 9: Finding New Stations - Dab
Finding new stations - DAB As time passes new stations may become available. To find new stations proceed as follows:- 1. Press and release the AutoTune button, the display will show "Autotune Quick Scan". Your radio will perform a scan of the UK DAB frequencies. As new stations are found the station counter on the right-hand side of the display will increase and stations will be added to the list 2. -
Page 10: Manual Tuning - Dab
Manual Tuning - DAB Manual tuning allows you to tune directly to the various DAB Band III channels. UK DAB stations located in the range 11B to 12D. 1. Press and hold in the Tuning control until the display shows "Manual tune". -
Page 11: Operating Your Radio - Fm
Operating your radio - FM 1. Fully extend the telescopic aerial. 2. Press the On/Off button to switch on your radio. The display will show "Roberts DAB digital radio" for a few seconds. 3. Press the Band button to select the FM band. 4. -
Page 12: Manual Tuning - Fm
Manual tuning - FM 1. Press the On/Off button to switch on your radio. 2. Press the Band button to select the FM band. Fully extend the Telescopic aerial . 3. Rotate the Tuning control to tune to a station. The frequency will change in steps of 50kHz. -
Page 13: Display Modes - Fm
Display modes - FM On FM the bottom line of the display can be set to any of the following modes:- 1. Press the Info button to cycle through the various modes. a. Scrolling text Displays scrolling text messages such as artist/track name, phone in number etc. -
Page 14: Presetting Stations - Fm
Presetting stations - DAB and FM There are 5 memory presets for each of the 2 wavebands. 1. Press the On/Off button switch on the radio. 2. Tune to the required station as previously described. 3. Press and hold down the required Preset button until the display shows e.g. -
Page 15: System Reset
System reset If your radio fails to operate correctly, or some digits on the display are missing or incomplete carry out the following procedure. 1. Switch off your radio. 2. Switch on your radio - as soon as the screen shows "Roberts DAB digital radio"... -
Page 16: Headphone And Optical Output Sockets
Headphone and optical output sockets 1. A 3.5mm Headphone Socket located on the rear of your radio is provided for use with either headphones or an earpiece. Inserting a plug automatically mutes the internal loudspeaker. 2. A digital optical output socket is provided on the rear of you radio for connection to a an amplifier, mini-disc or other equipment with a digital optical input. -
Page 17: Remote Control
Remote control 1. Band button 2. Select button 7. Volume up/down buttons 3. Mute button 8. Tuning up/down buttons 4. Auto tune button 9. Preset buttons 5. Info button 6. StandBy button If you need any further advice, please call our Technical Helpline on :- 020 8758 0338 (Mon-Fri) -
Page 18: Remote Handeset Battery Replacement
Remote handset battery replacement 1. With the aid of the end of a paper clip slide catch in direction shown. 2. Remove battery holder by pushing holder in direction shown. 3. Remove battery from holder. 4. Replace battery (2025 or equivalent) ensuring that positive side of battery faces you with holder positioned as shown. -
Page 19: Using The Remote Control
Using the remote control The buttons on the remote control have the same functions as front panel controls with two exceptions:- 1. Mute - press this button to mute sound, press again to restore sound. 2. StandBy - press this button to place unit in StandBy mode, your radio will enter power down state but the clock will remain active. -
Page 20: Clock Display
Clock display 1. Your radio will display clock time when in set to StandBy mode using the remote handset. 2. During StandBy mode the clock will receive updates from the last station tuned to before entering stanby mode. When in StandBy mode your radios clock will automatically track Summer\Winter time changes. -
Page 21: General
General Do not allow this radio to be exposed to water, steam or sand. Do not leave your radio where excessive heat could cause damage. It is recommended that the DAB band be used wherever possible as better results in terms of quality and freedom from interference will usually be obtained than on the FM band. -
Page 22: Mains Supply
Mains supply The RD-6 will operate from a supply of AC 230 volts, 50Hz only. The wire coloured BLUE must be connected to the terminal marked N or coloured BLACK. DO NOT cut off the mains plug from this equipment. If the plug fitted is... -
Page 23: Guarantee
In the event that it is not possible to return the instrument to the Roberts' dealer from whom it was purchased, please contact Roberts Radio Technical Services at the address shown on the rear of this manual. - Page 24 ROBERTS RADIO TECHNICAL SERVICES 97-99 Worton Road Isleworth Middlesex TW7 6EG Technical Helpline :- 020 8758 0338 (Mon-Fri during office hours) Issue 1...
Need help?
Do you have a question about the RD-6 and is the answer not in the manual?
Questions and answers