Advertisement
Quick Links
MODEL 9200Y
INSTRUCTION MANUAL
SPEC IF I CAT1 0 N S
Sponge dia.
I
Orbits per min.
I
Dimensions (Dia. x Height)
I
Net weight
125 mm
(5")
I
7,000
114
mm x
95
mm
14-1 12" x
3-34',)
~
1
0.5 kg ( 1 1 Ibs)
*
Manufacturer reserves t h e right t o change specifications w i t h o u t notice.
Note: Specifications may differ from country t o country.
Advertisement

Related Manuals for Makita Wax-Mate 9200Y


Summary of Contents for Makita Wax-Mate 9200Y
- Page 1 MODEL 9200Y INSTRUCTION MANUAL SPEC IF I CAT1 0 N S Sponge dia. Orbits per min. Dimensions (Dia. x Height) Net weight mm x 125 mm (5") 0.5 kg ( 1 1 Ibs) 7,000 14-1 12" x 3-34',) Manufacturer reserves t h e right t o change specifications w i t h o u t notice.
-
Page 2: Important Safety Instructions
IMPORTANT SAFETY INSTRUCTIONS (For All Tools) READ ALL INSTRUCTIONS. 1. KEEP WORK AREA CLEAN. Cluttered areas and benches invite injuries. 2. GUARD AGAINST ELECTRIC SHOCK. Prevent body contact with grounded surfaces. For example; pipes, radiators, ranges, refrigerator enclosures. 3. KEEP CHILDREN AWAY. Do not let visitors contact tool or extension cord. - Page 3 15. CHECK DAMAGED PARTS. Before further use of the tool, a guard or other part that is damaged should be carefully checked to determine that will operate properly and perform its intended function. Check for alignment of moving parts, binding of moving parts, breakage of parts, mounting, and any other conditions that may affect its opera- tion.
-
Page 4: Additional Safety Rules
ADDITIONAL SAFETY RULES power source, or the motor will be damaged. Use only volt 2. Operate the tool only after removing mud and sand from the car body and sponge, or the car body will be scratched by mud and sand. not wet the tool, or the tool will be damaged. - Page 5 Installing sponge CAUTION : Always be sure that the tool is switched off and unplugged before installing or removing the sponge. Simply attach the sponge to the pad, using the Velcro sheet on the sponge and the pad. (Note) There is no problem even if the alignment of the sponge and the pad is slightly off.
- Page 6 Operation 1. Waxing Apply light pressure Switch on the tool. Move the tool slow- ly over the work surface with front t o back, side to side movement while apply- ing light pressure t o the tool so that wax will be applied t o the work surface thin and evenly.
-
Page 7: Maintenance
Before storing the tool, remove moisture from the tool and dry the sponge thoroughly. (Note) Store the tool with the sponge removed, or the sponge may be deformed. To maintain product SAFETY and RELIABILITY, repairs, maintenance or adjustment should be performed by Makita Authorized or Factory Service Centers, always using Makita replacement parts. - Page 8 ACCESSORIES CAUTION These accessories or attachments are recommended for use with your Makita tool specified in this manual. The use of any other accessories or attachments might present a risk of injury to persons. The accessories or attachments should be used only in the proper and intended manner.
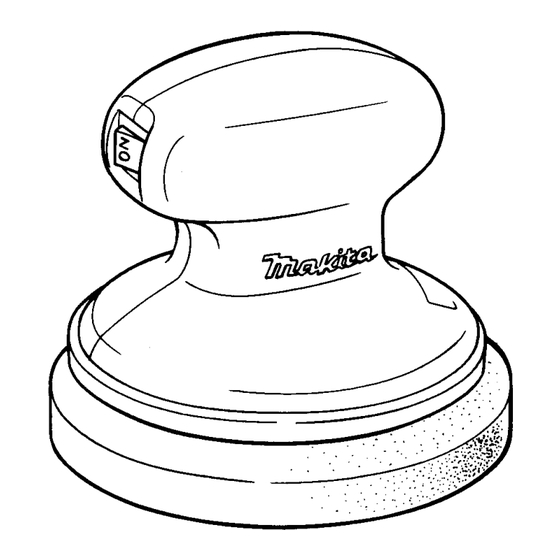
- Page 9 Aug.-22-'91 WAX-MATE Model 9200Y Note: The switch and other part configurations may differ from country to country.
- Page 10 92OOY MODEL Mar.-14-'90 MACHINE Tapping Screw BT 4x35 Bumper Set 1Wtth Item 81 (With Item Housing Housing Set Switch Name Plats Motor 12 ' 4 . Ball Bearing 609LB Cord Cushion Rma Foot 1Ai Note: The switch and other part specifications may differ from to country.
- Page 11 MAKCTA LIMED O N E YEAR WARRANTY Warranty Policy Every Makita tool is thoroughly inspected and tested before leaving the factory. It is warranted to be free of defects from workmanship and materials for the period of ONE YEAR from the date of original purchase.
Need help?
Do you have a question about the Wax-Mate 9200Y and is the answer not in the manual?
Questions and answers