Advertisement
Advertisement
Table of Contents

Related Manuals for Rosewill THOR


Summary of Contents for Rosewill THOR
- Page 1 User’s Manual V1.5...
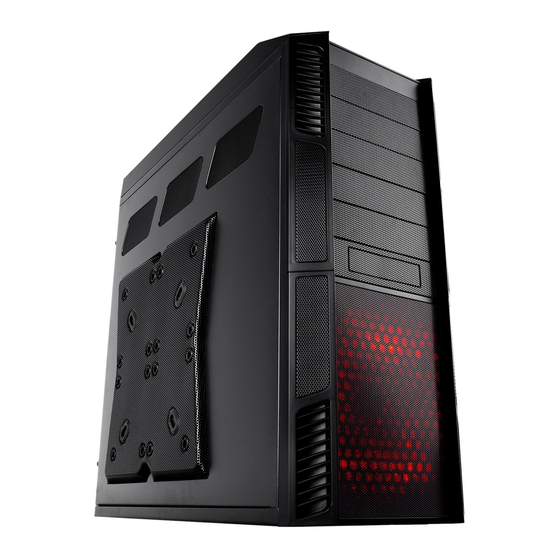
- Page 2 User Manual Contents Product Overview Disassemble Chart Accessory Box Installation Guide Opening Chassis Installing Power Supply Installing Motherboard Installing Add On Card Installing External 5.25" Device Installing External 3.5" Device Installing 3.5”/2.5” HDD/SSD Information © All rights reserved by Rosewill...
- Page 3 Fan holder Front I/O Pin Define USB3.0 CONNECTOR AC97 CONNECTOR AUD GND MIC~BIAA RET~R FPOUT~R RET~L FPOUT~L USB2.0 CONNECTOR HD CONNECTOR USB+5V USB+5V AUD GND PORT1L PRESENCE# PORT1R PORT2R SENSE1_RETURN SENSE_SEND NO PIN SENSE2_RETURN PORT2L © All rights reserved by Rosewill...
-
Page 4: Power Supply
24 x HDD screw 3.5” HDD 4 x PSU screw Power Supply 24 x 2.5” HDD screw 2.5” HDD 4 x FDD screw 3.5“ devices 8 x Fan screw Fans 8 x Cable tie Cables © All rights reserved by Rosewill... - Page 5 NOTICE : -If your power supply is equipped with single fan (120mm, 135mm or 140mm), please have the fan face to the bottom. -Please remember to clean the PSU dust filter regularly. © All rights reserved by Rosewill...
- Page 6 CASE THOR User Manual -Install motherboard stand-offs according to your motherboard’s form factor. -Place the motherboard onto stand-offs and secure with screws. NOTE : Full ATX = Extended ATX © All rights reserved by Rosewill...
- Page 7 CASE THOR User Manual Release the kit and remove the expansion slot cover. Install the add-on card. Fasten the kit to fix the add-on card. © All rights reserved by Rosewill...
- Page 8 -Confirm which bay(s) you want to install device(s) then remove the bay cover. -Install the front panel right side bar back. Insert the 5.25” device from the front panel into the chassis then secure with screw-less kits. LOCK UNLOCK © All rights reserved by Rosewill...
- Page 9 -Place it and the 5.25” to 3.5” bay cover to the place and secure with tool-less kit. -Put the 3.5”/2.5“ HDD/SSD onto the HDD tray then secure with screws. -Slide it into its slot and push to bottom to secure © All rights reserved by Rosewill...
- Page 10 Please register your product at : http://www.rosewill.com for complete warranty information and future support for your product. If you have any question while using our products, please visit our website : www.rosewill.com for latest driver & user manual or feel free to contact us.
Need help?
Do you have a question about the THOR and is the answer not in the manual?
Questions and answers