
Related Manuals for Philips ORT2300


Summary of Contents for Philips ORT2300
- Page 1 Always there to help you Register your product and get support at www.philips.com/welcome ORT2300 Question? Question? Contact Contact Philips Philips User manual...
-
Page 3: Table Of Contents
Contents 8 Play audio via Bluetooth Switch to Bluetooth mode Connect a device 1 Safety Disconnect a device Reconnect a device Control play 2 Your docking system Introduction 9 Listen to an external device What's in the box Overview of the product Know about the LCD display 10 Charge your devices 3 Get started... -
Page 4: Safety
• Never install this product in a confined immediately. Contact Philips Consumer space. Always leave a space of at least four Care to have the product checked before inches around the product for ventilation. -
Page 5: Your Docking System
What's in the box system Check and identify the contents of the package: Congratulations on your purchase, and welcome to Philips! To fully benefit from the support that Philips offers, register your product at www.philips.com/welcome. Introduction With this product, you can: ORD2105 •... -
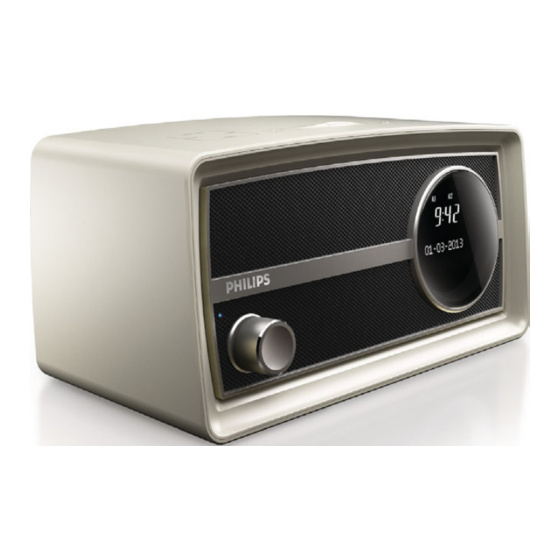
Page 6: Overview Of The Product
Overview of the product h AL1/AL2 a TIMER • Press and hold to start setting the • Press and hold to start setting the alarm timer. countdown timer. • When an alarm rings, press to stop the alarm. • In standby mode, press and hold to •... -
Page 7: Know About The Lcd Display
l SNOOZE/BRIGHTNESS • Press to adjust the brightness of LCD display. • When an alarm rings, press to snooze the alarm. Know about the LCD display a The first alarm is activated. b The second alarm is activated. c The clock d Text information e The sleep timer is activated. -
Page 8: Get Started
3 Get started Fix another plug converter to the power adaptor. Always follow the instructions in this chapter in Connect power sequence. Assemble the AC power adaptor Connect the AC power adaptor between the DC-IN socket on the back panel, •... -
Page 9: Adjust Brightness
The product switches to standby mode automatically under the following conditions. • In Bluetooth mode, the Bluetooth connection is lost for 15 minutes. • In DAB mode, no program is broadcast in 15 minutes. Adjust brightness Press BRIGHTNESS repeatedly to adjust the brightness of the LCD display. -
Page 10: Set The Clock
4 Set the clock Note • To manually set the clock, switch the product to standby mode first. In standby mode, press and hold until [Set time] is displayed. » The hour digits blink. Press to set the hour, and then press to confirm. -
Page 11: Use The Alarm Timer
5 Use the alarm Press to select the volume level, and then press to confirm. timer » [Alarm Saved] flashes. Deactivate a preset alarm Note Press AL1 (or AL2) to view alarm settings. • Make sure that you have set the clock correctly. Press AL1 (or AL2) again. -
Page 12: Listen To Fm Radio Stations
6 Listen to FM Search for a radio station radio stations manually Press repeatedly until the frequency of target radio station is displayed. Note Store radio stations • For optimal reception, fully extend the antenna and automatically adjust its position. •... -
Page 13: Display Rds Information
SOCIAL Social Affairs Display RDS information RELIGION Religion PHONE IN Phone In Radio Data System (RDS) is a service that TRAVEL Travel allows FM stations to transmit additional LEISURE Leisure information. When you tune to an FM radio JAZZ Jazz Music station that transmits RDS signals, the station name is displayed. -
Page 14: Listen To Dab Radio Stations
7 Listen to DAB Press to select a station, and then press the knob to start listening. radio stations • You can re-scan to update the list of stored stations (see 'Re-scan for stations' on page 13). • You can tune to a station manually (see 'Tune to a Note station manually' on page 13). -
Page 15: Display Dab Information
Tune to a station manually Note With this feature, you can tune to a specific • If you store a radio station with the sequence number of another one, the earlier one is overwritten. channel/frequency manually. In addition to antenna orientation for better radio reception, the optimal reception can also be obtained with this feature. - Page 16 Remove invalid stations Some stations in the list have no service when you travel to another area. In front of the station name of an invalid station, a question mark (?) is displayed. Press to access the sub-menus. Press repeatedly to select an option.
-
Page 17: Play Audio Via Bluetooth
Note Bluetooth indicator • Philips does not guarantee the compatibility with all Bluetooth devices. The LED indicator beside the power and • Before pairing a device with this system, read its user volume knob indicates the status of Bluetooth manual for Bluetooth compatibility. -
Page 18: Control Play
Control play If the connected Bluetooth device supports Advanced Audio Distribution Profile (A2DP), you can listen to tracks that are stored on the device through the system. If the device also supports Audio Video Remote Control Profile (AVRCP) profile, you can control play on this product. -
Page 19: Listen To An External Device
9 Listen to an external device You can also listen to an external audio device, for example, MP3 player, through this product. Press SOURCE repeatedly to switch the source to [AUX IN]. » AUX is highlighted. Connect an audio input cable with a 3.5 mm connector on both ends to the AUDIO-IN socket on the back •... -
Page 20: Charge Your Devices
Connect your device to the USB socket on the back of the product. » Once the device is recognized, the charging starts. Note • Philips does not guarantee the compatibility of this product with all devices. • The USB socket is for charging only. -
Page 21: Use The Sleep Timer
11 Use the sleep timer You can set a time period after which the product switches to standby mode automatically. Press SLEEP repeatedly to select a time period (in minutes). » When the sleep timer is activated, appears. » After the set period, the product switches to standby mode. -
Page 22: Use The Countdown Timer
12 Use the countdown timer You can set a time period after which the product buzzes. Press and hold TIMER until blinks. » The hour digits blink. Press repeatedly to set the hour, and then press to confirm. » The minute digits blink. Press repeatedly to set the minute, and then press... -
Page 23: 13 Adjust Volume
13 Adjust volume • To increase the volume, turn the power and volume knob clockwise. • To decrease the volume, turn the power and volume knob anti-clockwise. -
Page 24: Use System Menus
Press to display the version of current software. Upgrade the software Go to www.philips.com/support. Search for support information about this product with "ORT2300C/10" as the keyword. » When an upgrade packet is available, the link of "Installation instructions"... -
Page 25: 15 Troubleshooting
If the problem remains any obstacle between. unsolved, go to the Philips Web page (www. Cannot connect with this product. philips.com/support). When you contact Philips, •... -
Page 26: Product Information
±3 dB AC power adaptor Model No.: OH- Signal to Noise Ratio > 65 dBA 1015E0592000U1 Audio Input 0.5 V RMS 20 kOhm Brand name: Philips Input: 100-240 V~, 50/60Hz, 350 mA; Output: 5.9 V Bluetooth Operation power 10 W consumption... -
Page 27: 17 Notice
® registered trademarks owned by Bluetooth This is CLASS II apparatus with double SIG, Inc. and any use of such marks by Philips is insulation, and no protective earth provided. under license. Care of the environment Copyright 2013 ©... - Page 28 Specifications are subject to change without notice © 2013 Koninklijke Philips Electronics N.V. All rights reserved. ORT2300_10_UM_V1.0...
Need help?
Do you have a question about the ORT2300 and is the answer not in the manual?
Questions and answers