Sign In
Upload
Download
Table of Contents
Contents
Add to my manuals
Delete from my manuals
Share
URL of this page:
HTML Link:
Bookmark this page
Add
Manual will be automatically added to "My Manuals"
Print this page
×
Bookmark added
×
Added to my manuals
Manuals
Brands
EVGA Manuals
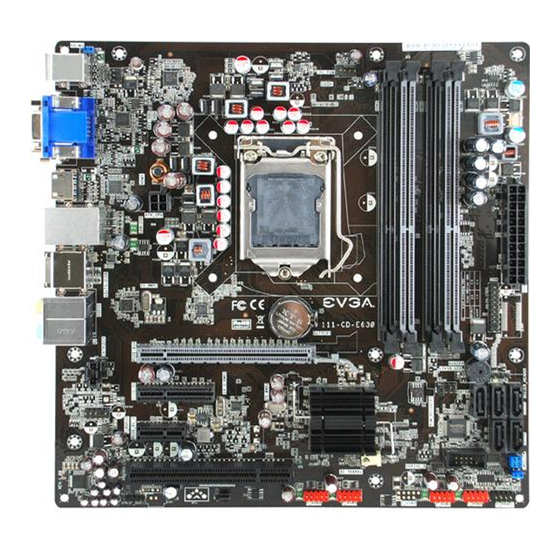
Motherboard
111-CD-E630
User manual
EVGA 111-CD-E630 User Manual
Evga motherboard user's guide
Hide thumbs
1
Table Of Contents
2
3
4
5
6
7
8
9
10
page
of
10
Go
/
10
Contents
Table of Contents
Bookmarks
Table of Contents
Table of Contents
Congratulations
Parts NOT in the Kit
Hardware Installation
Preparing the Motherboard
Installing the CPU
Installing the CPU Fan
Installing System Memory (Dimms)
Installing the Motherboard
Installing the I/O Shield
Securing the Motherboard into a System Case
Connecting Cables
24-Pin ATX Power (ATXPOWER)
4-Pin ATX 12V Power (ATX_CPU)
Connecting Serial ATA Cables
Front Panel Header (F_PANEL)
Expansion Slots
Enter BIOS Setup
Verify/Change BIOS Settings
Installing Drivers and Software
Windows Xp/Vista/7 Driver Installation
Advertisement
Quick Links
1
Installing System Memory (Dimms)
Download this manual
User's Guide
EVGA H55V Motherboard
Table of
Contents
Previous
Page
Next
Page
1
2
3
4
5
Advertisement
Table of Contents
Need help?
Do you have a question about the 111-CD-E630 and is the answer not in the manual?
Ask a question
Questions and answers
Related Manuals for EVGA 111-CD-E630
Motherboard EVGA 111-CD-E630-TR Visual Manual
Evga motherboard visual guide (2 pages)
Motherboard EVGA 113-M2-E113 Visual Manual
Evga motherboard visual guide (2 pages)
Motherboard EVGA 730a - nForce Motherboard - ATX User Manual
User guide (82 pages)
Motherboard EVGA nForce 112-CK-NF70 Installation Manual
Evga motherboard installation guide (12 pages)
Motherboard EVGA 112-CK-NF72-K1 Installation Manual
Installation guide (18 pages)
Motherboard EVGA 113-YW-E115-TR Visual Manual
Visual guide (2 pages)
Motherboard EVGA 730i - nForce Motherboard - ATX User Manual
User manual (85 pages)
Motherboard EVGA H370 Stinger User Manual
(119 pages)
Motherboard EVGA P55 Micro V User Manual
P55 chipset based motherboard (77 pages)
Motherboard EVGA 121-BL-E756 User Manual
Evga motherboard user's manual (74 pages)
Motherboard EVGA 141-BL-E757 User Manual
Evga motherboard user's guide (76 pages)
Motherboard EVGA nForce 122-CK-NF68-XX User Manual
Evga mainboard user guide (170 pages)
Motherboard EVGA P55 LE User Manual
Evga motherboard user's guide (44 pages)
Motherboard EVGA 120-SB-E682-KR User Manual
User guide (36 pages)
Motherboard EVGA 133-P4-NF51-AX User Manual
User manual (39 pages)
Motherboard Evga P67 FTW User Manual
(42 pages)
This manual is also suitable for:
H55v
111-cd-e630-tr
Table of Contents
Save PDF
Print
Rename the bookmark
Delete bookmark?
Delete from my manuals?
Login
Sign In
OR
Sign in with Facebook
Sign in with Google
Upload manual
Upload from disk
Upload from URL


Need help?
Do you have a question about the 111-CD-E630 and is the answer not in the manual?
Questions and answers