
Related Manuals for Oregon Scientific BAR386


Summary of Contents for Oregon Scientific BAR386
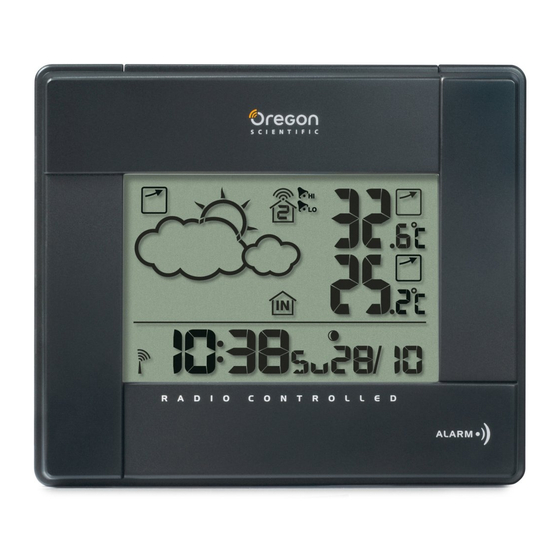
- Page 1 Wireless Weather Station with Temperature, Ice Alert and Radio-Controlled Clock Model: BAR386 User Manual...
-
Page 2: Table Of Contents
Wireless Weather Station with Temperature ............... 7 Temperature and Pressure Trend ......8 Temperature, Ice Alert and Radio- Ice Warning ............. 8 Controlled Clock HI / LO Temperature Alarm ........8 Model: BAR386 Moon Phase ............... 8 Reset ................9 USER MANUAL Precautions ............... -
Page 3: Controlled Clock
BACK VIEW INTRODUCTION Thank you for selecting this Oregon Scientific Wireless Weather Station with Temperature, Ice Alert and Radio- Controlled Clock (BAR386). This clock is supplied with a remote sensor (THN132N) and can support up to 3 � sensors in total (additional sensors sold separately). -
Page 4: Lcd Display
: Increase / decrease setting; activate / 1. Sensor battery low deactivate clock reception signal 2. Ice warning is active 2. MODE: Change settings / display 3. Pressure trend 3. CHANNEL: Switch remote sensor display 4. Weather forecast 4. MEM: View current, maximum and minimum 5. -
Page 5: Remote Sensor (Thn132N)
REMOTE SENSOR (THN132N) GETTING STARTED BATTERIES Insert batteries before first use, matching the polarity (+ � and -). Press RESET after each battery change. � � � indicates main unit batteries are low. � � � NOTE Do not use rechargeable batteries. We recommend that you use alkaline batteries with this product for longer usage and lithium batteries in temperatures below freezing. - Page 6 2. Insert the batteries, matching the polarity (+ / -). Press For best results: RESET after each battery change. • Place the sensor out of direct sunlight and moisture. 3. Select a channel. Make sure you use a different • Do not place the sensor more than 30 m (100 ft) from channel for each sensor.
-
Page 7: Sensor Data Transmission
The clock collects the radio signals whenever it is within SENSOR DATA TRANSMISSION 1500 km (932 miles) of a signal. The sensor reception icon in the remote sensor area shows the status. NOTE Slide the EU / UK switch to appropriate position for your location. -
Page 8: Alarm
3. Press MODE to confirm. WEATHER FORECAST 4. The settings order is: time zone offset, hour, minute, This product forecasts the next 12 to 24 hours of weather year, month, day and language. within a 30-50 km (19-31 mile) radius based on barometric NOTE The time zone offset can be used to set the clock pressure trend readings. -
Page 9: Temperature And Pressure Trend
To end auto-scan: To set alarm ON / OFF: Press CHANNEL or MEM. 1. Press and hold TEMP HI / LO 2. Use to select high / low temperature alarm. To toggle between current, minimum and maximum Press TEMP HI / LO to confirm. -
Page 10: Reset
NOTE The technical specifications for this product and RESET the contents of the user manual are subject to change Press RESET to return the unit to the default without notice. settings. NOTE Features and accessories will not be available in all countries. -
Page 11: About Oregon Scientific
EMC directive 89/336/CE. A copy of temperatures below freezing. the signed and dated Declaration of Conformity is available on request via our Oregon Scientific Customer Service. COUNTRIES RTTE APPROVED COMPLIED All EU countries, Switzerland CH... - Page 12 © 2009 Oregon Scientific. All rights reserved. 086L004441-094...
Need help?
Do you have a question about the BAR386 and is the answer not in the manual?
Questions and answers