Table of Contents
Advertisement
Index
Important Information ......... 2
Assembly Parts................... 3
How to Assemble.............3-4
How to Use ......................... 4
Accessories ........................ 5
Filters .................................. 5
Dust Bag ..........................5-6
Brush Roll ........................... 6
Brush Roll Belt .................... 6
Headlight ............................ 7
How to Clear Blockages ..... 8
Troubleshooting .................. 9
Warranty ........................... 10
Part No. 73286A (11/09)
IMPORTANT
Do not return this product to
the store.
For assembly problems or
questions contact: Eureka's
Customer Service Division toll
free at 1-800-282-2886*, 8 a.m.
to 7:30 p.m., (CST), Monday -
Friday and 10 a.m. to 6:30 p.m.
Saturday and Sunday.
www.eureka.com
Please Retain
We suggest you record the model, type and serial numbers
below. They are located on the silver rating plate on your
cleaner. For prompt and complete service information,
always refer to these numbers when inquiring about service.
Model & Type___________________________
Serial No. ______________________
It is also important to keep your receipt as proof of date of
purchase.
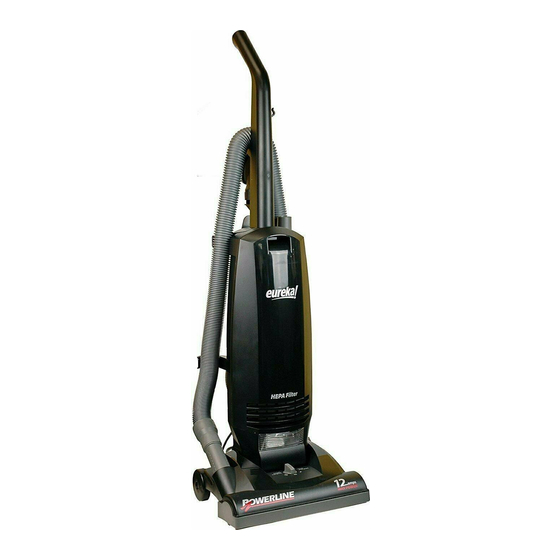
VACUUM CLEANER
OWNER'S GUIDE
2900 SERIES
© 2009 Electrolux Home Care Products Inc.
Upright
Household Type
Printed in China
Advertisement
Table of Contents

Summary of Contents for Eureka 2900 Series
-
Page 1: Table Of Contents
Model & Type___________________________ Serial No. ______________________ It is also important to keep your receipt as proof of date of purchase. © 2009 Electrolux Home Care Products Inc. Upright Household Type OWNER’S GUIDE 2900 SERIES Printed in China... -
Page 2: Important Safeguards
Use only as described in this manual. Use only manufa turer’s recommended attachments. • Do not use with damaged cord or plug. If vacuum cleaner is not working as it should, has been dropped, damaged, left outdoors, or dropped into water, return it to a service center before using. -
Page 3: Assembly Parts
CAUTION: Moving parts, make sure ON/OFF switch is in the OFF position before plugging in. Wand and Crevice Wand. (Pull apart.) Dusting Brush. Hose. Vacuum Cleaner Body. Electrical Cord. Handle. Screws located in the accessory package. Grasp dust bag cover... -
Page 4: How To Use
How To Assemble (continued) How To Use WARNING: Avoid injury. Keep loose clothing, Pull electrical cord up to the cord retainer and firmly push down into retainer. This will keep the cord out of the way the next time ON/OFF Switch. you vacuum. -
Page 5: Routine Maintenance
Turn off the switch and unplug the electrical cord before routine maintenance. operate the vacuum cleaner without the dust bag or filter assembly in place. When vacuuming carpet fresheners cleaners, powder, plaster dust, or similar fine substances, the dust bag and filters will require more frequent maintenance. -
Page 6: Periodic Maintenance
NOTE: Turn off the switch and unplug the electrical cord before periodic maintenance. Never operate the vacuum cleaner without the dust bag or filter assembly in place. Brush Roll The brush roll turns as it sweeps and combs the carpet nap. - Page 7 Periodic Maintenance (continued) How to Change Light Bulb: Lower handle to floor to change lightbulb. Remove dust bag cover. 3. Remove the two screws from the lens cover. 4. Pull old light bulb out of socket. 5. Push new lightbulb into socket. 6.
- Page 8 To Clear Blockages in Hose NOTE: Turn off the switch and unplug the electrical cord before clearing hose. Firmly pull the end of the hose from the hose retainer on the hood of the vacuum. Check for blockages in the hose and hose retainer. Flexing the hose may help loosen any blockage.
-
Page 9: Problem Solving
PROBLEM SOLVING NOTE: Turn off the switch and unplug the electrical cord before servicing. PROBLEM Motor will not start. Motor suddenly stops. Does not clean the carpet or floor. No suction at the end of hose. Headlight not working. Noise from the brush roll area. Cleaner is hard to push. -
Page 10: Warranty
THE EUREKA LIMITED WARRANTY What This Warranty Covers Your Eureka cleaner is warranted to be free from all defects in material and workmanship in normal household use for a period of one year. The warranty is granted only to the original purchaser and members of his or her immediate household.


Need help?
Do you have a question about the 2900 Series and is the answer not in the manual?
Questions and answers