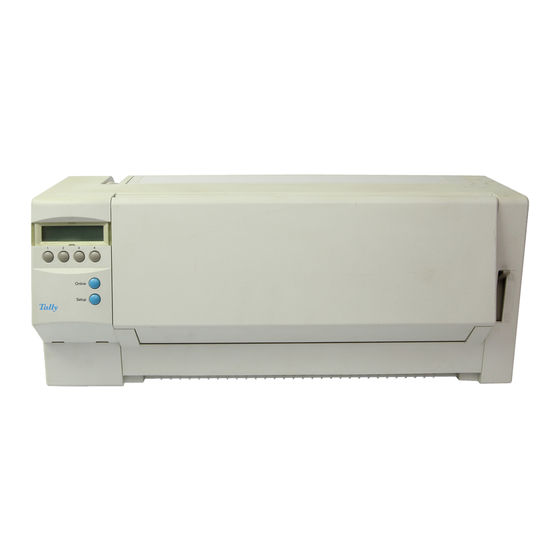
Tally T2240/24 Operator's Manual

Tally T2240/24 Operator's Manual

Epson matrix printer operator's manual
Hide thumbs Also See for T2240/24:

Advertisement

Operator's Manual
Bedienungsanleitung
Manuel d'utilisation
Istruzioni per l'uso
Instrucciones de servicio
Matrix Printer
Matrixdrucker
Imprimante matricielle
Stampante a Matrice
Impresora matricial
T2240/9
T2240/24
T2340/9
T2340/24

Advertisement

Table of Contents
loading

Summary of Contents for Tally T2240/24

  • Page 1 Operator’s Manual Bedienungsanleitung Manuel d’utilisation Istruzioni per l’uso Instrucciones de servicio Matrix Printer Matrixdrucker Imprimante matricielle Stampante a Matrice Impresora matricial T2240/9 T2240/24 T2340/9 T2340/24...
  • Page 2 DC 20402 Stock No. 004.000.00345.4. WARNING: To comply with FCC regulations on electromagnetic inter- ference for a class B computing device, the printer cable must be shielded. To assure compliance with FCC regulations for a computing device, use a shielded interface cable with a metal shell connector. The use of cables not properly shielded may result in violating FCC regulations.
  • Page 3: Table Of Contents

    Using the online documentation Troubleshooting The printer at a glance Installation Unpacking the printer Positioning your printer Connecting the printer Switching the printer on and off Control panel Online mode Offline mode Setup mode Installing the ribbon cassette Loading paper...
  • Page 4: Symbols Used In This Manual

    Introduction Introduction This Operator’s Manual is intended as a quick introduction into working with the printer and is to enable also unexperienced users to handle the device properly. It describes the most important Ah ha! functions of the printer and contains the essential information for your everyday work with the printer.
  • Page 5: The Printer At A Glance

    Quick start-up The printer at a The following figures show the name of each printer part, and the table on the following page glance shows the functions of each part. Paper Tray Operation Panel Left Paper Guide Cut Sheet Paper Insert Guide...
  • Page 6 It is used to connect an Auto Sheet Feeder (ASF) or the Optional 2nd Tractor. It is used to select the appropriate type of paper to be used in the printer: Cut Sheet Paper (upper position) Continuous Form Feed Paper (lower position) It is opened when Continuous Form Feed Paper is to be set.
  • Page 7: Installation

    Ink-ribbon Positioning your Place the printer on a stable, flat and non-slip surface in such a way that it cannot fall down. printer Ensure easy access to the control panel and the paper feeders and leave sufficient space for the paper ejected.
  • Page 8: Connecting The Printer

    If this is not the case, contact your dealer. Never switch on the printer when it is not set to the STOP correct voltage since this could cause severe da- mage.
  • Page 9: Control Panel

    The first line of the display informs you about whether the printer is in mode and about the paper path selected Online mode When switching on the printer, it automatically selects Online mode. It can receive data from the computer only in this mode. Online Online Trac.1...
  • Page 10: Installing The Ribbon Cassette

    Installing the ribbon cassette Installing the Remove any paper loaded into the printer. ribbon cassette Before opening the cover, make sure that the printer is switched off. STOP Access Cover Latch Lever Set the Paper Thickness Adjustment Lever to the “8” position.
  • Page 11 Align the part “A” on the left side of the Ink-ribbon Cartridge to the two hooks of the printer, push the cartridge all the way until it clicks. If there is resistance, push it while turning the Ribbon Feed Knob.
  • Page 12: Loading Paper

    Cut Sheet paper Cut Sheet Paper is to be inserted from the front of the printer. The post-print paper can be fed out from the rear or the front. Please refer to the online documentation on the CD-ROM, Chapter 1,...
  • Page 13 Selection Lever Cut sheet paper Set the Paper Type Selection Lever to Cut Sheet Paper mode. Make sure that the printer is in Single Sheet mode. For how to select Single Sheet mode refer to page 14 selection). Determine the left margin by moving the Left Paper Guide left or right.
  • Page 14: Printer In Fanfold Paper Mode

    Loading paper Printer in fanfold paper mode Paper Type Selection Lever Tractor Paper Plate Tractor Set the Paper Thickness Adjustment Lever according to the type Front Cover of paper to be used. Refer to page 18 (Setting the gap). Set the Paper Type Selection Lever to Continuous Form Feed Paper mode.
  • Page 15 Be careful not to stretch the paper so much that it tears. Switch on the printer. The active feeder (Trac.1) is displayed. Paper is automatically fed when the printer is in Online status and receives data from the computer. Press the Load key to load paper before printing.
  • Page 16: Changing The Paper Type

    Press the Park key. If fanfold paper is in the printer, it is transported to the tear position. “Tear paper off” appears on the display. Press any key. If a single sheet is loaded in the printer, it is ejected.
  • Page 17: Paper Transport

    Quick start-up Online Online Single Setup Paper transport Loaded paper (fanfold paper/single sheets) can be transported in the printer in different ways. Online Offline Trac.1 Park LF/FF Setup Using Moving paper to the Fanfold paper can be transported to the tear position by pressing the...
  • Page 18: Settings (I)

    Settings (I) Settings (I) Setting the tear If the tear position of the paper is not aligned with the tear edge of the printer, you can adjust it. position Online Offline Trac.1 Park LF/FF Setup Online Adjust Paperway Menu Char...
  • Page 19 FormAdj=12/72" * Exit Setup Standard 1. print line Newly set 1. print line The setting made will be retained after printer power-off. For more detailed information, refer to the online documentation on the CD-ROM, chapter 3 Press the Adjust key.
  • Page 20: Settings (Ii)

    Settings (II) Settings (II) Setting the print The printer has been provided with a Paper Thickness Adjustment Lever for adjusting the print head gap head gap The following table shows the adjustable range: Number of Copies/ Thickness of Paper Original only Thin...
  • Page 21: Changing Paper In Setup Mode

    Cut the fed-out portion of the Continuous Form Feed Paper at the perforated line. In the display appears… Press any key. The printer returns to its initial status and the fanfold paper is transported to the park position. The display toggles between… and…...
  • Page 22: From Single Sheet To Fanfold Paper Mode

    Pull down the Paper Extension Trays and fold the Paper tray down. Press the Setup key. The printer changes to Setup mode. Press the Paperway key. The printer changes to the paper path menu. < > Press to change to Trac.1 (fanfold paper) mode.
  • Page 23: Selecting A Font

    An acoustic signal acknowledges the input. The display toggles between… and… Shift the Paper Type Selection Lever to the position needed. The printer is now ready for printing fanfold paper. Press the Online key to make the printer ready for operation. Font key to select fonts in Setup mode.
  • Page 24: Setting The Character Pitch

    Setup Online Font Setup The selection made will not be retained after printer power-off. For information on how to select a STOP font permanently, refer to online documentation on the CD-ROM, chapter 1 (Menu description table). key to set the character pitch in Setup mode.
  • Page 25: Specifications

    Ribbon life 4 million char. Acoustic noise levell ca. 55 dB (A) Dimensions narrow printer 485 x 206 x 272 mm (W x H x D) wide printer Weight narrow printer 9 kg / wide printer 11 kg Power supply...
  • Page 26: Accessories

    The demo page contains information on the firmware version, serial number, needle check, fonts, font attributes and bar codes/LCP. Hold down button 4 while switching on the printer to print the demo page. To terminate printing, switch off the printer.
  • Page 27 Microsoft Corporation. MARCAS REGISTRADAS “CENTRONICS” es una marca registrada de la Centronics Data Computer Corporation. “EPSON” es una marca registrada de la Epson America Incorporated “IBM“ es una marca registrada de la International Business Machines Corporation. “MS-DOS” es una marca registrada de la Microsoft Corporation.
  • Page 28 GERMANY Tally Computerdrucker GmbH Postfach 2969 D-89019 Ulm Deutschland Tel.: +49 7308 80 0 Fax: +49 7308 5903 http://www.Tally.de ITALY Tally S.R.L. Via Borsini 6 I-20094 Corsico (MI) Italia Tel.: +39 02 48608 1 Fax: +39 02 48601 141 http://www.Tally.it SPAIN Tally SRL Joaquin Lorenzo 4, Local...

This manual is also suitable for:

T2240/9T2340/24T2340/9

Table of Contents