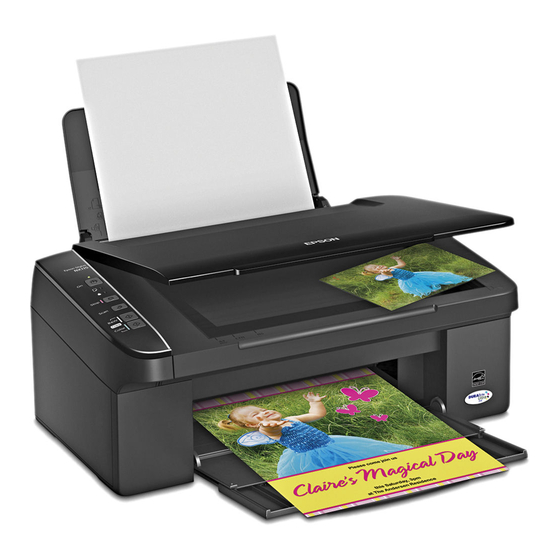
Epson Stylus NX110 Series Start Here Manual
Epson stylus printer quick start guide
Hide thumbs
Also See for Stylus NX110 Series:
- Notices and warranty (17 pages) ,
- Specifications (2 pages) ,
- Service manual (123 pages)
Advertisement
Start Here
Read these instructions before using the printer.
1
Unpack
If anything is missing, contact Epson as described on the back.
Note:
The model name of your product may vary slightly from the one shown above.
The included CD and documentation apply to all products in the series.
Caution:
Do not open the ink cartridge package until you are ready to install the ink.
Cartridges are vacuum packed to maintain reliability.
Canada only:
place over corresponding text on the control panel.
Remove all the protective materials.
2
Turn on the NX110 Series
1
Connect the power cable.
Caution:
2
Press the
(Included for Canada only)
For French speakers, remove stickers from the backing sheet and
Do not connect to your computer yet.
On button.
Series
Advertisement
Table of Contents

Related Manuals for Epson Stylus NX110 Series


Summary of Contents for Epson Stylus NX110 Series
- Page 1 Start Here Read these instructions before using the printer. Unpack If anything is missing, contact Epson as described on the back. Note: The model name of your product may vary slightly from the one shown above. The included CD and documentation apply to all products in the series.
- Page 2 Install cartridges Note: Do not load paper yet. Lift up the scanner and prop it up with the support. Shake the ink cartridges, then unpack them. Remove only the yellow tape from each cartridge. Caution: Do not remove any other seals or the cartridge may leak. Insert the cartridges in the holder for each color.
-
Page 3: Load Paper
Caution: Don’t turn off the NX110 Series while it is charging or you’ll waste ink. Note: Your printer ships with full cartridges and part of the ink from the fi rst cartridges is used for priming the printer. Load paper Open the paper support. - Page 4 Flip the feeder guard forward. Then squeeze the edge guide and slide it left. Load paper against the right edge and underneath the tab, then slide the edge guide over. 8½ Note: Don’t load the paper sideways. Always load it short edge fi rst. Flip the feeder guard back.
-
Page 5: Install Software
Follow the on-screen instructions to install the rest of the software and register your NX110 Series. When you’re done, remove the CD. You’re ready to print, copy, and scan! See your on-screen Epson Information Center for instructions. ® 2000, XP, XP Professional x64 Edition, ®... - Page 6 Click Next again, if necessary. Follow the on-screen instructions to install the rest of the software and register your NX110 Series. When you’re done, eject the CD. You’re ready to print, copy, and scan! See your on-screen Epson Information Center for instructions. Epson icon.
-
Page 7: Control Panel
Close the document cover. To scan Press the Scan button to scan the image. Then save the fi le on your computer. See your on-screen Epson Information Center for more information. To copy • For black and white, press •... -
Page 8: Genuine Epson Paper
Yellow Epson and Epson Stylus are registered trademarks, Epson Exceed Your Vision is a registered logomark, and Supplies Central is a service mark of Seiko Epson Corporation. DURABrite is a registered trademark of Epson America, Inc. General Notice: All other trademarks are the property of their respective owners. Epson disclaims any and all rights in those marks.
Need help?
Do you have a question about the Stylus NX110 Series and is the answer not in the manual?
Questions and answers
can I connect to and print from my laptop?
Yes, the Epson NX110 Series can connect to a laptop for printing using a USB interface that complies with USB 2.0 standards.
This answer is automatically generated
how to change ink cartridges when they are not out of ink