Epson Stylus NX125 Series Start Here
Garmin printer user manual
Hide thumbs
Also See for Stylus NX125 Series:
- Service manual (36 pages) ,
- Specifications (2 pages) ,
- Quick manual (40 pages)
Table of Contents
Advertisement
Quick Links
Epson Stylus
NX125/127 Series
®
Start Here
Read these instructions before using your printer.
1
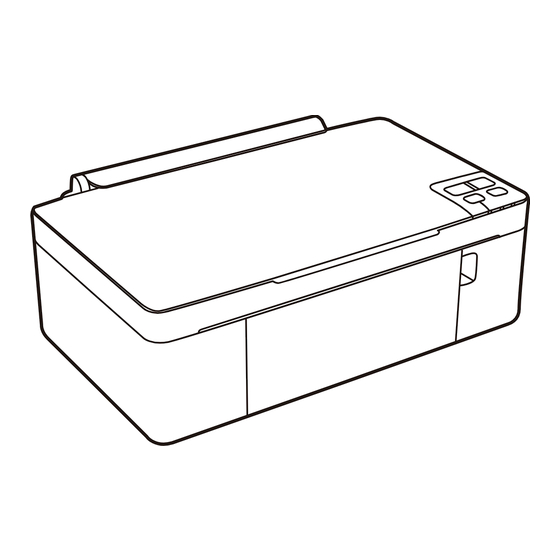
Unpack
Caution:
Do not open the ink cartridge package until you are ready to
install the ink. Cartridges are vacuum packed to maintain reliability.
Remove all protective materials.
2
Turn on
1
Connect the power cable.
Caution:
Do not connect to your computer yet.
2
Press the
power button.
Epson Stylus NX125/127
®
Series
Quick Guide
Basic Copying, Printing, and Scanning
Maintenance
Solving Problems
Power cord
3
Install ink cartridges
1
Open the document cover, then open the ink cover.
Caution:
Don't try to remove the ink cartridge guard or you may
damage the printer.
2
Shake the ink cartridges, then unpack them.
3
Remove only the yellow tape from each cartridge.
Caution:
Don't remove any other seals from the cartridges.
4
Insert the cyan ink cartridge, and press it down until it clicks.
5
Press the
stop button. The cartridge holder moves.
Advertisement
Table of Contents

Related Manuals for Epson Stylus NX125 Series


Summary of Contents for Epson Stylus NX125 Series
-
Page 1: Install Ink Cartridges
NX125/127 Series ® Start Here Read these instructions before using your printer. Unpack Epson Stylus NX125/127 Basic Copying, Printing, and Scanning Power cord Caution: Do not open the ink cartridge package until you are ready to install the ink. Cartridges are vacuum packed to maintain reliability. -
Page 2: Load Paper
Ink priming takes about 2 minutes. When the green power light stops blinking, priming is complete. Note: Your printer ships with full cartridges and part of the ink from the first cartridges is used for priming the printer. Caution: Don’t turn off the printer while it is priming or you’ll waste ink. -
Page 3: Install Software
If you see a Found New Hardware screen, click Cancel and disconnect the USB cable. You can’t install your software that way. Insert the Epson Stylus NX125/127 Series software CD. Windows: If you see the AutoPlay window, click Run SETUP.EXE. If you see a User Account Control screen, click Continue or Yes. - Page 4 Follow the on-screen instructions to install the rest of the software and register your printer. When you’re done, remove the CD. Any questions? User’s Guide Click the desktop shortcut to access the online User’s Guide, how-to videos, software downloads, Epson Supplies Central and more (requires an Internet connection).
Need help?
Do you have a question about the Stylus NX125 Series and is the answer not in the manual?
Questions and answers