Table of Contents

Subscribe to Our Youtube Channel
Related Manuals for CDA HCG450


Summary of Contents for CDA HCG450
- Page 1 Manual for Installation, Use and Maintenance Passionate about style Customer Care Department • The Group Ltd. • Harby Road • Langar • Nottinghamshire • NG13 9HY T : 01949 862 012 F : 01949 862 003 E : service@cda.eu W : www.cda.eu...
-
Page 2: General Warnings
General warnings Dear Customer, Thank you for choosing our product. This appliance is easy to use; read this handbook carefully before installing and using it, however. You will find the correct indications for the best installation, use and maintenance of the product. •... - Page 3 General warnings • If a gas appliance is used for a long time it may require extra ventila- tion (opening a window or increase of the forced exhaust). • Be careful not to place saucepans with unstable or deformed bottoms on the burner to avoid accidents by overturning or spilling over of liquid.
-
Page 4: Instructions For Use
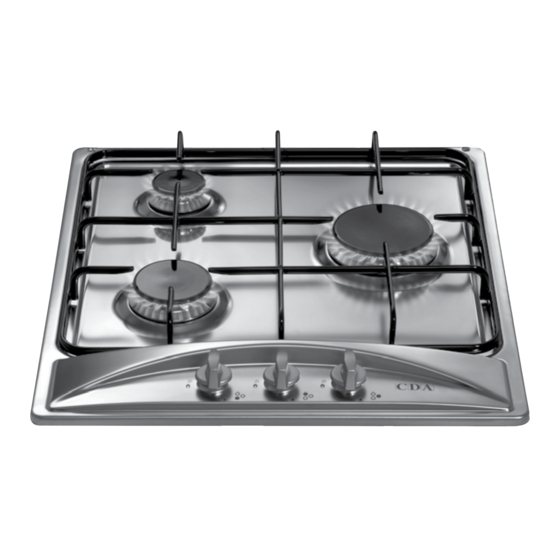
Instructions for use Description of the main parts of the appliance 1 = grid 2 = cover 3 = spreader 4 = ON spark plug 5 = safety valve (for models equipped with a safety valve) 6 = knob for burner ignition and adjustment... - Page 5 Instructions for use The hob control area houses the devices and knobs for operation of the gas burners. Operation of gas burners In order to ignite a burner, it is necessary to depress the knob while rotating it anti- clockwise, till the index is aligned with the position corresponding to the maximum gas delivery (i.e.
- Page 6 Instructions for use Advice on the use of gas burners For lower gas consumption and a better yield, use saucepans with diameter suita- ble for the burners, avoiding the flame coming up round the side of the saucepan (see the Container Table). Use only flat-bottomed pans. As soon as a liquid starts to boil, turn the flame down to a level sufficient to maintain boiling.
-
Page 7: Maintenance And Cleaning
Instructions for use Maintenance and cleaning Do not use jet of steam for cleaning. Before any operation disconnect the appliance electrically. Wash the enamelled parts with lukewarm water and detergent. Do not use abrasive products. Wash the burner spreader frequently with boiling water and detergent being sure to remove any deposits which could block the flame outlet. -
Page 8: Instructions For Installation
Instructions for installation Below we give the instructions for qualified installers so that the installation, setting and maintenance operations are performed correctly and according to the regulations in force. Positioning This appliance isn’t connected to any scavenging devices of combustion products. - Page 9 Instructions for installation To perform these operations the qualified installer will follow the indications given in the "Adaptation to the various types of gas" section. For safety operation make sure that the supply pressure respects the values given in the "Table of burner and injector characteristics”. If the appliance is supplied with liquid cylinder gas, make sure that the cylin- der pressure regulator conforms to the local regulations in force.
-
Page 10: Electrical Connection
Instructions for installation ELECTRICAL CONNECTION The appliances are provided with a three-pole feeding cable and work with alternate current and single-phase voltage indicated on the “rating plate of the product “report at the end of the instruction manual and on the product. The grounding conductor of the cable is marked with the colours yellow/green. - Page 11 Instructions for installation Adaptation to different types of gas To adapt the appliance to a gas different from that for which it was set up (see label on both the packaging and the bottom of the appliance) proceed as follows: •...
- Page 12 Instructions for installation Setting the minima The flame on the small output is regulated in the factory. When the injec- tors have been replaced or there are special mains pressure conditions, it may be necessary to regulate the minimum again. The operations neces- sary to perform this operation are the following: •...
- Page 13 Instructions for installation Burner and nozzle characteristic table CAT. II 2H3 + Thermal power (*) Liquid gas Natural gas (kW) Burner pass Output Injector Injector (heights cover 1/100 Output (l/h) (g/h) 1/100mm 1/100mm (mm) Rated Reduced G30 - G31 Triple ring G20=2,5 182 - 179 (Ø...
- Page 14 Instructions for installation Instructions for building in the units The appliance is of class 3. It can be installed with just one side part (to right or left of the hob) higher than the cooking hob and placed at a minimum distance as shown in figure.
- Page 15 Instructions for installation • Position the special sealed gasket (provided) on the edge of the hob making sure that the ends meet without one lying on top of the other. • Put the hob in the unit opening making sure that it is centred.
Need help?
Do you have a question about the HCG450 and is the answer not in the manual?
Questions and answers