Do you have a question about the COOLPIX S9400 and is the answer not in the manual?
Questions and answers
Betty
April 11, 2025
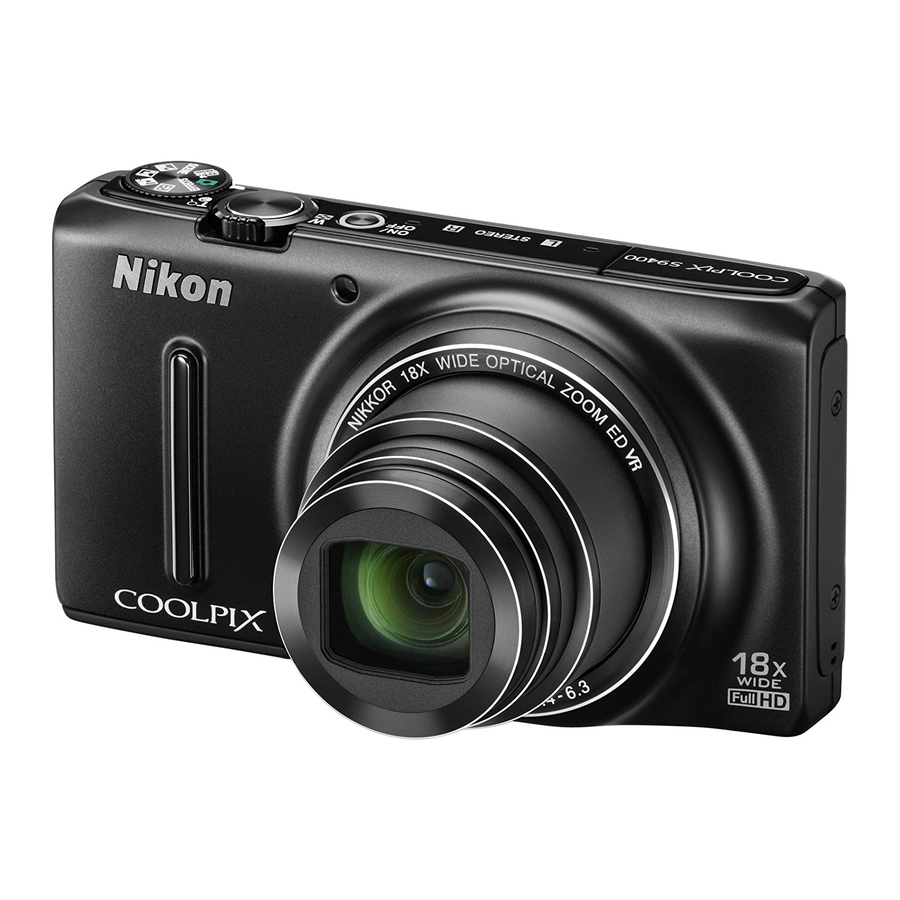
Why won't the shutter open. It is presently charging
1 comments:
Mr. Anderson
April 11, 2025
The shutter on the Nikon COOLPIX S9400 won't open while it is charging because the camera is not powered on during charging. Charging is done with the camera off, so functions like opening the shutter are disabled.


Need help?
Do you have a question about the COOLPIX S9400 and is the answer not in the manual?
Questions and answers
Why won't the shutter open. It is presently charging
The shutter on the Nikon COOLPIX S9400 won't open while it is charging because the camera is not powered on during charging. Charging is done with the camera off, so functions like opening the shutter are disabled.
This answer is automatically generated