Table of Contents
Advertisement
Quick Links
Advertisement
Table of Contents

Related Manuals for Aguilar AG 500SC


Summary of Contents for Aguilar AG 500SC
-
Page 1: Owners Manual
AG 500SC Owners Manual Manual Version 1.7... - Page 2 Table of Contents I. Getting Started page 3. A. Safety Instructions B. Manual Conventions C. Basic Setup D. Protection Modes II. Features and Functions page 5. A. Front Panel B. Rear Panel C. Cabinet III. Warranty Information page 7.
- Page 3 I. Getting Started A. Safety Instructions Please follow these guidelines: A) Vents are provided for heat dissipation at the rear of the amplifier. Maintain at least a 1” space around these vents to provide sufficient ventilation. If you decide to rack mount the amplifier make sure you do not block the vents.
- Page 4 Preamp: Gain Clip 1. Turn the up while playing. Turn up until the light flashes and then back off until the light stops flashing. You have now optimized your signal to noise ratio. 2. If you have a particularly high output instrument it may be necessary to –10dB push the button in to prevent clipping of the input buffer.
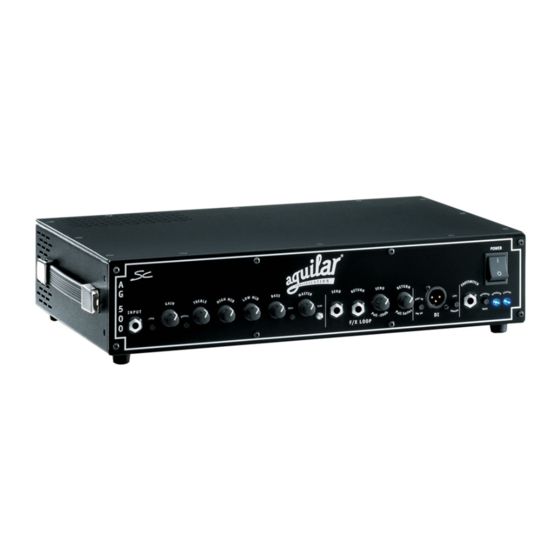
- Page 5 II. Features and Functions A. Front Panel Features Input Pad: -10dB Preamp Section: Bright : +5dB >4kHz shelving Treble : +/- 13dB @ 4kHz shelving High Mid : +/- 14dB @ 800Hz peaking Low Mid : +/- 14dB @ 400Hz peaking Bass : +/- 18dB @ 40Hz shelving Deep...
- Page 6 Pull Series : Removes any “dry” (un-effected) signal from the signal path. When this knob is pushed in the Effects Loop is configured in “parallel” and you can mix your “dry” signal with the signal from the Effects Loop. When this knob is pulled out the Effects Loop is configured in “series”...
- Page 7 III. Warranty Information Please send in your Warranty Registration card or register online upon receipt of your amplifier. Your original receipt is also necessary for warranty repairs. The AG 500SC has a 3 year limited warranty against manufacturing defects. If you experience a problem with your amplifier, please contact techsupport@aguilaramp.com to receive a Return Authorization number or for information on the nearest authorized repair center.
Need help?
Do you have a question about the AG 500SC and is the answer not in the manual?
Questions and answers