Table of Contents
Advertisement
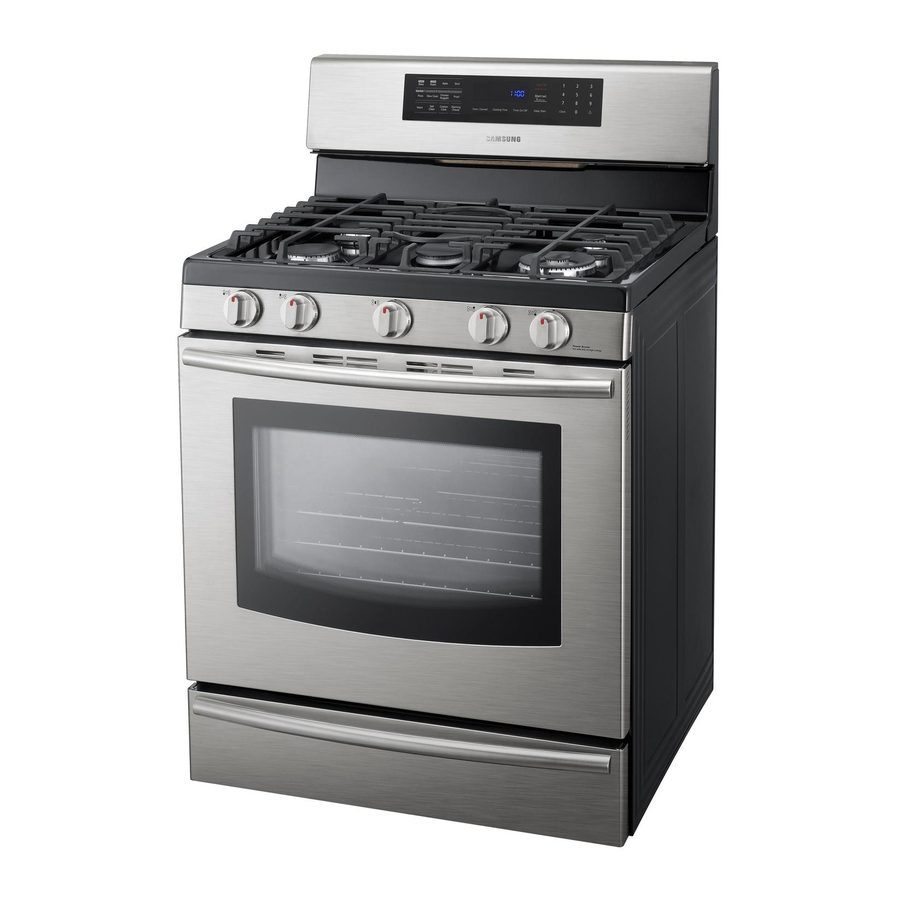
Free-Standing Gas
Range
installation manual
This manual is made with 100 % recycled paper.
ENGLISH
imagine
the possibilities
Thank you for purchasing this Samsung product.
To receive more complete service, please register
your product at
www.samsung.com/register
1-800-SAMSUNG (726-7864)
(Install)FX710BGS_FX510BGS_DG68-00357A-01_EN_120706.indd 1
2012-07-09
4:45:46
Advertisement
Table of Contents

Related Manuals for Samsung FX510BGS/XAA


Summary of Contents for Samsung FX510BGS/XAA
- Page 1 Free-Standing Gas Range installation manual This manual is made with 100 % recycled paper. ENGLISH imagine the possibilities Thank you for purchasing this Samsung product. To receive more complete service, please register your product at www.samsung.com/register 1-800-SAMSUNG (726-7864) (Install)FX710BGS_FX510BGS_DG68-00357A-01_EN_120706.indd 1 2012-07-09...
-
Page 2: Before You Begin
before you begin ABOUT THIS MANUAL READ THESE INSTRUCTIONS COMPLETELY AND CAREFULLY. Important note to the installer • Read all instructions contained in these installation instructions before installing the range. • Remove all packing materials from the oven compartments before connecting the electric and gas supply to the range. -
Page 3: Safety Instructions
safety instructions SAFETY SYMBOLS What the icons and signs in this user manual mean: You can be killed or seriously injured if you don¡¯t follow instructions. WARNING Minor injury or property damage can result if you don’t follow instructions. CAUTION Do NOT attempt. -
Page 4: Important Safety
IMPORTANT SAFETY INSTRUCTIONS If the information in this manual is not followed exactly, a fire explosion or electric shock may result, causing death, personal injury, property damage or WARNING loss of life. – Do not store or use gasoline or other flammable vapors and liquids in the vicinity of this or any other appliance. - Page 5 To prevent accidental tipping of the range, attach an approved and packed anti-tip device to the floor. (See Install the Anti-Tip Device on page 31 in this manual.) check for proper installation by carefully tipping the range forward. The anti-tip device should engage and prevent the range from tipping over. If the range is pulled out away from the wall for any reason, make sure the anti- tip device is reengaged after the range has been pushed back into place.
- Page 6 Danger to Children Do not store any object of interest to children on the cooktop or backguard of the range. Children climbing on the range to reach items could be killed or seriously injured. Keep children away from the door when opening or closing it as they may bump themselves on the door or catch their fingers in the door.
- Page 7 Never use your range for warming or heating a room. Doing so could result in carbon monoxide poisoning and/or overheating of the oven. Loose-fitting or hanging garments should not be worn while using this appliance. DO NOT STORE OR USE combustible materials, gasoline, or other flammable vapors or liquids in the vicinity of this appliance.
- Page 8 GAS WARNINGS If the information in this manual is not followed exactly, a fire or explosion may result, causing death, personal injury, or property damage. WARNING 1. DO NOT light a match, candle, or cigarette. 2. DO NOT turn on any gas or electric appliances. 3.
- Page 9 STATE OF CALIFORNIA PROPOSITION 65 WARNINGS: The California Safe Drinking Water and Toxic Enforcement Act requires the Governor of California to publish a list of substances known to the state to cause birth defects or other reproductive harm and requires businesses to warn customers of potential exposure to such substances.
- Page 10 ELECTRICAL WARNINGS WARNING Comply with the following electrical instructions and requirements to avoid death, personal injury from electric shock, and/or property damage from fire: 1. Plug into a grounded 3-prong outlet. 2. DO NOT remove ground prong. 3. DO NOT use an adapter. 4.
-
Page 11: Grounding Instructions
GROUNDING INSTRUCTIONS Grounding a range with a cord connection: This appliance must be Earth grounded. In the event of a malfunction or breakdown, grounding will reduce the risk of electrical shock by providing a path for the electric current. This appliance is equipped with a cord having a grounding plug. - Page 12 Locate the range out of kitchen traffic paths and drafty locations to prevent poor air circulation. This appliance should be positioned in such a way that the power plug is accessible. Do not install in an area exposed to dripping water or outside weather conditions.
- Page 13 SURFACE BURNER WARNINGS Follow basic precautions when installing and using this range to reduce the risk of fire, electrical shock, injury, or death to persons, including. WARNING Use proper pan sizes. Avoid pans that are unstable or warped. Select cookware having flat bottoms large enough to cover the burner grates. To avoid spillovers, make sure cookware is large enough to contain your food.
- Page 14 Use a deep fryer thermometer whenever possible. This prevents overheating fryer beyond the smoking point. Use as little fryer as possible for shallow or deep-fat frying. Using too much fat can cause spillovers when food is added. Items should always be removed from the cooktop when they are done cooking.
- Page 15 OVEN WARNINGS NEVER cover any holes or passages in the bottom oven cover. NEVER cover an entire oven rack with aluminum foil or like material. Covering bottom WARNING cover and/or racks blocks airflow through the oven and could cause carbon monoxide poisoning.
-
Page 16: Electric Warming Drawer
ELECTRIC WARMING DRAWER OR LOWER STORAGE DRAWER WARNINGS The warming drawer is designed to keep hot cooked foods at a serving temperature. Always start with hot food. Cold or room-temperature foods cannot be heated, warmed, or cooked in the warming drawer. Do not touch the interior drawer surface or heating element. - Page 17 SELF-CLEANING OVEN WARNINGS Follow basic precautions when installing and using this range to reduce the risk of fire, electrical shock, injury, or death to persons, including: WARNING Do not leave children unattended near the range during a self-cleaning cycle. The outside surfaces of the range get hot enough to burn if touched. Stand away from the range when opening the oven door after a self-cleaning cycle.
-
Page 18: Table Of Contents
contents GAS RANGE COMPONENTS Overview Gas range specifications INSTALLATION Location requirements Gas requirements REQUIREMENTS Special gas requirements (gas models sold in massachusetts) Electrical requirements TOOLS AND MATERIALS What’s in the box INSTALLATION Installing your gas range Step 1. Unpack the range INSTRUCTIONS Step 2. -
Page 19: Gas Range Components
gas range components OVERVIEW MODEL FX710BgS Cooktop Burner Placement Control Panel And Digital Display Flat surface Concave line Heavy-Duty Convex surface continous cast Convex line Grates Cooktop Burners (under grates) Burner Locations and Output Ratings Cooktop Burner Location Output Rating Knobs (Natural Gas) Left-Front (LF) -
Page 20: Gas Range Specifications
gAS RANgE SPECIFICATIONS MODEL FX710BgS Gas Free-Standing Range DESCRIPTION OVERALL DIMENSIONS in (W) x 45 in (H) x 23 in (D) 757 mm (W) x 1163 mm (H) x 602 mm (D) NET WEIgHT 196 lb (89 kg) ELECTRICAL Refer to the rating label. gAS, Ng (NATURAL gAS) 5–13 in WC gAS, LP (LIQUID PROPANE) 10–13 in WC... -
Page 21: Location Requirements
installation requirements LOCATION REQUIREMENTS Clearances and dimensions BEFORE YOU BEGIN to install this appliance, refer to the following information, dimensions, and clearances. Do not locate the range where it may be subject to strong drafts. Provide adequate clearances between the range and adjacent combustible surfaces. -
Page 22: Requirements 23 Gas Requirements
Minimum dimensions If overhead cabinets are provided, a range hood should also be provided that projects horizontally a minimum of 5 in (12.7 cm) beyond the front of WARNING the cabinets. This will dissipate any heat buildup in the overhead cabinets to prevent death, personal injury, and/or fire hazard. -
Page 23: Provide Adequate Gas Supply
gAS REQUIREMENTS Provide adequate gas supply This range is designed to operate at a pressure of 5 in (13 cm) of water column on natural gas or 10 in (25 cm) of water column on LP gas (propane or butane). Make sure you are supplying your range with the type of gas for which it is designed. -
Page 24: Special Gas Requirements
SPECIAL gAS REQUIREMENTS (gAS MODELS SOLD IN MASSACHUSETTS) COMMONWEALTH OF MASSACHUSETTS REQUIREMENTS: Gas leaks may occur in your system, creating a dangerous situation. WARNING – Gas leaks may not be detected by smell alone. – Gas suppliers recommend you purchase and install a UL-approved gas detector. - Page 25 gas models • All gas models are equipped with a power cord with an equipment-grounding conductor and a grounding plug. • A 120-Volt, 60-Hz, AC, approved electrical service with or 20-amp circuit breaker or time-delay fuse is required for all U.S. and Canadian models. •...
- Page 26 Usage situations where appliance power cord will be disconnected frequently Do not use an adapter plug in these situations because disconnecting of the power cord places undue strain on the adapter and leads to eventual failure of the adapter ground terminal. Where a standard two-prong wall receptacle is encountered, it is the personal responsibility and obligation of the customer to have it replaced with a three-prong (grounding) receptacle by a qualified electrician before using the appliance.
-
Page 27: Parts Supplied
tools and materials WHAT’S IN THE BOX Parts supplied Surface burners and caps (5) Surface burners and caps (5) Surface burner grates (3) (Model FX710BGS) (Model FX510BGS / NX583G0VB) Oven racks (3) Oven racks (2) Griddle Anti-tip bracket kit FX510BGS / NX583G0VB FX710BGS •... -
Page 28: Installation Instructions 28 28 Installing Your Gas Range
installation instructions INSTALLINg YOUR gAS RANgE IMPORTANT: Please read the following instructions, as well as the Important Safety Instructions section at the front of this manual, completely and carefully BEFORE installing and/or operating the gas range. Improper installation, adjustment, service, or maintenance can cause personal injury or property damage. - Page 29 If the information in this manual is not followed exactly, a fire or explosion may result, causing death, personal injury, or property damage. WARNING – Do not store or use gasoline or other flammable vapors and liquids in the vicinity of this or any other appliance. –...
-
Page 30: Flexible Connector Hookup
All new gas ranges are shipped from the factory set up to use natural gas. Any Samsung gas range can be converted to use LP gas. Refer to page 78 in the User Manual to contact a qualified service technician. -
Page 31: Step 4. Install The Anti-Tip Device
Step 4. Install the anti-tip device To reduce the risk of tipping, the appliance must be secured by properly installing the anti-tip device packed with the appliance. WARNING • All ranges can tip, resulting in personal injury. • Tipping ranges can cause burns from spills, personal injury, and/or death. •... -
Page 32: Step 5. Plug In And Place
Step 5. Plug in and place BEFORE OPERATING OR TESTING, follow the grounding requirements on pages 24 ~ 26 in this manual. Improper connection WARNING of the grounding plug can result in a risk of electric shock. • All gas ranges come with a power cord. The power cord is connected to the rear of the range. -
Page 33: Step 7. Assemble The Surface Burners
3. If range is next to or between cabinets, make sure the cooktop (without the surface burner grates) is level with the countertops. 4. Position an oven rack in the center rack position. 5. Check the level of the range with a carpenter level using the two positions shown at right. -
Page 34: Step 8. Check The Ignition Of Surface Burners And Oven Burners
3. Place the left, center, and right surface burner grates on the cooktop. The edges of the grates should match up with the edges of the cooktop. Step 8. Check the ignition of surface burners and oven burners Check the operation of all cooktop and oven burners after the range has been installed and assembled, gas supply lines have been carefully checked for leaks, and electrical power cord has been plugged in. - Page 35 3. Press the START pad. The display will show a blinking •, along with 150 °, Bake, and the bake element icon, until the oven reaches that temperature; then the display will just show the actual oven temperature. The oven will automatically light after 30~90 seconds and start preheating.
-
Page 36: Step 9. Final Installation Checklist
Step 9. Final installation checklist You have just completed installing your range. Make sure all controls are in the off position and the flow of ventilation air to the range is unobstructed. The following is a checklist to confirm your range is safely installed and ready for operation. Gas line has been properly connected to the range. -
Page 37: Adjusting The Oven Burner Air Adjustment Shutters
ADJUSTINg THE OVEN BURNER AIR ADJUSTMENT SHUTTERS All oven burners have an air adjustment shutter. The purpose of the shutter is to regulate the flow of air to the flames. Properly adjusted flames should burn adjustment shutter steadily with approximately 1-in of blue cone. - Page 38 To adjust flame low setting Identify which burner is exhibiting too high or too low of simmer rate via manifold panel graphics. 1. Rotate a knob to “LO” position and remove the knob from the valve shaft while the flame is lit. Simmer Set Screw 2.
- Page 39 memo (Install)FX710BGS_FX510BGS_DG68-00357A-01_EN_120706.indd 39 2012-07-09 4:45:56...
- Page 40 (French) www.samsung.com Code No.: DG68-00357A-01 (Install)FX710BGS_FX510BGS_DG68-00357A-01_EN_120706.indd 40 2012-07-09 4:45:57...
Need help?
Do you have a question about the FX510BGS/XAA and is the answer not in the manual?
Questions and answers