Table of Contents
Advertisement
Belkin Tech Support
US: 800-223-5546 ext. 2263
310-898-1100 ext. 2263
UK: 0845 607 77 87
Australia: 1800 235 546
New Zealand: 0800 235 546
Singapore: 65 64857620
Europe: www.belkin.com/support
Belkin International, Inc.
501 West Walnut Street
Los Angeles, CA 90220, USA
310-898-1100
310-898-1111 fax
Belkin Ltd.
Express Business Park, Shipton Way
Rushden, NN10 6GL, United Kingdom
+44 (0) 1933 35 2000
+44 (0) 1933 31 2000 fax
© 2008 Belkin International, Inc. All rights reserved. All trade names are registered trademarks
of respective manufacturers listed. Windows, Microsoft, and Windows Vista are either registered
trademarks or trademarks of Microsoft Corporation in the United States and/or other countries.
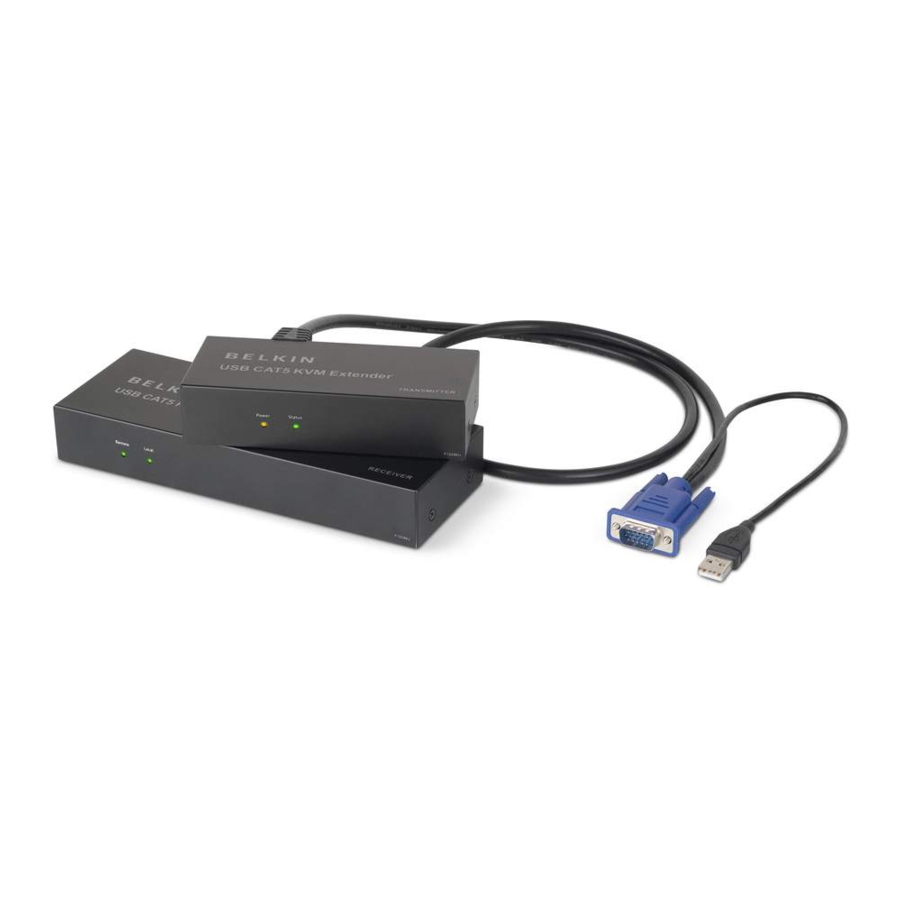
USB CAT5
KVM Extender
Belkin Ltd.
4 Pioneer Avenue
Tuggerah Business Park
Tuggerah, NSW 2259, Australia
+61 (0) 2 4350 4600
+61 (0) 2 4350 4700 fax
Belkin B.V.
Boeing Avenue 333
1119 PH Schiphol-Rijk, The Netherlands
+31 (0) 20 654 7300
+31 (0) 20 654 7349 fax
P75472-A
Advertisement
Table of Contents

Related Manuals for Belkin F1D086U


Summary of Contents for Belkin F1D086U
- Page 1 +44 (0) 1933 35 2000 +44 (0) 1933 31 2000 fax © 2008 Belkin International, Inc. All rights reserved. All trade names are registered trademarks of respective manufacturers listed. Windows, Microsoft, and Windows Vista are either registered trademarks or trademarks of Microsoft Corporation in the United States and/or other countries.
- Page 2 USB CAT5 KVM Extender User Manual F1D086U...
-
Page 4: Table Of Contents
Table of Contents 1. Introduction ................1 Package Contents ..............1 2. Overview ................2 Feature Overview..............2 Equipment Requirements ............3 System Requirements ............4 Unit Display Diagrams ............5 Specifications............... 7 3. Installation ................8 Pre-Configuration ..............8 Connecting the Transmitter to the Computer or KVM Switch ... 9 Connecting the Local Console to the Transmitter ......9 Connecting the Remote Console to the Receiver ....10 Connecting the Transmitter to the Receiver ......11... -
Page 5: Introduction
CAT5 Extender, in addition to expert troubleshooting advice—in the unlikely event of a problem. We appreciate your business and are confident that you will soon see for yourself why over 1 million Belkin OmniView products are in use worldwide. Package Contents USB CAT5 Extender... -
Page 6: Overview
Overview Feature Overview CAT5 Technology Integrated CAT5 technology enables you to connect your KVM switch to your servers up to 500 feet (150m) away using standard CAT5 cabling. CAT5 cabling reduces cable bulk and simplifies cable management. Video Resolution The CAT5 Extender supports video resolutions of up to 1920x1440 @ 75Hz on local computer and up to 1280x1024@75Hz on remote. -
Page 7: Equipment Requirements
Equipment Requirements Cables Connecting the CAT5 Extender to a computer or KVM switch requires the included KVM cable kit and a standard CAT5 patch cable. Belkin highly recommends you use Belkin Category 5e, FastCAT ™ 5e, or Category 6 Patch Cables for your CAT5 Extender to help ensure the superior performance of your video. -
Page 8: System Requirements
Overview System Requirements OS Platforms The USB CAT5 Extender is compatible with CPUs running on, but not limited to, the following OS platforms: • Windows XP, Vista™, or Server 2003 ® • Microsoft ® DOS 5.x and above • Red Hat Linux 8.x and above ®... -
Page 9: Unit Display Diagrams
Overview Unit Display Diagrams Receiver Unit • Remote LED • Local LED Console Local CPU Remote CPU 5V/ 2.5A • Local CPU Console Connectors • Local Computer (Requires additional cable to connect) • RJ45 CAT5 Port for Remote Computer Connection • Power Jack... - Page 10 Overview Transmitter Unit • Power LED • Status LED • Monitor VGA Cable • Keyboard/Mouse USB Cable Console RJ45 • Local-Console Connection • RJ45 CAT5 Port for Remote Computer Connection...
-
Page 11: Specifications
Overview Specifications Part No.: F1D086U Enclosure: Metal enclosure Receiver Power: 5V, 600mA power adapter with center-pin negative polarity Transmitter Power: 5V, 220mA (from attached computer or KVM switch via keyboard port) Max. Video Remote Resolution: Up to 1280x1024 @ 75Hz (depends on cable length) Max. -
Page 12: Installation
VGA signals transmit best at shorter cable lengths. At longer cable lengths, the probability of video degradation increases. For this reason, Belkin recommends that the length of the CAT5 patch cable between the Transmitter and Receiver units does not exceed 500 feet (150m). -
Page 13: Connecting The Transmitter To The Computer Or Kvm Switch
Installation Step 1 Connecting the Transmitter to the Computer or KVM Switch 1.1 Disconnect all computers from the electrical power supply. 1.2 Using the Transmitter unit, connect the built-in VGA and USB cables to the monitor and USB ports on your computer or to the console ports on your KVM switch. -
Page 14: Connecting The Remote Console To The Receiver
Receiver unit. Receiver 3.3 To use the Receiver as a 2-port KVM switch between local and remote computers, connect your local computer to the Receiver using the Universal KVM USB Cable Kit, Belkin part number F1D9006-XX (not included). Receiver... -
Page 15: Connecting The Transmitter To The Receiver
Installation Step 4 Connecting the Transmitter to the Receiver Using a CAT5 cable, connect one end into the RJ45 port on the Transmitter unit. Connect the other end to the RJ45 port on the Receiver unit. (Refer to diagram below.) Console Local CPU Remote CPU 5V/ 2.5A... -
Page 16: Using The Cat5 Extender
Using the CAT5 Extender Once the CAT5 Extender is installed, the video will display at both the local and remote consoles. However, only one console can have control of the mouse and keyboard input at one time. The control is determined automatically. -
Page 17: Led Operation
Using the CAT5 Extender LED Operation The orange Power LED indicates if the Transmitter and Receiver units are powered on. The green Status LED indicates which console has control. If the Status LED on the Transmitter is flashing, the remote console (or Receiver) has control. -
Page 18: Information
What is not covered by this warranty? All above warranties are null and void if the Belkin product is not provided to Belkin for inspection upon Belkin’s request at the sole expense of the purchaser, or if Belkin determines that the Belkin product has been improperly installed, altered in any way, or tampered with. - Page 19 Belkin product and how to proceed with your claim. Belkin reserves the right to review the damaged Belkin product. All costs of shipping the Belkin product to Belkin for inspection shall be borne solely by the purchaser. If Belkin determines, in...
Need help?
Do you have a question about the F1D086U and is the answer not in the manual?
Questions and answers