Advertisement
Quick Links
Advertisement

Summarization of Contents
Important Information
Environmental Compliance and Disposal
Guidelines for the correct disposal of electronic products and batteries, adhering to EU directives.
Safety Precautions
Visual Safety Warnings
Illustrates potential hazards during installation or operation, emphasizing safety precautions.
Component Identification
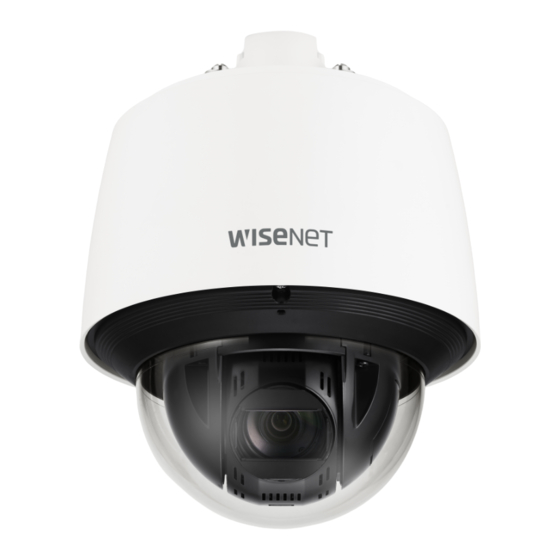
QNP-6320/QNP-6250 Parts
Details components included with QNP-6320/QNP-6250 models, noting Micro SD card exclusion.
Installation Guide - Part 1
Initial Mounting and Wiring (Steps 1-2)
Covers initial mounting preparation and electrical connections for camera installation.
Installation Guide - Part 2
Camera Body Assembly (Steps 3-4)
Details camera body assembly and cable management during installation.
Installation Guide - Part 3
Final Installation and Software Setup (Steps 5-6)
Completes installation process, including software setup via Device Manager.
Component Identification - H Models
QNP-6320H/QNP-6250H Parts
Illustrates components included with QNP-6320H/QNP-6250H models.
Installation Guide - Part 4
Initial Installation for H Models (Steps 1-2)
Covers initial mounting preparation for specific H model installations.
Installation Guide - Part 5
SD Card Installation and Wiring (Steps 3-4)
Details Micro SD card insertion and wiring connections during installation.
Installation Guide - Part 6
Cable Management and Length (Steps 5-6)
Demonstrates cable routing and specifies recommended cable length for installation.
Installation Guide - Part 7
Mounting Options: Wall & Pole (Steps 7-8)
Covers installation using wall and pole mount accessories.
Installation Guide - Part 8
Connecting Cables (Steps 9-10)
Illustrates the process of connecting cables to the camera unit.
Installation Guide - Part 9
Securing the Camera Mount (Steps 11-12)
Details steps for securely attaching the camera to its mounting bracket.
Installation Guide - Part 10
Final Assembly with Tools (Steps 13-14)
Covers final assembly steps using specific tools like TR30.
Installation Guide - Part 11
Final Checks and Software Reference (Steps 15-16)
Completes installation, referencing Device Manager and user manual.
Password and Login Procedures
Setting Initial Password
Guide to setting a new password for the device, including complexity requirements.
Login Process
Instructions for logging into the camera interface using user ID and password.


Need help?
Do you have a question about the QNP-6250 and is the answer not in the manual?
Questions and answers