Advertisement
Quick Links
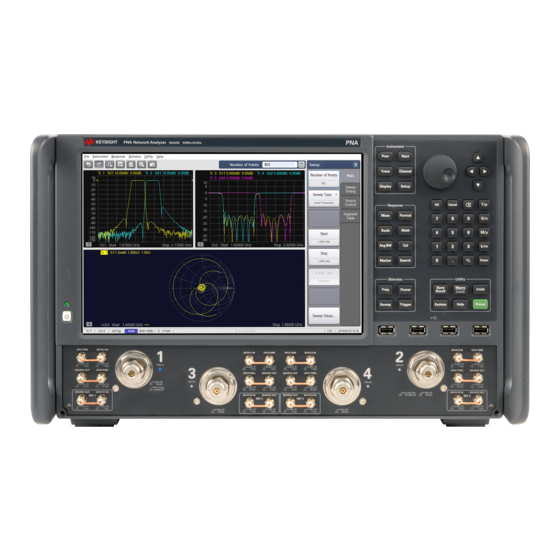
Keysight - N5224/5/7B PNA
and N5244/5/7B PNA-X
Models
Add Direct Digital
Synthesizer Capability (DDS)
For Version 7 Synthesizers -
Installation Note
To Upgrade 4-Port N5224/5/7B and N5244/5/7B
Series to 4-Port with DDS Upgrade Kit Order
Numbers:
N5224BU-4S7(for N5224B),
N5225BU-4S7(for N5225B),
N5227BU-4S7 (for N5275B),
N5244BU-4S7 (For N5244B),
N5245BU-4S7 (For N5245B), and
N5247BU-4S7 (For N5247B)
Keysight Kit Number: N5225-60143
This is the Installation Guide for the 4-port N5224/5/7B and N5244/5/7B Series Microwave Network Analyzers to a 4-port with
Version 7 synthesizers.
INSTALLATION NOTE
)
Advertisement

Related Manuals for Keysight N5225B PNA


Summarization of Contents
DDS Upgrade Overview
Getting Assistance from Keysight
Contact Keysight for installation advice, support, and problem resolution.
Preparing for the DDS Upgrade Installation
Downloading the PNA Service Guide
Instructions for obtaining the PNA Service Guide for detailed installation information.
ESD Protection and Workspace Setup
Guidelines for protecting against electrostatic discharge and setting up an ESD-safe work area.
Required Tools and Equipment
List of tools, torque wrenches, and test equipment needed for the upgrade installation.
Installation Time and Personnel
Information on who can perform the installation and estimated time requirements.
Initial Inspection and System Readiness
Verify SSD Image and Firmware Version
Check system CPU version, SSD, disk drive, and application code versions.
Installation Procedure Readiness
Ensure the network analyzer is in proper working condition before installation.
Overview of the Installation Procedure
Step 1: Verify PNA and Erase Flash
Verify correct SSD and firmware, and erase flash memory before installation.
Step 2: Remove Instrument Covers
Instructions for removing the instrument's outer and inner protective covers.
Step 3: Remove Cables and Assemblies
Remove specific cables and bottom assemblies based on instrument options.
Step 4: Remove Unused Top Cables
Identify and remove top cables that are not reused in the upgrade.
Step 5: Remove Inner Bracket Card Guides
Remove card guides from the left and right inner brackets.
Step 6: Install Center Support Bracket
Install the center support bracket onto the motherboard/chassis.
Step 7: Reinstall Bottom Cables
Reconnect specific bottom cables to the test set semi-rigid connectors.
Step 8: Reinstall Top Assemblies and Cables
Reinstall internal assemblies and associated cables after initial steps.
Step 9: Install DDS Synthesizer Assembly
Install the new Direct Digital Synthesizer (DDS) assembly into the instrument.
Step 10: Connect DDS Assembly Cables
Connect new and reused flexible and semi-rigid cables to the DDS assembly.
Step 11: Route Gray Cables
Route specific gray cables according to diagram for proper connectivity.
Step 12: Install Rear Panel Back Plate
Install back plate and connect cable to the rear panel for Option 422/423.
Step 13: Install SRC3 J13 Label
Apply the 'SRC3 J13' label to the rear panel and install SMA load.
Step 14: Replace Solid State Drive (SSD)
Procedure to remove and replace the A55 Solid State Drive (SSD).
Step 15: Boot the Instrument
Power up the instrument and verify it stabilizes without initialization errors.
Step 16: Reinstall Instrument Covers
Reinstall the instrument's inner and outer covers after upgrade completion.
Step 17: Verify PNA Program Options
Check the Network Analyzer program to ensure correct options are enabled.
Step 18: Perform Adjustments and Calibration
Perform necessary adjustments and calibration to ensure instrument performance.
Step 19: Prepare PNA for User
Final steps to prepare the instrument for user operation, including cable guards and dust caps.
Safety and Legal Notices
Safety Notice Definitions
Explanation of CAUTION and WARNING notices used in the document.
Need help?
Do you have a question about the N5225B PNA and is the answer not in the manual?
Questions and answers