
Related Manuals for DeZurik KGC HD


Summarization of Contents
Manual Overview and Safety
General Instructions
Instructions are for personnel responsible for installation, operation, and maintenance.
Safety Messages and Warnings
Highlights safety messages, warning signs, and potential hazards like pipeline material emission.
Product Inspection and Service
Covers inspection upon arrival, parts ordering, and DeZURIK service support.
Product Description and Handling
Valve Description
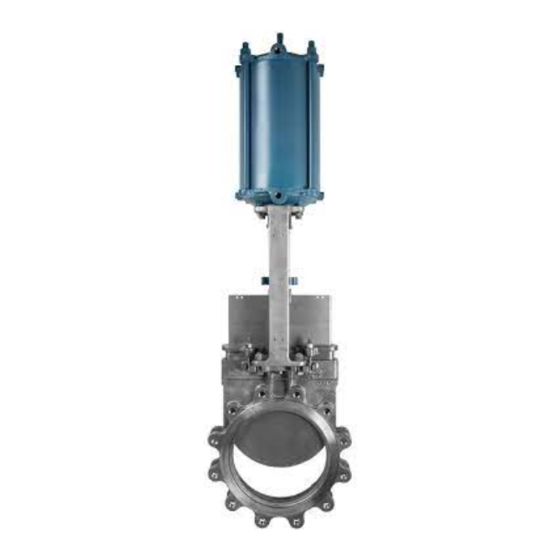
KGC knife gate valves feature stainless steel body/gate and all-metal or resilient-faced seat.
Safe Valve Handling
Proper lifting and support techniques are essential to prevent injury or equipment damage.
Installation Procedures
General Installation Guidelines
Align flanges, select proper bolts, and tighten evenly in a crisscross pattern per table.
Flange Bolt Torque Specifications
Table A provides recommended flange bolt/stud torque ranges for various valve sizes and gasket types.
Operation and Maintenance
Valve Operation
The actuator moves the gate to open or close the valve port. Refer to actuator instructions.
Packing Adjustment
Tighten packing gland nuts evenly to stop leaks, avoiding over-tightening to maintain operability.
Lubrication Information
The valve itself does not require lubrication; stem lubrication may be needed.
Component Identification and Diagrams
Component Identification
Figure 2 illustrates and labels the various components of the knife gate valve.
Packing Replacement
Removing Old Packing
Relieve pressure, lock out power, and remove gland nuts, bolts, and packing components.
Installing New Packing
Pack rings evenly into the chamber, staggering joints, and ensure proper fit of anti-extrusion ring.
Valve Reassembly and Seat Replacement
Reassembling the Valve
Reconnect stem, packing, gland, yoke, and actuator, then pressurize and check for leaks.
Replacing the Seat
Remove old seat by pushing it towards the center and through the packing chamber, then install the new seat.
Gate Replacement and Purge Ports
Replacing the Gate
Remove valve from pipeline, disassemble components, remove gate, inspect for damage, and reassemble.
Purge Port Option Installation
Remove purge plugs after installation and before pressurizing, then connect purge lines and check for leaks.
Warranty and Disclaimer
Limited Warranty Terms
Outlines the 24-month warranty against defective workmanship and material.
Disclaimer and Liability
Covers limitations on liability, use of metric fasteners, and consequential damages.
Need help?
Do you have a question about the KGC HD and is the answer not in the manual?
Questions and answers