
Related Manuals for Carrier EQT3


Summarization of Contents
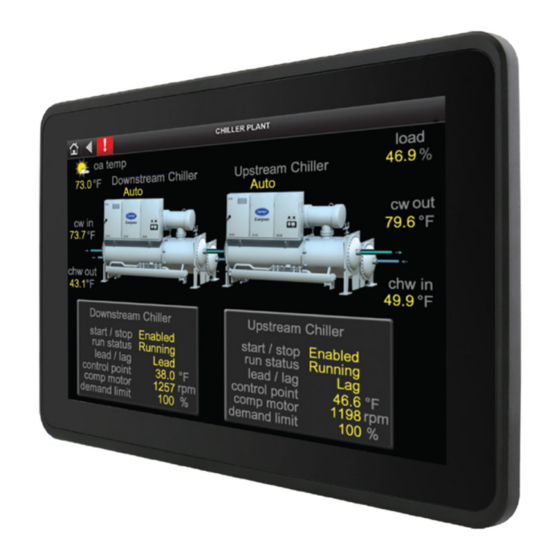
What is the TruVu™ ET Display?
Specifications
Technical parameters like power, resolution, communication, and operating conditions.
Certifications
Lists compliance standards (CE, FCC, CSA, UL) and IP/vibration ratings.
Real-time Clock and Device Identification
Describes the real-time clock chip and where to find the device serial number.
Mounting the TruVu™ ET Display
Option 1 - Panel Mounting
Details how to mount the display in a panel door, including punchout sizes.
Option 2 - Backplane or VESA Mounting
Describes VESA mounting using backplates and screws.
Wiring the TruVu™ ET Display
Wiring for Power
Instructions for connecting the display to a 24 VDC or 24 VAC power supply.
Wiring for Communication - Rnet Configuration
Connects the display via Rnet port using 2-conductor wire.
Wiring for Communication - Ethernet/USB Ports
Connects display via Ethernet or USB ports to the controller.
Interface Selection
On startup, the display prompts for connection type (Rnet, Ethernet, USB).
Setting up the TruVu™ ET Display
Editing Touchscreen Settings
Adjust display settings like brightness and screen timeout via Quick Settings pane.
Updating Touchscreen Software
Steps to update the TruVu™ ET display software using a USB drive.
Clearing Cache
How to clear the device's cache to resolve file display issues.
Updating Device Language
Instructions to change the display language via the System > Settings > Languages menu.
Working with Files
Capturing Screenshots
How to take and save screenshots of the display to a USB drive.
Viewing and Copying Files
How to view PDF files and transfer files from a USB drive.
TruVu™ ET Display Screens
Login Screen and Password Access
Describes the login screen and different user password levels for accessing features.
System Screen Overview
Displays device instance, date, time, and temperature. Allows navigation to other screens.
Module Settings Menu
Access to general module settings like Time & Date, Communication, Router, IP, Time Master.
Communication Settings
Configure BACnet Device Instance, Auto Generate Device ID, Max Masters, and Max Info Frames.
Router Configuration
Set BACnet network numbers for ARC156, MSTP, and Ethernet.
IP Configuration
Set IP address, subnet mask, gateway, and UDP port for controllers.
Application Settings Menu
Access to app information, language, and timeout settings.
Language and Timeout Settings
Configure display language and screen timeout durations.
Module Status Display
Displays controller information, firmware version, and network status.
Schedule Management
View, add, edit, or delete BACnet schedules in the controller.
Trends Viewing
View trend data for points with trending enabled on a graph.
Alarm Management
View active alarms, faults, and manually cleared alarms from the controller.
Setting Timeouts
Screen Timeout
Adjusts time before device sleeps and user logs out.
Extended Screen Timeout
Provides longer timeout options than standard Screen Timeout.
Inactivity Timeout
Sets inactivity duration until standby screen and user logout.
Creating or Viewing Schedules
To Set Up Scheduling Functionality
Enables users to create schedules via the TruVu™ ET display.
To Create a Schedule
Step-by-step guide to adding new BACnet schedules to the controller.
To Add Multiple Periods to a Weekly Schedule
Details how to add multiple time periods to a weekly schedule.
To View Schedules
Instructions on how to view existing schedules in monthly, weekly, or daily formats.
Compliance
CE Compliance
States the product is a Class B device and may require adequate measures for radio interference.
FCC Compliance
Details FCC rules, conditions for operation, and user guidance for interference.
Need help?
Do you have a question about the EQT3 and is the answer not in the manual?
Questions and answers