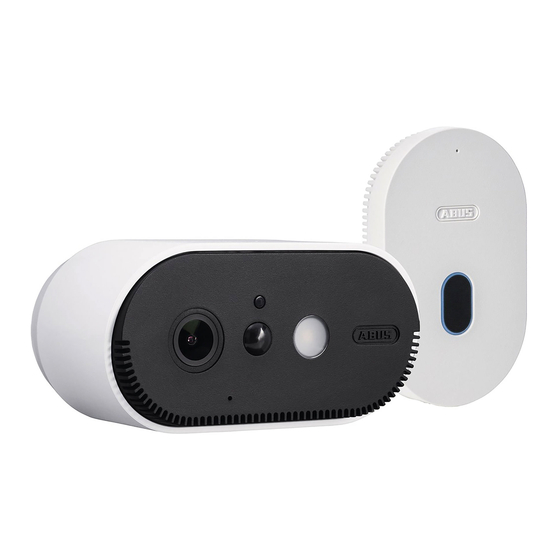
Summarization of Contents
SYSTEM REQUIREMENTS
WLAN Network and Password Rules
Covers 2.4GHz, password length, and encryption requirements for the Wi-Fi network.
Wi-Fi Password Special Character Support
Lists the special characters that are allowed and disallowed when entering the Wi-Fi password.
Device Placement and Connectivity
Guidelines for base station range, camera range, and device limits per app.
Mobile Device Location Service
Specifies the requirement for activating the location service on the mobile device.
SCOPE OF DELIVERY
ABUS WLAN Akku Cam with Base Station Kit
Details the contents included in the ABUS WLAN Akku Cam with Base Station kit (PPIC90000/B).
ABUS WLAN Base Station Only (PPIC90010)
Details the contents included in the ABUS WLAN Base Station kit (PPIC90010).
ABUS WLAN Akku Cam 2-Set Kit
Details the contents included in the ABUS WLAN Akku Cam 2-Set kit (PPIC90200).
ABUS WLAN Additional Battery Cam (PPIC90520/B)
Details the contents included in the ABUS WLAN Additional Battery Cam kit (PPIC90520/B).
CAMERA COMPONENTS
Front View Description
Identifies and describes the front-facing elements of the camera, such as lens and sensors.
Rear View Description
Identifies and describes the rear-facing elements of the camera, including buttons and ports.
BASISSTATION COMPONENTS
Main Unit Features and Indicators
Details the main unit's features like microSD slot, status LEDs, and pairing/reset buttons.
Range Extension with Additional Base Stations
Explains how to use additional base stations to extend the operational range.
microSD Card for Recording
Outlines the requirements and usage for microSD cards for recording functionality.
CAMERA OPERATION AND DISPLAY
Charging and Initial Power On
Instructions for charging the camera battery and performing the initial power-on sequence.
Pairing and Reset Button Functions
Explains how to use the specific pairing and reset buttons for device management.
Camera Power and Pairing Button Usage
Details specific button presses for activating camera functions like power and pairing.
SENSOR COVERAGE AREA
PIR Sensor Range and Triggering
Describes the PIR sensor's detection range and what conditions trigger recording.
Optimal Mounting Recommendations
Provides recommendations for optimal mounting height and angle for the sensor.
INITIAL START-UP PROCEDURE
Download and Install the App2Cam Plus App
Guides on obtaining and installing the necessary mobile application from app stores.
Add New Device and Prepare Base Station
Steps for initiating the setup process by adding a new device and preparing the base station.
Connect Base Station to Power and Wi-Fi
Instructions for powering up the base station and connecting it to the Wi-Fi network.
Pair Camera and Select Home Network
Process for pairing the camera with the base station and selecting the home network.
Enter Network Password and Security Settings
Details on entering the Wi-Fi password and configuring security codes for the device.
Finalize Camera Pairing and Configuration
Completing the camera pairing process and initial configuration steps.
Access Live View and Camera Settings
How to view the live camera feed and access personal settings for the device.
APP2CAM PLUS FEATURES
Intercom Functionality Explained
Details how to use the two-way audio (intercom) feature within the app.
Alarm, Recording, and Notification Settings
Configuration options for motion detection alarms, recording, and notifications.
Snapshot and Camera Switching
Features for capturing snapshots and switching between multiple connected cameras.
CAMERA INSTALLATION OPTIONS
Mounting Camera on Flat Surfaces
Instructions and considerations for placing the camera on flat surfaces without a bracket.
Mounting Camera with Wall Bracket
Step-by-step guide for installing the camera using the included wall mounting bracket.


Need help?
Do you have a question about the PPIC90520B and is the answer not in the manual?
Questions and answers