Abus PPIC90000 Quick Manual
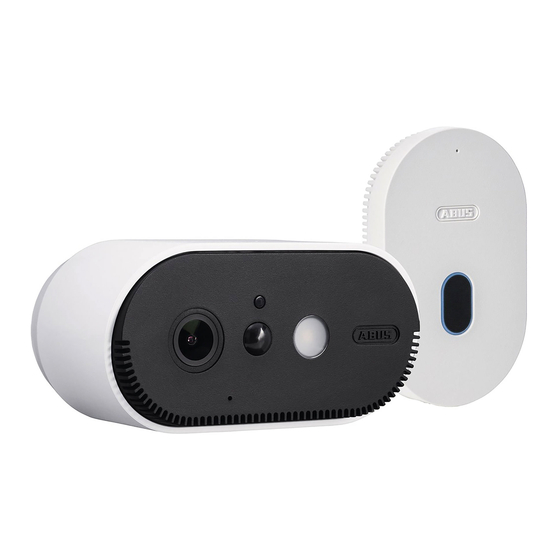
Battery cam & base station
Hide thumbs
Also See for PPIC90000:
- Instruction manual (88 pages) ,
- Manual (21 pages) ,
- Quick manual (21 pages)

Related Manuals for Abus PPIC90000


Summary of Contents for Abus PPIC90000
- Page 1 A B U S A K K U C A M & B A S I S S T A T I O N A B U S B A T T E R Y C A M & B A S E S T A T I O N Q U I C K G U I D E...
-
Page 2: System Requirements
S Y S T E M V O R A U S S E T Z U N G E N S Y S T E M R E Q U I R E M E N T S 2.4 GHz WLAN Netzwerk mit Passwort und Verschlüsselung. 2.4 GHz Wi-Fi network with password and encryption. -
Page 3: Scope Of Delivery
L I E F E R U M F A N G S C O P E O F D E L I V E R Y ABUS WLAN Akku Cam mit Basisstation (PPIC90000) ABUS Wi-Fi battery cam with base station (PPIC90000) Montagematerial USB Stecknetzteil... - Page 4 K A M E R A C A M E R A Vorderseite Front Lichtsensor Photo sensor Innenliegende Antenne* Internal antenna* Objektiv Lens Lautsprecher Loudspeaker Sensor Mikrofon Weißlicht LED Microphone White light LED *Funk-Frequenz: 2,4 GHz (802.11 b/g/n) Max. Sendeleistung 20 dBm *Wireless frequency: 2.4 GHz (802.11 b/g/n) max.
-
Page 5: Main Unit
B A S I S S T A T I O N M A I N U N I T Micro-SD Kartenslot (max. 128 GB) Micro SD card slot (max. 128 GB) Entnahmehilfe Removal aid Optional Micro-SD Karte Optional micro SD card Pairing Taste Pairing button Status LED... - Page 6 E R F A S S U N G S B E R E I C H D E S S E N S O R S C O V E R A G E A R E A O F T H E S E N S O R Der Erfassungsbereich des integrierten Bewegungssensors (PIR) ist auf 8m begrenzt.
-
Page 7: B E D I E N - U N D A N Z E I G E L E M E N T E
B E D I E N - U N D A N Z E I G E L E M E N T E O P E R A T I O N A N D D I S P L A Y E L E M E N T S Verbindungsbereitschaft (Pairing): Taste 3s gedrückt halten bis die blaue LED blinkt. -
Page 8: Camera Installation
K A M E R A M O N T A G E C A M E R A I N S T A L L A T I O N Montage der Kamera ohne Wandhalterung Installing the camera without a wall bracket Die Kamera kann auch ohne Wandhalterung The camera can also be set up without auf einer ebenen Fläche aufgestellt werden. - Page 9 Montage der Kamera mit Wandhalterung Installing the camera with a wall bracket Kugelgelenk Ball joint Bohrschablone Fixierring Drilling template Fixing ring Rückplatte Back panel Abdeckung Cover Befestigungslöcher (6mm Bohrer Kugelgelenk einsetzen, Kamera aufschrauben und auf erforderlich) mit Hilfe der Bohr- Abdeckung aufsetzen und den gewünschten Erfassungs- schablone in die ebene Wand-...
- Page 10 I N S T A L L A T I O N A P P I N S T A L L A T I O N A P P Schritt 1 – App2Cam Plus Soft ware installieren Step 1 – Install the App2Cam Plus soft ware Installieren Sie die App2Cam Plus Install the App2Cam Plus - App2Cam Plus -...
-
Page 11: P R O G R A M M I N G S Y S T E M
E I N L E R N E N S Y S T E M P R O G R A M M I N G S Y S T E M Schritt 2 – Basisstation und Kamera auswählen Step 2 – Select the base station and camera Wählen Sie Wählen Sie die „Neues Gerät“... - Page 12 Schritt 3 – Basisstation mit WLAN verbinden Step 3 – Connect the base station to the Wi-Fi Basisstation ist nach 45 Sekunden einsatzbereit, sobald der Sprachbefehl „Bereit für das Verbinden mit dem Netzwerk“ ausgegeben wird. Bitte verbinden Sie anschließend Ihr Smartphone mit dem Netzwerk-Namen aus angegebener Liste, in welches die Basisstation eingelernt werden soll.
- Page 13 Die App überträgt per Sound die WLAN Daten an Stellen Sie die Laut- die Basisstation, der max- stärke Ihres Smart- imale Abstand zwischen phones auf mindes- dem Smartphone und der tens 70%. Nach links Basisstation darf max. wischen um den 30cm betragen.
- Page 14 Die Basisstation gibt den Sprach- befehl „Netzwerkinformationen erhalten“ aus. Um den Sound erneut zu übertragen, klicken Sie auf „Erneut senden“. Bei erfolgreicher Übertragung, ist die Basisstation eingelernt und startet neu, dies Nach erfolgreicher Übertragung kann bis zu 120 Sekunden dauern. 120 Sekunden warten The base station emits the voice Wait 120 seconds after a...
- Page 15 Schritt 4 – Kamera der Basisstation zuordnen Step 4 – Assign the camera to the base station Bei der werkseitigen Auslieferung der Kamerasets (mit einer und zwei Kameras) ist/sind die Kamera(s) bereits für diese Basisstation eingelernt. Der Schritt 4 kann hier übersprungen werden. In the case of camera sets (with one or two cameras) delivered from the factory, the camera(s) is/are already programmed for this base station.
-
Page 16: Schritt 5 - Einstellungen Anpassen
Schritt 5 – Einstellungen anpassen Step 5 – Customise the settings Klicken Sie nun auf das Kamerabild in der Übersicht um das Livebild zu starten. Click on the camera image in the overview to start the live view. Bei der Erstinstallation muss der werkseitige Sicherheitscode 123456 geändert werden. - Page 17 2) Einstellungsicon oben 2) Settings icon top Um weitere Einstellungen an der Basis station und der Kamera vorzunehmen, klicken Sie auf das 1) Einstellungssymbol unten und im Anschluss auf das 2) Einstellungsicon im Kamerabild. In order to configure additional 1) Einstellungssymbol unten settings for the base station and 1) Settings symbol bottom camera, click on the 1) Settings...
-
Page 18: Schritt 6 - Installation Abschließen
Menüfeld. You have successfully completed the installation. You now have access to your camera and various settings in the bottom menu field. Weitere Infos und Hilfestellungen finden Sie auf akku-cam.abus.com You can find additional information and help at akku-cam.abus.com... - Page 19 A P P 2 C A M P L U S F U N K T I O N E N A P P 2 C A M P L U S F U N C T I O N S Die Funktionen der App2Cam Plus Liveansicht Functions of the App2Cam Plus live view Alarm ist aktiv...
- Page 20 Produkt erhalten Sie in der Bedienungsanleitung erhältlich auf der ABUS Internetseite. Vous trouverez une alternative de mise en service ainsi que des informations détaillées sur le produit concerné dans le manuel d’utilisation disponible sur le site Internet ABUS. Een alternatieve ingebruikname en gedetailleerde informatie vindt u in de gebruikershandleiding op de ABUS-website.
Need help?
Do you have a question about the PPIC90000 and is the answer not in the manual?
Questions and answers