Table of Contents
Advertisement
Quick Links
Advertisement
Table of Contents

Related Manuals for Vivitek D756USTI


Summarization of Contents
Important Safety Information
Symbols Used
Explains warning symbols and styles used for important information in the manual.
General Safety Information
Provides essential safety precautions for operating the projector.
Preface
Projector Installation Notice
Guidelines for proper projector placement and installation to ensure optimal performance.
Verify Installation Location
Checks and requirements for selecting a suitable installation site for the projector.
Cooling Notes
Air Outlet
Ensures proper cooling by maintaining clearance around the projector's air outlet.
Air Inlet
Details on keeping the air inlet clear for efficient cooling and preventing overheating.
Getting Started
Packing Checklist
Lists all items included in the projector package for user verification.
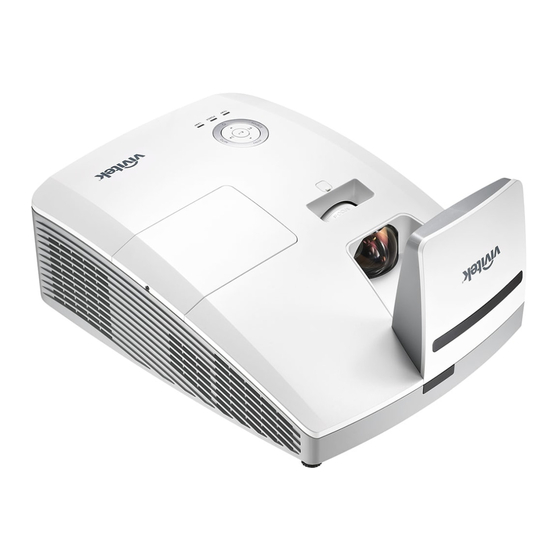
Views of Projector Parts
Front-right View
Diagram and labels identifying key components on the front-right side of the projector.
Remote Control Parts
Remote Control Functions
Detailed description of each button and its function on the remote control.
Setup and Operation
Inserting Remote Control Batteries
Step-by-step guide for installing batteries into the remote control.
Starting and Shutting Down the Projector
Instructions for powering the projector on and off, including device connections.
Setting an Access Password (Security Lock)
Procedure to set a password for unauthorized use prevention and security.
Adjusting the Projector Level
Guidance on adjusting the projector's angle for optimal screen projection.
Adjusting Focus and Keystone
Steps to sharpen the image and correct trapezoidal distortion.
Adjusting the Volume
Instructions for controlling the projector's audio volume and mute function.
OSD Menu Settings
Navigating the OSD
How to use the remote control cursor buttons to navigate and make changes in the OSD.
Setting the OSD Language
Procedure to select and set the desired language for the on-screen display.
OSD Menu Overview
A summary of the projector's OSD menu structure and available settings.
Image Menu
Settings related to display modes, brightness, contrast, and advanced image adjustments.
Computer Menu
Settings specific to computer input, including horizontal, vertical, and tracking adjustments.
Advanced Feature
Advanced image settings like Brilliant Color, Sharpness, Gamma, and Color Temperature.
Color Manager
Detailed color adjustments for Red, Green, Blue, Cyan, Magenta, Yellow, and White.
Settings 1 Menu
Primary system settings including Source, Projection, Aspect Ratio, and Keystone.
Audio
Settings for controlling the projector's volume and mute functionality.
Advanced 1 Feature
Configuration options for Language, Security Lock, Blank Screen, and Closed Captioning.
3D Setting
Options for enabling and configuring 3D display modes and formats.
Advanced 2 Feature
Settings for Test Patterns, Horizontal Image Shift, and Vertical Image Shift.
Settings 2 Menu
System settings including Auto Source, No Signal Power Off, Auto Power On, and Lamp Mode.
Status
Displays current projector status like Active Source, Video Information, and Lamp Hours.
Advanced 1 Feature (Settings 2)
Advanced settings under Settings 2, including Menu Position and Low Power Mode.
Lamp Hour Reset
Procedure to reset the projector's lamp hour counter after lamp replacement.
Network Configuration
Settings for network connectivity, including DHCP, IP Address, Subnet Mask, Gateway, and DNS.
Advanced 2 Feature (Settings 2)
Settings for Sleep Timer and Source Filter under the Settings 2 menu.
Source Filter
Enables or disables specific input sources like VGA, S-Video, and HDMI.
RS232 by Telnet Function
Quick Start Guide for RS232 by Telnet
Steps to enable and use the RS232 Telnet function for projector control.
Specsheet for RS232 by Telnet
Technical specifications and limitations for controlling the projector via RS232 Telnet.
Maintenance and Security
Replacing the Projection Lamp
Detailed procedure for safely replacing the projector's lamp module.
Resetting the Lamp
Instructions to reset the lamp hour counter after replacing the lamp.
Cleaning the Filter
Procedure for cleaning the projector's air filter to maintain performance.
Replacing the Filter
Steps for replacing the projector's air filter if it is clogged or damaged.
Cleaning the Projector
Cleaning the Projector Mirror
Method for cleaning the projector mirror using a blower to prevent scratches.
Cleaning the Case
Instructions for cleaning the projector's exterior case with a damp cloth.
Using the Physical Lock
Using the Kensington Security Slot
How to attach the projector to a permanent object using a security cable.
Using the Security Bar
Utilizing the security bar for additional protection against unauthorized removal.
Troubleshooting
Common Problems and Solutions
General tips and common issues encountered during projector operation.
Tips for Troubleshooting
Advice for efficiently diagnosing and resolving projector problems.
LED Error Messages
Interpreting projector status and error codes indicated by LED lights.
Image Problems
Solutions for common issues related to image display, such as no image or blurriness.
Image Display Issues
Troubleshooting for image shape, reversal, streaking, contrast, and color mismatch.
Lamp Problems
Diagnosing and resolving issues related to the projector lamp not turning on or turning off.
Remote Control Problems
Solutions for when the projector does not respond to the remote control commands.
Audio Problems
Troubleshooting steps for issues related to sound, such as no sound or distorted audio.
Having the Projector Serviced
Procedure for obtaining professional service if problems cannot be resolved.
Regulatory Compliance
FCC Warning
Information regarding FCC compliance and potential radio frequency interference.
Canada
Statement of compliance with Canadian ICES-003 regulations for digital apparatus.
Safety Certifications
Listing of various safety and compliance certifications obtained by the product.
Appendix I: RS-232C Protocol
RS232 Settings and Command Structure
Details on RS232 settings, command structure, and operation codes.
RS-232 Command Group 01
RS-232 commands for controlling image settings like brightness, contrast, and color.
RS-232 Command Group 02
RS-232 commands for selecting input sources such as RGB, Video, and HDMI.
RS-232 Command Group 03
RS-232 commands for scaling, blanking, and setting projection mode.
Remote Control Commands (RS-232)
Mapping of RS-232 commands to the functions of the projector's remote control.
Need help?
Do you have a question about the D756USTI and is the answer not in the manual?
Questions and answers