Advertisement
Quick Links
INSTALLATION AND MAINTENANCE INSTRUCTIONS
Reverse Acting Bursting
Disc Assemblies – SRX,
SRL, RD520 Axius,
RD320, RD500 Atlas,
RD300 Holder
PRESSURE RELIEF
Doc. P/N 8.8128.00.3
Rev. July, 2020
SOLUTIONS
Fire Protection
Explosion Protection
Overpressure Protection
Pressure Activation
Advertisement

Related Manuals for Fike RD300 Holder


Summary of Contents for Fike RD300 Holder
- Page 1 INSTALLATION AND MAINTENANCE INSTRUCTIONS Reverse Acting Bursting Disc Assemblies – SRX, SRL, RD520 Axius, RD320, RD500 Atlas, RD300 Holder PRESSURE RELIEF Doc. P/N 8.8128.00.3 Rev. July, 2020 SOLUTIONS Fire Protection Explosion Protection Overpressure Protection Pressure Activation...
-
Page 2: Copyright Information
Fike products. Do not use any Fike products for any application for which it is not intended. Fike shall not be in any way liable for any damages or losses incurred by you or third parties arising from the use of any Fike product for which the product is not intended by Fike. -
Page 3: Revision History
REVISION HISTORY : ............................ June, 2017 RIGINAL ELEASE EVISION ESCRIPTION OF HANGE EVISION Doc. P/N 8.8128.00.3 PAGE / 1 Rev. 3 / July, 2020... - Page 4 TABLE OF CONTENTS Section Page No. WARNING ................................3 INSPECTION/PREPARATION ..........................4 2.1. New Bursting Discs ............................4 2.2. New Holder ..............................4 2.3. Existing Holder ............................5 ASSEMBLY ................................6 INSTALLATION ..............................9 Connecting grounding ..........................10 APPENDIX A – STUD TORQUE VALUES ........................12 PAGE / 2 Doc.
- Page 5 Read these instructions carefully and completely before attempting to unpack, install or service the bursting disc and holder. Do not vent a bursting disc assembly to an area where it would endanger personnel. Install the bursting disc assembly in such a way that equipment in the area will not prevent bursting disc from opening or be damaged by system discharge.
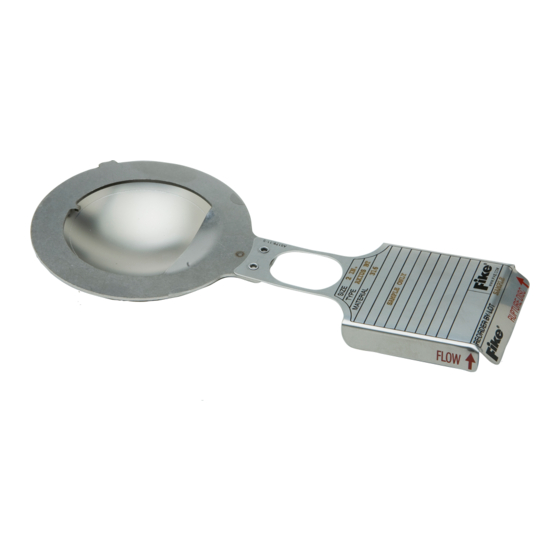
- Page 6 WARNING: Always handle the bursting disc with extreme caution. Nicks, dents, scratches or foreign material may result in leakage or affect the burst pressure. Read the bursting disc tag completely before installing to confirm that the size and type are correct for your system. 1.
- Page 7 Figure 2 - Insert holder (top) and pre-torqueable holder 1. For insert style holders, carefully remove the bursting disc assembly from piping. 2. Separate bursting disc holder components. 3. Remove old bursting disc. 4. Inspect the seat area of the bursting disc holder. Look for scratches, nicks, corrosion or deposits left from the media.
- Page 8 Note: Use of an o-ring is for improved sealing and is not required for proper function of the bursting disc assembly. Do not install an o-ring unless the holder is designed to accept these components by Fike! 3. Place bursting disc into holder component with female seat with flow arrow on tag pointing in the same direction as holder component with female seat flow arrow.
- Page 9 5. Carefully align and place holder component with male seat onto rupture disc with flow arrow in the same direction as disc and holder component with female seat flow arrows. CAUTION: Be careful to not allow the male seat component to strike or damage the dome of the rupture disc! Figure 5 - Alignment pin fitting in tag slot (Atlas sizes 14"...
- Page 10 Figure 6 - Pretorquaeble Holder (TQ+/TQ(+) Full Torque Configuration Shown) 10. Check gap between base and hold down. The gap must be the same size on all sides of the assembly. This can be assured by measuring the distance between the hold down and base at various places around the circumference of the assembly.
- Page 11 Atlas holders 14” and larger require a spool piece if under a pressure relief valve. Refer to Fike Technical Bulletin TB8105 for code requirements. WARNING: Double check the orientation of the bursting disc. Verify flow arrows on the holder and disc tag are pointed in the same direction as process flow.
- Page 12 Figure 8 - Bolt tightening sequence 7. After recommended torque has been achieved, perform a final tightening in a clockwise bolt-to-bolt fashion to ensure that all studs have equal loading. CHECK GAP BETWEEN BASE AND HOLDDOWN AFTER EACH TORQUE STEP. MAINTAIN AN EQUAL DISTANCE BETWEEN COMPANION FLANGE FACES ON ALL SIDES.
- Page 13 grounding holder grounding disc Figure 9 - connecting grounding Doc. P/N 8.8128.00.3 PAGE / 11 Rev. 3 / July, 2020...
- Page 14 Connect the braided SST grounding strip or grounding wire (not included) to an appropriate ground and the explosion panel. Pay extra attention to the grounding connections. Install serrated lock washers to assure metal to metal contact as shown. PAGE / 12 Doc.
- Page 15 K = 0.2. The following expression may be used for correction: Equation 1: T = (T ) * K where T and K are the Fike default torque and nut factor values. Doc. P/N 8.8128.00.3 PAGE / 13 Rev. 3 / July, 2020...
- Page 16 K = 0.2. The following expression may be used for correction: Equation 1: T = (T ) * K where T and K are the Fike default torque and nut factor values. PAGE / 14 Doc. P/N 8.8128.00.3 Rev. 3 / July, 2020...
- Page 17 Notes:...
- Page 18 CONTACT US Fike Europe Toekomstlaan 52 2200 Herentals, België Tel: +32 14 210031 www.Fike.com For a list of contact information for Fike offices around the world, visit the Global Locations section of Fike.com...
Need help?
Do you have a question about the RD300 Holder and is the answer not in the manual?
Questions and answers