Table of Contents
Advertisement
Quick Links
OPERATING INSTRUCTIONS
for the vinyl cutters
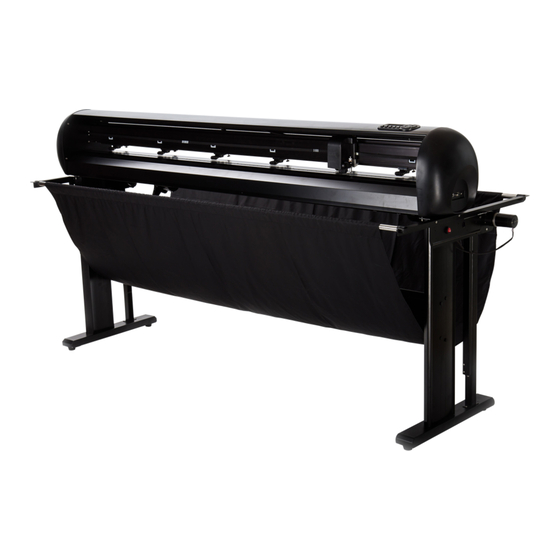
Secabo T60 II, T120 II and T160 II
Congratulations on the purchase of your Secabo vinyl cutter!
Please carefully read the operating manual to easily integrate your unit into your production
environment.
Any type of reproduction of this operating manual requires the written permission of Secabo
GmbH. Changes and errors in the technical data and the product characteristics are reserved.
The Secabo GmbH is not liable for any direct or indirect damages occurring as a result of the use
of this product.
Version 1.0 (30.06.2016)
Secabo GmbH | Hochstatt 68 | 85283 Wolnzach | Germany | mail@secabo.com | www.secabo.com
1
Advertisement
Table of Contents

Related Manuals for Secabo T160 II


Summarization of Contents
Safety Measures
General Safety Precautions
Essential safety guidelines for operating the vinyl cutter to prevent hazards and ensure safe usage.
Floor Stand Assembly
Assembly Steps
Detailed steps for assembling the vinyl cutter's floor stand using provided parts.
Device Parts and Functionality
Component Identification
Diagram and description of the vinyl cutter's main components and their roles.
Initial Operation: Machine and Software
DrawCut PRO Installation
Guide to installing and activating the Secabo vinyl cutter's companion software, DrawCut PRO.
Vinyl Cutter Integration in DrawCut
Vinyl Cutter Integration in DrawCut
Steps for connecting and installing the vinyl cutter within the DrawCut software environment.
Confirming Cutter Installation
Confirming Cutter Installation
Instructions on confirming successful installation of the vinyl cutter in DrawCut software.
Initial Device Operation
Connecting Power and Switching On
Instructions for connecting the vinyl cutter to power and turning it on.
Blade Installation and Adjustment
Setting Cutting Depth
Procedure for setting the correct blade depth for optimal cutting performance.
Blade Holder Insertion
Guide on how to properly insert the blade holder into the cutting head.
Film Insertion and Cutting Test
Film Insertion Procedure
Steps for correctly inserting material into the vinyl cutter for cutting.
Performing a Test Cut
How to execute a test cut to verify blade and pressure settings.
First Cut Job Execution
Starting the Cutting Process
Guide to initiating and managing the first cutting job using DrawCut PRO.
Settings and Operation
Moving the Cutting Head
Using arrow keys to navigate and position the cutting head on the material.
Setting the Zero Point
Procedure to define the starting point for cutting operations.
Adjusting Speed and Pressure
Adjusting Speed and Pressure
How to modify cutting speed and contact pressure via the device's control panel.
Other Settings and Configuration
Accessing Configuration Menu
Steps to enter the device's configuration menu using the 'Set' button.
Baud Rate Configuration
Setting the baud rate for serial port connection.
XP and YP Calibration
Calibrating the vinyl cutter for accurate X and Y scaling of cut jobs.
Tool Offset X and Y Adjustment
Adjusting the offset between the LAPOS Q sensor and the knife holder.
Sensitivity Adjustment
Modifying the LAPOS Q sensor sensitivity for different media types.
Fan Setting Adjustment
Adjusting the fan speed for the vacuum system.
Resetting Settings
Restoring the vinyl cutter to its factory default settings.
Firmware Information
Viewing the installed firmware version on the cutter.
Contour Cutting with LAPOS Q
LAPOS Q System Overview
Introduction to LAPOS Q for automatic positioning and precise contour cutting.
LAPOS Q Calibration
Opening Vinyl Spooler for Calibration
Initiating the calibration process by opening the Vinyl Spooler.
Auto Calibrate Laser Offset
Performing automatic calibration of the laser offset for precise cutting.
Calibration Procedure Steps
Steps for paper insertion, pen positioning, and zero point setting for calibration.
Confirming Laser Calibration
Confirming the automatic laser calibration process in the software.
First Contour Cut with LAPOS Q
Creating Cut Job Graphics
Creating a logo or importing graphics for the first contour cut job.
Creating Cutting Contour
Defining cutting contours with desired parameters using the software.
Contour Cutting Wizard Setup
Configuring the Contour Cut Wizard for printing or saving graphics.
Adding Cut Job to Software
Adding the saved cut job to DrawCut PRO, assigning a job ID.
Opening LAPOS Q Controller
Accessing the LAPOS Q controller within the Vinyl Spooler interface.
Automatic Media Detection
Opening Vinyl Spooler for Media Detection
Initiating the media detection process by opening the Vinyl Spooler.
Accessing Cut Options Tab
Navigating to the 'Cut Options' tab to access media detection features.
Detecting Media Width
Measuring the maximum media width for the vinyl cutter.
Calibrating Media Background
Performing media background calibration for accurate cutting.
Fine-tuning Media Width
Adjusting the detected media width using arrow keys for precise measurements.
Saving Media Width Measurement
Saving the measured media width in the Vinyl Spooler.
Drag Knives Handling and Maintenance
Knife Safety Precautions
Guidelines for safe handling and storage of drag knives to prevent injury.
Preventing Wear and Tear
Tips to prevent unnecessary wear and ensure durability of drag knives.
Blade Adjustment and Replacement
Adjusting cutting depth and replacing worn blades for optimal cutting.
Technical Specifications
T60 II Technical Data
Detailed technical specifications for the Secabo T60 II vinyl cutter model.
T120 II Technical Data
Detailed technical specifications for the Secabo T120 II vinyl cutter model.
T160 II Technical Data
Detailed technical specifications for the Secabo T160 II vinyl cutter model.
Declaration of Conformity
Statement of Conformity
Official declaration that the product complies with relevant EC directives and standards.
Need help?
Do you have a question about the T160 II and is the answer not in the manual?
Questions and answers