Table of Contents
Advertisement
Quick Links
Thank you for purchasing this Panasonic product.
■ The Operating Instructions correspond to the firmware's main version 3.03 and higher.
■ This manual is common to all the models regardless of suffixes of the Model No.
z for Taiwan
PT-RZ31KT
z for India
PT-RZ31KD / PT-RS30KD
z for other countries or regions
PT-RZ31K / PT-RS30K
■ Before operating this product, please read the instructions carefully and save this manual
for future use.
■ Before using this product, be sure to read "Read this first!" ( x pages 5 to 13).
Operating Instructions
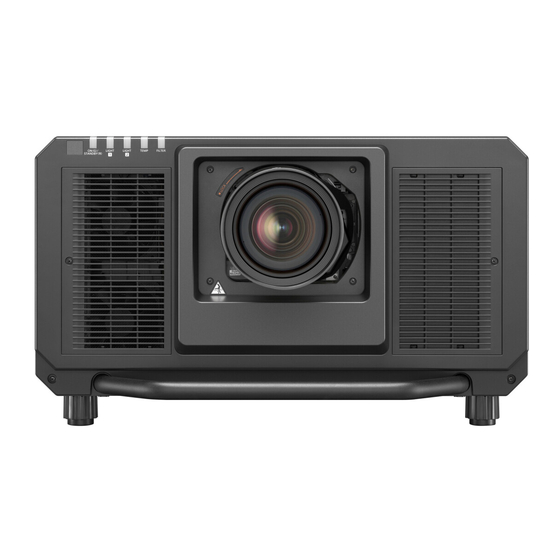
DLP™ Projector
Model No.
The projection lens is sold separately.
Functional Manual
Commercial Use
PT-RZ31K
PT-RS30K
ENGLISH
DPQP1062ZE
Advertisement
Table of Contents

Related Manuals for Panasonic PT-RZ31KU


Summarization of Contents
Chapter 1 Preparation
Precautions for use
Covers crucial safety guidelines for transporting, installing, and using the projector, including electrical safety and environmental considerations.
Security
Details safety measures against unauthorized operation, information leakage, and network security.
DIGITAL LINK
Explains DIGITAL LINK technology for transmitting video, audio, Ethernet, and serial control signals via a twisted pair cable.
Cautions on use
Provides guidelines for maintaining picture quality, handling the projection lens, and care regarding DLP chips.
Accessories
Lists all included accessories and provides notes on their handling and usage.
Optional accessories
Details optional accessories available for the projector, including lens types and model numbers.
About your projector
Provides an overview of the projector, including the remote control, projector body, control panel, and terminal connections.
Preparing the remote control
Explains how to insert batteries, use the remote control with multiple projectors, and connect it via cable.
Chapter 2 Getting Started
Setting up
Covers projector setup, including usable outlets, installation modes, and angle sensor functionality.
Projected image and throw distance
Details projected image size, throw distance, and lens specifications for various projection lenses.
Attaching/removing the projection lens (optional)
Provides step-by-step instructions for attaching and removing optional projection lenses.
Connecting
Explains how to connect external devices, including AV equipment, computers, and DIGITAL LINK devices.
Chapter 3 Basic Operations
Switching on/off the projector
Details the procedure for connecting the power cord, switching the projector on/off, and initial settings.
Projecting
Covers selecting input signals, adjusting focus, zoom, lens shift, and geometry.
Operating with the remote control
Explains how to use the remote control for various functions like shutter, on-screen display, auto setup, and test patterns.
Chapter 4 Settings
Menu navigation
Describes how to navigate the on-screen menu, including main menu, sub-menus, and resetting values.
[PICTURE] menu
Covers picture settings such as mode, contrast, brightness, color, tint, gamma, sharpness, and noise reduction.
[POSITION] menu
Details settings for image position, aspect ratio, zoom, clock phase, and geometry correction.
[ADVANCED MENU] menu
Explains advanced settings like digital cinema reality, blanking, input resolution, edge blending, and frame response.
[3D SETTINGS] menu
Covers settings related to 3D display, including system settings, sync, input format, color matching, and safety precautions.
[DISPLAY OPTION] menu
Details display options like color matching, screen settings, auto signal, input settings, and on-screen display configuration.
[PROJECTOR SETUP] menu
Covers projector settings including ID, projection method, lens settings, operation mode, brightness control, and standby mode.
[SIGNAL LIST] menu
Explains how to manage registered signals, rename them, delete them, and expand signal lock-in range.
[SECURITY] menu
Details security features such as password settings, display settings, text change, and control device setup.
[NETWORK] menu
Covers network settings including digital link mode, network setup, control methods, and Art-Net function.
Chapter 5 Operations
Network connection
Explains network connectivity options, including web control, smart projector control, and connecting via LAN.
Web control function
Details how to access and use the web control interface for projector settings, status, and email alerts.
Chapter 6 Maintenance
Light source/temperature/filter indicators
Describes indicator lights for light source, temperature, and filter status, and corresponding troubleshooting measures.
Maintenance/replacement
Provides instructions for maintaining the outer case, lens, and filters, including replacement procedures.
Troubleshooting
Offers solutions for common problems encountered with the projector, categorized by issue.
Self-diagnosis display
Explains the projector's self-diagnosis display for errors and warnings, including alphanumeric symbols and action numbers.
Chapter 7 Appendix
Technical information
Provides technical details on PJLink protocol, Art-Net function, command transmission methods, and control commands.
Dimensions
Shows the physical dimensions of the projector and its optional Long Life Filter Unit.
Attaching the Long Life Filter Unit (optional)
Guides on removing, attaching, and setting the filter for the optional Long Life Filter Unit.
Attaching the Smoke Cut Filter Unit (optional)
Explains how to attach and set the optional Smoke Cut Filter Unit for environments with smoke.
Need help?
Do you have a question about the PT-RZ31KU and is the answer not in the manual?
Questions and answers