Table of Contents
Advertisement
Quick Links
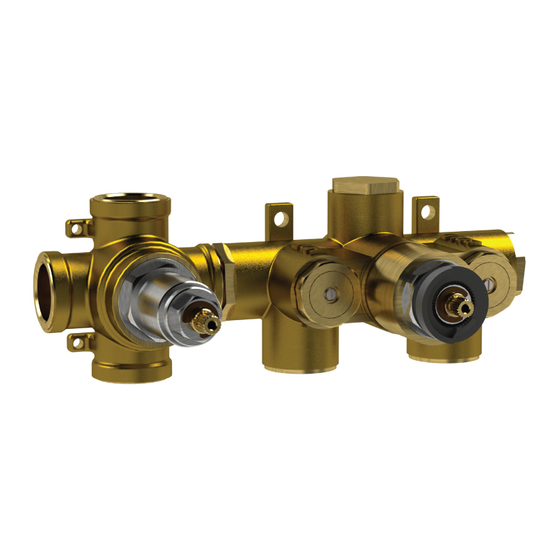
3/4" Thermostatic Valve With 2 or 3 Output Diverter
TVH.2705F
3 OUTPUT
Ver. 2.54
www.isenbergfaucets.com
Installation Manual
HORIZONTAL or VERTICAL Installation
BEFORE YOU BEGIN
•
You must observe all local plumbing laws and codes.
•
Do not install this valve if it does not meet local plumbing codes.
•
Shut off the main water supply.
TVH.2717F
2 OUTPUT
Advertisement
Table of Contents

Related Manuals for Isenberg TVH.2717F


Summarization of Contents
Operating Specifications
Water Temperature
Specifies the acceptable operating temperature range for the valve.
Water Pressure
Defines the acceptable operating water pressure range and requirements.
Cut Out Dimensions
Wall Cut Out Dimensions
Details specific measurements for wall cut-outs from the valve's center point.
Rough In Specification
Valve to Finished Tile Distance
Specifies the required distance between the valve back and the finished tile surface.
Connecting the Supply & Output Lines
Two Output Configuration
Guidance for connecting supply lines for the two-output valve model.
Three Output Configuration
Guidance for connecting supply lines for the three-output valve model.
Installing the Trim
Remove Mud Guards
Procedure for removing protective mud guards from the valve assembly.
Install 42mm Ring
Steps for installing the 42mm ring, ensuring it is flush for proper handle fit.
Insert Trim Plate
Process for inserting the trim plate onto the valve assembly.
Insert Adaptor Base and Tighten
Steps for installing and securing the adaptor base.
Insert Diverter Handle
Instructions for installing the diverter handle and securing it with a hex screw.
Calibrate Cartridge and Re-insert Temperature Ring
Guide on calibrating the cartridge and correctly re-inserting the anti-scald temperature ring.
Insert Temperature Handle
Instructions for installing the temperature handle and its anti-scald button feature.
Need help?
Do you have a question about the TVH.2717F and is the answer not in the manual?
Questions and answers