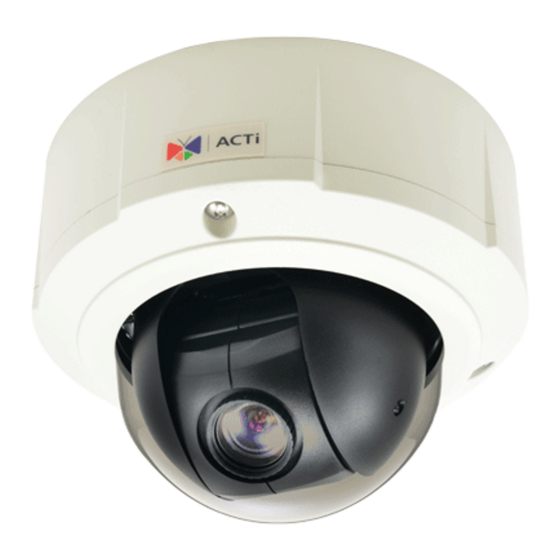
Summarization of Contents
Precautions
General Warnings and Liability
Essential safety warnings, servicing advice, trademarks, and liability disclaimers.
Compliance Statements
FCC Statement
Details on FCC regulations for Class B digital devices and interference mitigation.
CE Statement
Statement on compliance with European standards for IT equipment and potential interference.
Safety Instructions
Handling and Maintenance Safety
Guidelines for safe cleaning, attachments, servicing, and damage protocols.
Introduction
List of Camera Models
Details the various outdoor mini PTZ camera models covered in the manual.
Package Contents
Included Items
Lists all items included in the camera package for installation.
Physical Description
Camera Module Overview
Illustrations and descriptions of camera module components and ports.
Mounting Options
Standard Mounting Types
Covers surface, flush, gang box, and pendant mounting methods.
Specialized Mounts
Details straight wall, pole (vertical/horizontal), and corner mounts.
Additional Mounting Accessories
Information on optional accessories like extension tubes and junction boxes.
Installing the Camera on a Surface
Step 1: Drill the Holes
Procedures for drilling holes on surfaces for camera mounting and cable routing.
Step 2: Open the Dome Cover
Detailed steps for safely opening the camera's dome cover.
Waterproofing with Naked Cable
Steps for using the cable gland with an exterior-grade Ethernet cable.
Waterproofing with Conduit
Steps for using the conduit gland with flexible conduit for waterproofing.
Step 4: Install Camera to Surface
Procedures to attach the camera to the prepared surface using screws.
Step 5: Close the Dome Cover
Instructions for reattaching the dome cover to the camera body.
Step 6: Connect to Network
Guidance on connecting the camera to a network switch or injector.
Step 7: Access Camera Live View
How to access the camera's live video feed via a web browser.
Other Connections
Connecting Power Adapter
Steps for connecting an external DC 12V power adapter to the camera.
Connecting DI/DO Devices
Instructions for connecting digital input/output devices for event notification.
Connecting Audio Devices
Instructions for connecting microphones and speakers to the camera.
Other Adjustments and Accessories
Camera Module Removal and Installation
Procedures for removing and reinstalling the camera module from its housing.
Dome Cover Replacement
Steps for replacing the standard dome cover with optional covers.
Memory Card Operations
Inserting Memory Card (B94-B97 Models)
Steps for inserting a memory card into specific camera models.
Inserting Memory Card (B9xA Models)
Procedures for inserting memory cards into other supported camera models.
Accessing the Camera
IP Address Configuration
Guide to setting up IP addresses for PC and camera communication.
Camera Web Browser Access
Steps to connect to the camera using a web browser and the Web Configurator.
Factory Default Login
Provides the default username and password for accessing the camera.


Need help?
Do you have a question about the B911 and is the answer not in the manual?
Questions and answers