Sign In
Upload
Download
Table of Contents
Contents
Add to my manuals
Delete from my manuals
Share
URL of this page:
HTML Link:
Bookmark this page
Add
Manual will be automatically added to "My Manuals"
Print this page
×
Bookmark added
×
Added to my manuals
Manuals
Brands
GRAPHTEC Manuals
Cutter
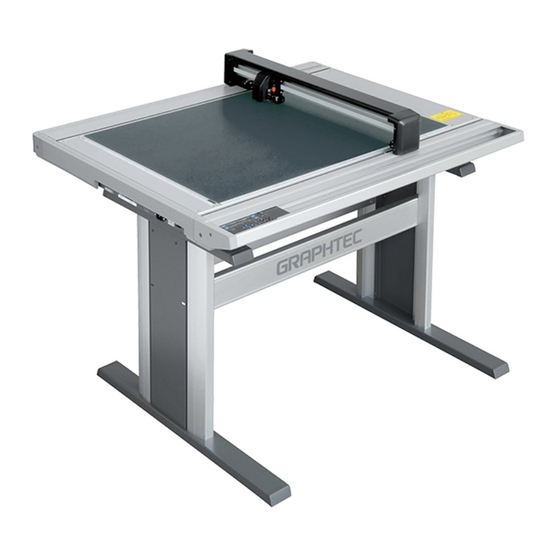
FC4510
User manual
GRAPHTEC FC4510 User Manual
Hide thumbs
1
2
3
4
5
6
7
8
9
10
11
12
13
Table Of Contents
14
15
16
17
18
19
20
21
22
23
24
25
26
27
28
29
30
31
32
33
34
35
36
37
38
39
40
41
42
43
44
45
46
47
48
49
50
51
52
53
54
55
56
57
58
59
60
61
62
63
64
65
66
67
68
69
70
71
72
73
74
75
76
77
78
79
80
81
82
83
84
85
86
87
88
89
90
91
92
93
94
95
96
97
98
99
100
101
102
103
104
105
106
107
108
109
110
111
112
113
114
115
116
117
118
119
120
121
122
123
124
125
126
127
128
129
130
131
132
133
134
135
136
137
138
139
page
of
139
Go
/
139
Contents
Table of Contents
Troubleshooting
Bookmarks
Table of Contents
To Ensure Safe and Correct Use
Conventions Used in this Manual
Description of Safety Symbols
Safety Precautions
Preface
Registered Trademarks and Copyrights
Precautions on the Handling of Cutter Pens
Precautions after Turning on the Plotter
The Warning Label
Adhesive Mat
Adhesive Sheet
Daily Maintenance and Storage
Selecting a Power Cable
Table of Contents
1 Product Summary
Model Names and Basic Specifications
Standard Accessories
Plotter Nomenclature
Control Panel
Ch 2 Cutter Blades, Cutter Pens and Pens
Types of Cutter Blades and Their Features
Cutter Pen Nomenclature
Replacing the Cutter Blade
Adjusting the Blade Length
Obtaining the Correct Blade Length
Pen Types and Their Features
3 Preparations for Cutting/Plotting
Basic Operational Flow
Connecting to Your Computer
Mounting the Tools
If Your Plotter Is the FC4500-50 or FC4500-60 Model
If Your Plotter Is the FC4510-60 Model
Turning on the Plotter and Initialization
Loading the Medium
Attaching the Origin Point Alignment Guides
Setting the Cutting Conditions (Setting Conditions)
[Force]
Setting the Speed [SPEED]
Setting the Cutter Blade Type and Offset [OFFSET]
Creaser Settings
Short Line Segment Settings
Setting the Quality [QUALITY]
Thick Mode Settings
Perforation Settings
Running a Cutting Test
Cutter Pen Test
Creasing Tool Test
Cutting a Sample
Blade Length Adjustment
Media and Cutting Conditions
Setting the Cutting Origin
Using the Copy Function
Using the Hold Function
4 Registration Mark Settings and Detection
Outline of the Registration Mark Function
Setting the Registration Mark Mode
Setting the Registration Mark Pattern
Setting the Registration Mark Spacing
(FC4510-60 Only)
Setting the Center Registration Mark (FC4510-60 Only)
Registration Mark Distance Adjustment
USER (Manual Input)
Custom
Setting the Registration Mark Size
Setting the Registration Mark Offset
Adjusting the Registration Mark Sensor
Adjusting the Registration Mark Sensor by Using a Pre-Printed Cross Symbol and a Plotted Cross Symbol
Adjusting the Registration Mark Sensor by Using One Plotted and One Cut Cross Symbol
Setting the Registration Mark Detection Judgment Level
Automatic Adjustment of the Sensitivity of the Registration Mark Sensor
Adjusting the Sensitivity of the Registration Mark Sensor
Setting the Registration Mark Detection Speed
Setting the Number of Detection Operations
Setting the Sensing Interval
Axis Adjustment
Registration Mark Detection
Manual Detection
Setting the Registration Mark Cutting Function
Setting the Registration Mark Detection Start Position
5 Function Settings and Operations
PAUSE Menu Configuration
Clearing the Buffer
Raising/Lowering the Tool
Setting the Communication Conditions
Setting the Data Format to be Received
Assigning THICK Mode
Setting the Overlay Function
Assigning the Short Line Segment Settings
Assigning Tool Numbers
Assigning Perforation Cutting
Setting the Tool Interval Adjustment Value
Setting the Distance Adjustment Values
Sorting
Rotating the Coordinate Axes
Setting the Cutting/Plotting Area
Setting the Mirror Mode
Scaling the Image Data
Setting the Initial Cutting Force
Setting the Offset Force
Setting the Offset Angle
Setting the Step Pass
Setting the Tool-Up Height
Setting the Tool Movement Speed
Setting the Pen Carriage Movement Speed
Setting the Step Movement Distance
Setting the Low Movement Speed
Setting the High Movement Speed
Printing a Conditions List
Printing the Self-Test Pattern
Printing a Character Dump List
Special Functions
Ch 6 Troubleshooting
Troubleshooting
Error Messages
Ch 7 Specifications
Main Specifications
External Dimensions
Index
Advertisement
Quick Links
Download this manual
FC4500/4510
CUTTING PRO
USER'S MANUAL
MANUAL NO.FC4500-UM-151
www.delinit.by
Table of
Contents
Previous
Page
Next
Page
1
2
3
4
5
Advertisement
Table of Contents
Need help?
Do you have a question about the FC4510 and is the answer not in the manual?
Ask a question
Questions and answers
Subscribe to Our Youtube Channel
Related Manuals for GRAPHTEC FC4510
Cutter GRAPHTEC FC8000 Series Quick Start Manual
Control panel settings (2 pages)
Cutter GRAPHTEC FCX2000 Service Manual
(262 pages)
Cutter GRAPHTEC FC5100-75 User Manual
Fc5100 cutting pro (202 pages)
Cutter GRAPHTEC FCX4000 Service Manual
(197 pages)
Cutter GRAPHTEC CUTTING PRO FC3100-60 Service Manual
(175 pages)
Cutter GRAPHTEC FC4500 User Manual
(139 pages)
Cutter GRAPHTEC FC2240 Service Manual
(149 pages)
Cutter GRAPHTEC CE8000 Updating Instructions
(2 pages)
Cutter GRAPHTEC CE5000 SERIES Quick Manual
(2 pages)
Cutter GRAPHTEC CE LITE-50 Setup Manual
Cutting plotter (44 pages)
Cutter GRAPHTEC CB15U Manual
Cutter blade (4 pages)
Table of Contents
Print
Rename the bookmark
Delete bookmark?
Delete from my manuals?
Login
Sign In
OR
Sign in with Facebook
Sign in with Google
Upload manual
Upload from disk
Upload from URL


Need help?
Do you have a question about the FC4510 and is the answer not in the manual?
Questions and answers