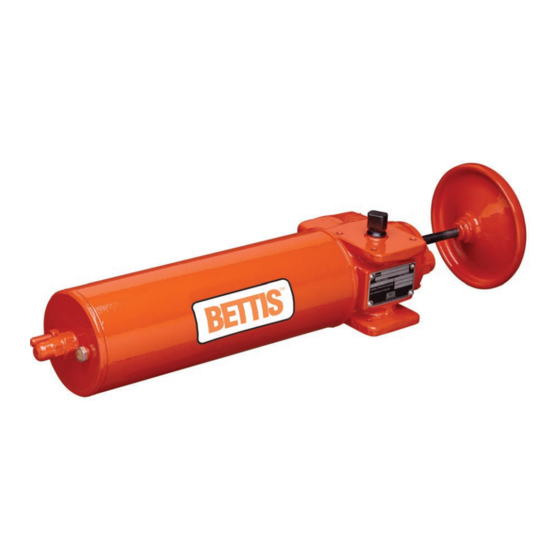

Related Manuals for Emerson Bettis CBB725


Summarization of Contents
Section 1: Introduction
General Service Information
This service procedure is offered as a guide to enable general maintenance to be performed on Bettis CBB double-acting series actuators.
Definitions
Provides definitions for warnings, cautions, and specific actuator terms like ES and M3.
General Safety Information
Emphasizes following safety procedures, warnings, and cautions for personnel protection.
Service Support Items
Lists service kit, leak testing solution, and thread sealant as support items.
Lubrication Requirements
Specifies the recommended lubricant (ESL-5) for actuators and service intervals.
General Tool Information
Details thread types (Inch Unified and NPT) and lists required tools for maintenance.
Actuator Storage
Recommends monthly cycling with clean/dry pressure for actuators not in immediate service.
Actuator Installation
Provides general guidance on mounting actuators and adjusting travel stops.
Actuator Start-up
Details pre-start-up checks, connection checks, and initial cycling procedures.
Actuator Operation
Explains controlled and manual operation, emphasizing not exceeding nameplate pressure.
Section 2: Actuator Disassembly
General Disassembly
Covers initial steps like removing pressure and recording stop screw settings before disassembly.
Housing Disassembly
Provides steps for removing stop screws, retaining rings, torque shaft, yoke, and M3 jackscrews.
Section 3: Actuator Reassembly
General Reassembly
Covers cleaning parts, inspecting for wear, and preparing for reassembly.
Actuator Reassembly per CBB Models Listed in Step 3.1.5.1
Details reassembly steps for models CBB315, 420, 520, 525, and 725.
Actuator Reassembly per CBB Models Listed in Step 3.1.5.2
Details reassembly steps for M3/M3HW models.
Section 4: Actuator Testing
Actuator Testing
Details leak testing procedures, including pressure limits and areas to check for leaks.
Section 5: Troubleshooting
Fault Insertion
Provides a Fault Location Table with symptoms, potential causes, and remedies for common issues.
Operational Test
Describes full stroke and partial stroke testing procedures for verifying actuator functionality.
Section 6: Removal and Decommissioning
Removal and Decommissioning
Outlines safety precautions and steps for removing the actuator from the valve.
Section 7: Document Revision
Table 6. Revision Overview
Lists the revision history of the document, including ECN, date, revision number, status, and author.
Appendix A: List of Tables
Table 3. Tightening Torque Center Bar (1)
Specifies torque values for tightening the center bar for different actuator models.
Table 4. Tightening Torque Center Bar (2)
Provides additional torque specifications for tightening the center bar.
Table 5. Symptoms and Solutions Table
A troubleshooting table mapping symptoms to potential causes and remedies.
Appendix B: List of Drawings
B.1 Part No. VA001-005-72-4, CBBXXX Assembly Drawing
Contains the assembly drawing for CBBXXX actuators, detailing parts and their numbers.
B.2 Part No. VA001-005-73-3, CBBXXX-M3HW Assembly Drawing
Assembly drawing for CBBXXX-M3HW actuators, showing parts and their identification.
Need help?
Do you have a question about the Bettis CBB725 and is the answer not in the manual?
Questions and answers