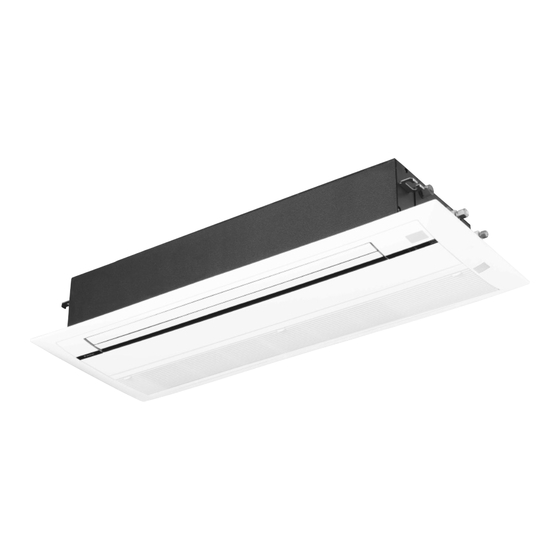
Summarization of Contents
Air Filters and Front Grille Removal
Remove Air Filters
Steps to unfasten hooks and remove air filters and photocatalytic filter.
Remove Front Grille
Steps to slide levers and remove the front grille.
Decoration Panel Assembly Removal
Access Internal Components
Steps to release harnesses and remove service/electrical box covers.
Remove Decoration Cover and Display Panel
Steps to remove the outer decoration cover and the display/control panel.
Remove Main Decoration Panel Assembly
Steps to remove screws and release hooks for the main decoration panel.
Air Outlet Assembly Removal
Remove Air Outlet Assembly
Steps to remove thermal insulation, screws, and lift the air outlet assembly.
Remove Swing Motors
Steps to remove horizontal and vertical swing motors.
PCB and Thermistor Removal
Remove Signal Receiver Unit
Steps to cut clamps, unfasten hooks, and remove the signal receiver unit.
Remove Room Temperature Thermistor
Steps to remove the screw, release harnesses, and disconnect the thermistor.
Electrical Box Components Removal
Remove Electrical Box
Steps to disconnect wires, connectors, and remove the main electrical box.
Remove Shield Plate
Steps to remove screws and unfasten hooks from the shield plate.
Remove PCBs
Steps to disconnect connectors, remove terminal board, and remove PCBs.
Drain Pan Procedures
Drain Plug and Fluid Removal
Steps to pull out the drain plug and remove residual drain fluid.
Remove Drain Pan and Antibacterial Agent
Steps to remove the drain pan and address the antibacterial agent.
Drain Pump Removal
Remove Drip Proof Plate and Thermistor
Steps to remove the drip proof plate and the heat exchanger thermistor.
Remove Drain Pump Assembly
Steps to remove screws and unfasten hook to remove the drain pump.
Heat Exchanger Removal
Remove Fixing Plate and Drip Proof Plate
Steps to remove the fixing plate and the left drip proof plate.
Remove Heat Exchanger
Steps to remove screws and unfasten hooks to remove the heat exchanger.
Fan Motor Removal
Remove Fan Rotor
Steps to remove screws to detach the fan rotor.
Remove Fan Motor
Steps to unfasten hooks and remove the fan motor from its cover.


Need help?
Do you have a question about the CCXS12PVM and is the answer not in the manual?
Questions and answers