Table of Contents
Advertisement
Quick Links
Advertisement
Table of Contents

Related Manuals for DANE-ELEC SO G-STREAM


Summary of Contents for DANE-ELEC SO G-STREAM
-
Page 1: User Manual
Multimedia Reader for External Hard Disk HDMI & WIFI 802.11g User Manual... -
Page 2: Table Of Contents
CATALOGUE BRIEF INTRODUCTION PRODUCT DETAILS BASIC OPERATION OPERATION OF FILE SHARING UNDER WINDOWS XP OPERATION OF FILE SHARING UNDER WINDOWS VISTA OPERATION OF PRODUCT USAGE SETUP MENU MAINTENANCE NOTICE... -
Page 3: Brief Introduction
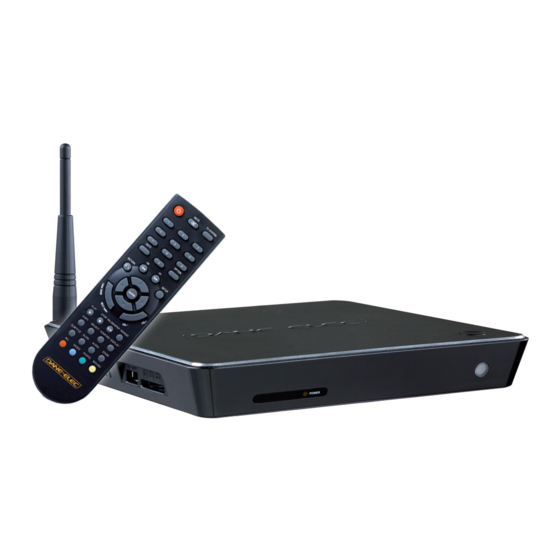
BRIEF INTRODUCTION Feature The So G-Stream is a new kind of multimedia player product. The So G-Stream can provide good watching. Meanwhile, it can also play many kinds of video files. The So G-Stream, which facilitated with many port and HDMI, can show you picture and video with high definition. It is really your desirable entertainment products. -
Page 4: Product Details
PRODUCT DETAILS Packing list Check the accessories after receive the So G-Stream. If there are some missing, please contact immediately with your supplier to insure your consumer’s right. Name Quantity Media player 1 pcs Power Adapter 1 pcs Remote Controller... - Page 5 Back view Port Port definition DC IN Power port HDMI High definition port 3 4 5 Composite video and audio output port Optical Audio output port Network port USB HOST Outside USB port WIFI Antenna port Remote control BUTTON FUNCTION POWER Turn on and off in the stand by mode Turn on or shut audio output...
-
Page 6: Basic Operation
The So G-Stream is designed with multi-output, including composite (AV), component (YPbPr) and HDMI. Individuals can select different interface according various need. The So G-Stream can detect video output automatically, making the operation friendly and convenient. Please refer to the following instruction for... - Page 7 CVBS Composite output mode: Plug the yellow connector into the AV output of So G-Stream and AV input of TV, and plug the red and white connector into the audio input of TV or HIFI. Turn on the TV and select AV mode.
- Page 8 - Click on “power” button ( - Wait 15 seconds - The So G-Stream is in stand by when the power led go from orange (or blue) to red and front power led go from orange (or blue) to black.
-
Page 9: Operation Of File Sharing Under Windows Xp
RJ45 cable according to the following illustration. The network connects well when the LED of network status and W/R blinks. Connect one end of the RJ45 cable to the So G-Stream like the PC does and connect the video output. Press “setup” key or select “setup” menu in the initiation interface. Select “Network”... - Page 10 2. Select “sharing” in the property option and select “share this folder on the network” and click “Apply” for confirming to exist. 3. Open “Control panel- Management tool-Computer management-Local users and groups” and click “Users” option. Right click Guest and select “Properties”.
- Page 11 4. Select ‘users can not change your password’ and ‘password never expires’. Keep the other checkboxes unchecked. 5. Open “Control panel- Network connection”, and select “Local Area connection” and right click to select “Properties”.
-
Page 12: Operation Of File Sharing Under Windows Vista
6. In the Pop-up window, select ‘Internet protocol (TCP/IP)’ 7. Set up the relevant IP address, subnet mask and gateway can also choose to automatically design. 8. Completion of Windows XP network sharing. 9. Finally, please close the Windows Network Connection Firewall. OPERATION OF FILE SHARING UNDER WINDOWS VISTA 1. - Page 13 How to share a folder under Windows Vista SP1 ? Step 1 : - Click on Start - Select computer - Right click on mouse - Select « Manage services »...
- Page 14 - In « manage services » double click on « Server » - In « start type » select with scroll down arrow « Automatic selection » - Click on apply - Then click on “start” button...
- Page 15 After this manipulation, Server service start and take in consideration the folder files sharing. Step 2 : To share a folder - Click right mouse button on « Start » - Select “Explorer” with left mousse button...
- Page 16 - Select the folder you want to share - Click on the right mouse button a windows appear - Select with the left mouse button “share”...
- Page 17 - Click on scroll down arrow - Select « everybody » in the list - Click on « add » - Then click on share - Click on finish You can access now to all the folder and files you have select before and used them by streaming for you computer to your So G Stream connected to you TV LCD Screen (cf.
-
Page 18: Operation Of Product Usage
OPERATION OF PRODUCT USAGE Browse and play the media files. Power on the HDD Player, the system shows guide menu after a few seconds. There will be four function options. Note: While connect the power supply for the first time, the device will power on automatically and appear the menu: With these function, individuals can browse movie, photo and music files stored in USB DEVICE, CARD READER and NETWORK by pressing the “... - Page 19 NB: If you want to create a slide show with music: - Select “ALL” red button on the remote control to have access to all data. If you want only music select music, photo select photo, video select video, the icone change on the top left screen corner each time you use a button.
-
Page 20: Setup Menu
SETUP MENU Directly press “Setup” button on the remote controller to enter the setup menu. It is possible to confi- gure Photo, Audio, Video, Network and System. Select any option by pressing on the remote controller, and press ENTER to confirm or press RETURN to exit. - Page 21 Changing Network Settings Check the following items before use this function: Connection between product and network Network protocol is available PC firewall must be shut down Wired Lan Setup and Wireless Files are shared Lan Setup Auto: Automatically set IP address Manual : select IP address, subnet mark address and default gateway.
- Page 22 Select your Access Point in the list: Ex : Dane-Elec Guest with the remote control Then push «ENTER» «Auto» «ENTER» Select Wireless Security : Ex : I WPA/WPA2 Key «ENTER» Enter your password then «OK», «ENTER», Save setting, «ENTER» «Testing Screen»...
-
Page 23: Maintenance Notice
NB : Don’t choose wired or wireless network both in the same time Changing System Settings Menu Language Select to choose the OSD (On Screen Display) language. Text Encoding Change the system language. Restore Default To reset the language and network. MAINTENANCE NOTICE: To protect the normal use of all accessories, please kindly make sure understand and pay attention to following points.
Need help?
Do you have a question about the SO G-STREAM and is the answer not in the manual?
Questions and answers