Advertisement
Quick Links
Advertisement

Related Manuals for Engl Savage 120 II


Summary of Contents for Engl Savage 120 II
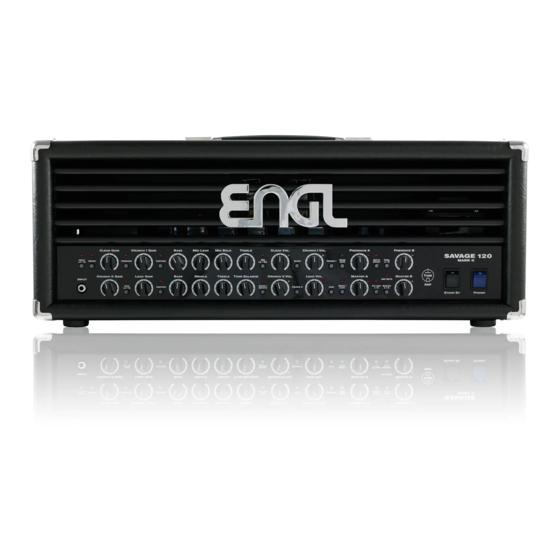
- Page 1 E610II Savage 120 II E630II Savage 60 II Operator´s Manual...
- Page 2 Crunch and Lead channels. And last but not least I spent again many hours in intense sound tuning sessions, my favorite labour at ENGL Amps. I hope you will enjoy the results of all my efforts: not even only take my words but rather give my new amp creation a trial - plug in your guitar and play it!.“...
-
Page 3: Bright Switch
Input Hi is activated. The Input LO/HI function can also be switched via MIDI program change, MIDI Controller #20, or the ENGL Z9. When activated, the level in Channels Clean and Crunch I gets boosted for approx. 10 dB. The level in Channels Crunch II and Lead I gets boosted for approx. 4 dB. - Page 4 The Preshape sound option can also be switched via MIDI program change, MIDI Controller #21, or the ENGL Z9. The red LED above the button lights up to indicate when PRESHAPE is activated.
- Page 5 MID LE./BO. function is on; i.e. the MID BOLD control knob is currently controlling the mid range. The MID LE./BO. switching function can also be switched via MIDI program change, MIDI Controller #28, or the ENGL Z9. The red LED above the button lights up to indicate when Contour is activated.
- Page 6 Noise Gate is activated. Note that the Noise Gate does not operate during the Clean channel is selected. This feature can also be switched via MIDI program change MIDI Controller #24, or the ENGL Z9. IMPORTANT NOTE, PLEASE READ AND HEED: The Noise Gate may open up inadvertently when it is activa- ted, a high-gain channel is selected, and the volume exceeds the Threshold knob setting.
- Page 7 Lead modes. The LED above this button lights up to indicate Hi Gain is active. This feature can also be switched via MIDI program change MIDI controller #22 or the ENGL Z9. A TIP FROM THE DESIGNER: When activated, the Hi Gain setting supercharges the amplification factor, switching from Soft Crunch to Heavy Crunch or from Soft Lead to Heavy Lead and putting both channels into high gear.
- Page 8 1.5 and 3 KHz. Activate CONTOUR for a pronounced mid range spectrum. The Contour sound option can also be switched via MIDI program change, MIDI Controller #29, or the ENGL Z9. The red LED above the button lights up to indicate when CONTOUR is activated.
- Page 9 Press this button to activate preamp Crunch II Channel at the amp. The yellow LED to the right of the Crunch II Channel Volume knob lights up to indicate it´s active. The Crunch II Channel may also be activated via MIDI program change, the ENGL Z9, or a conventional 6.3 mm (¼“) TRS dual footswitch. Lead Vol.
- Page 10 This button switches to and from between FX Loop I and FX Loop II. The red LED above the button lights up to indicate is on. You can also select loops via MIDI program change or the ENGL Z9. Master A / B Switch Switches back and forth between the Master A and Master B knobs.
- Page 11 Stand By Switch Power amp Stand By switch: Use this switch to protect the power tubes against wear (0 position) when you take a longer break. The amp‘s tubes stay nice and toasty, and the amp is ready to roll immediately when you ramp it back up to full power.
- Page 12 This 5-pin DIN port patches incoming MIDI data from the MIDI in to any other connected MIDI device. Midi In This 5-pin DIN port accepts data sent by a MIDI sender (for example, the ENGL Z9, Z12, Z15 footcontrollers) or from or routed through another MIDI device.
- Page 13 Midi Channel, MIDI Controller, Amp Mute Use this DIP switch to assign the MIDI channel by which the amp‘s MIDI system will receive program change commands and specific MIDI controller commands assigned to certain amp functions. Your choices are the standard 16 MIDI channels numbered from 00 to 15, as well as OMNI mode, whereby all MIDI data is received regardless of the MIDI send channel.
- Page 14 This serial data input accepts the ENGL Z9 (optional), which lets you control various amp functions remo- tely. Connect the ENGL Z9 to the amp port using a cord equipped with stereo 6.3 mm (¼“) jack plugs. This MIDI-enabled foot board is a custom design that switches every amp feature designated as footswitchable in this manual.
- Page 15 FX Loop I Send Connect this FX Loop I output to a signal processor´s input/return or an effect pedals´s input/return jack using the shortest possible shielded cord equipped with 6.3 mm (¼“) plugs. Activate and deactivate it via the FX Loop I / II button, which switches between these two loops. In the signal path, FX Loop I is located post preamp and pre the two power amp Master knobs.
- Page 16 You can feed this signal to another linear power amp. Another op- tion is to patch it through an outboard filter to emulate a speaker, or for example into the ENGL CABLOADER (IR-Loader with an integrated microphone and poweramp simulation), and feed this externally processed signal to a recording device or PA system.
- Page 17 Cabinet options 1. One 4 Ohm cabinet connected to a 4 Ohm jack Summary: 4 Z, --> connected to 4 Ohm output 2. Two 8 Ohm cabinets connected to the 4 Ohm jacks Summary: 8 Z + 8 Z, --> connected to 4 Ohm + 4 Ohm output 3.
-
Page 18: Technical Data
TECHNICAL DATA: Output power: approx. 60 Watts; adjusted accordingly to 4, 8 and 16 Ohm – E630II approx. 120 Watts; adjusted accordingly to 4, 8 and 16 Ohm – E610II Input sensitivity Input: from -20 dB, nominal, max. 0 dB Effect RETURN: from -20 dB, nominal, max. -
Page 19: Handling And Care
• Replace tubes with selected tubes that satisfy ENGL selection criteria to forestall microphonic pro- perties, undesirable noise and unbalanced power amp signals. Because power tubes‘ idle current (bias) must checked and possibly adjusted when replacing tubes, this is a job best left to experienced and authorized specialists. - Page 20 • Be sure to operate and handle this amp as it was designed for. To this end, please heed the instruc- tions in the operator‘s manual. • You‘ll find an additional pamphlet accompanying this owner‘s manual entitled „Instruction for the prevention of fire, electric shock or injury of persons“.
-
Page 21: Troubleshooting
Are the cords you are using stereo, intact, and wired properly? • If you are using footswitches other than an ENGL Z-4 or Z-11, are the switches or relays inside the boards or switching loop systems off / on Single Pole Single Throw (SPST) switches? In other words, do these switches continuously connect to GND when you wish to activate the given function? If you‘re... - Page 22 Column 4 indicates the currently or newly selected configuration. For example, if LED 3 flashes when the ENGL Z9‘s Function 2 Setup routine is activated, then the SAVAGE II Amp‘s FX Loop I / II switching feature is currently assigned to Function 2 the corresponding S.A.C. command is F2-7.
- Page 23 Column 5 lists the shorthand designations for specific configurations that appear throughout the ENGL Z9 Operator‘s Manual. For detailed information, please refer to the ENGL Z9 Operator‘s Manual. PLEASE NOTE: The ENGL Z9 is an optional accessory. The afore mentioned Function buttons, LEDs and setup routines pertain to the ENGL Z9.
- Page 24 www.engl-amps.com...
Need help?
Do you have a question about the Savage 120 II and is the answer not in the manual?
Questions and answers