Advertisement
Quick Links
Download this manual
See also:
Owner's Manual
R
O
T
C
E
T
E
D
•
Y
T
N
O
I
T
C
E
T
O
R
P
Beltronics RX45 Comes Complete
Front Radar/Laser Receiver
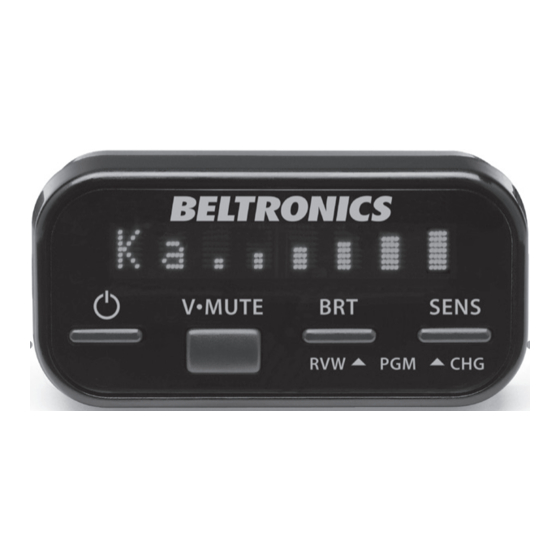
Miniature Display Controller
• Miniature weather-proof Radar/Laser
• Display Controller mounts easily to
Receiver
instrument pod,dashboard or console
• Universal mounting bracket with
• Optional hidden display included
stainless steel hardware
Interface
• Built-in 16 foot shielded cable with
water proof connector
• Central module connects to switched
• 12 nylon wire ties to secure cable
12-volt power and ground
• All components plug directly in using
modular connections
• 3M connector taps into existing
vehicle wiring
Beltronics
5442 West Chester Road
West Chester OH 45069
©2010 Beltronics. Beltronics, RX45, SmartShield, AutoScan, ThreatDisplay and TechDisplay are trademarks of Beltronics USA, Inc. SWS is a trademark of SWS, L.C.
Manufactured and Printed in Canada. Features, specifications and prices subject to change without notice.
E
F
A
S
•
R
E
S
A
L
•
R
A
D
A
R
Manual
Installation
D
E
L
L
A
T
S
N
I
-
K
C
I
U
Q
Documentation
• Comprehensive Owner's Manual
• Installation Manual
Built-in Diagnostics
• Confirms all components are
operational
• Fully compatible with Laser Shifters
Service 800.341.2288
www.beltronics.com
Important Notes
Read This First
Please read both sides of these
instructions before starting your
installation.
For the easiest trouble-free
installation,install the Interface
first,and wire it to a 12-volt
switched circuit.
1
Installation of this system
12-volt installation
requires some experience and
experience is
expertise in automotive
suggested
electronics.Car Audio specialists
and many new car dealers can
install this for you.
2
If you choose to install it
yourself without expertise in
automotive electronics,please
note that it can cause personal
injury or damage to your vehicle.
To get the best possible
Performance
performance,installation of the
Warning
Radar/Laser receiver is critical.
Although radar signals will pass
through some materials,including
plastic,laser signals will not.For
this reason the receiver must have
a clear view of the road in order to
work properly.
Then before installing the other
components,plug all of them into
the Interface and power up the
unit to confirm proper operation.
3
If your vehicle is damaged
during installation,its safety
systems may be compromised and
could cause personal injury or
property damage.
4
Improper installation may also
void RX45's warranty.
NOTE:INSTALLTHE RECEIVER
HORIZONTALLY AND LEVEL,
WITH A CLEAR VIEW OFTHE
ROAD.
Advertisement

Summary of Contents for Beltronics RX45
- Page 1 West Chester OH 45069 ©2010 Beltronics. Beltronics, RX45, SmartShield, AutoScan, ThreatDisplay and TechDisplay are trademarks of Beltronics USA, Inc. SWS is a trademark of SWS, L.C. Manufactured and Printed in Canada. Features, specifications and prices subject to change without notice.
- Page 2 Turn vehicle’s ignition to the“on”position. Drill a 1/4" hole,and install the LED clip. Connect black wire (–) to ground,and red- Turn RX45 on by pressing the power striped wire (+) to a switched 12-volt supply. button located on the front of the Display Snap LED into clip from behind.


Need help?
Do you have a question about the RX45 and is the answer not in the manual?
Questions and answers