
Related Manuals for Lenovo 10UR


Summarization of Contents
Chapter 1. Overview
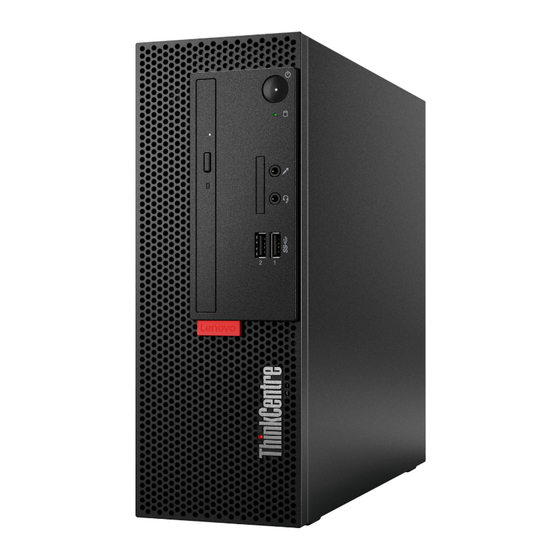
Front View Component Identification
Identifies and describes buttons, indicators, and connectors on the computer's front panel.
Rear View Port Identification
Details the various input/output ports and connectors located on the computer's rear.
System Board Component Layout
Illustrates and labels the key components and connectors on the motherboard.
Machine Type and Model Label Location
Explains where to find the identification label for the computer model and serial number.
Chapter 3. Computer Locks
Locking the Computer Cover with a Padlock
Steps for securing the computer chassis using a padlock through the designated loop.
Attaching a Kensington-Style Security Cable
Instructions for connecting a Kensington lock to secure the computer to a fixed object.
Attaching a General Cable Lock
Guide for using a cable lock to secure peripheral devices to the computer.
Chapter 4. Replacing Hardware
Pre-Replacement Safety and Preparation
Essential precautions and readiness steps before performing hardware replacements.
Static Electricity Prevention Measures
Guidelines for handling electronic components to avoid damage from static discharge.
Identifying Replaceable Parts (CRUs & FRUs)
Distinguishes between Customer Replaceable Units (CRUs) and Field Replaceable Units (FRUs).
Replacing the Vertical Stand
Instructions for removing and installing the optional vertical stand.
Replacing the Power Cord
Steps to disconnect and replace the computer's main power cable.
Removing the Computer Cover
Detailed procedure for safely opening the computer's chassis.
Replacing the Front Bezel
Guide for removing and installing the computer's front panel.
Replacing the Optical Drive
Instructions for removing and installing the optical disc drive.
Replacing the Storage Drive
Steps for installing or replacing 3.5-inch and 2.5-inch storage drives.
Replacing the Card Reader
Procedure for removing and installing the internal memory card reader module.
Replacing the Internal Speaker
Steps for removing and installing the computer's built-in speaker.
Replacing the Illuminated Red Dot Indicator
Instructions for replacing the small LED indicator on the front panel.
Replacing the Power Supply Assembly
Guide for removing and installing the computer's power supply unit (PSU).
Replacing the Cover Presence Switch
Steps for removing and installing the switch detecting case opening.
Replacing the M.2 Storage Drive
Instructions for installing or replacing an M.2 form factor storage device.
Replacing the Coin-Cell Battery
Procedure for removing and installing the CMOS battery for BIOS settings.
Replacing a Memory Module
Steps for installing or replacing RAM modules (DIMMs) in the memory slots.
Replacing a PCI Express Card
Guide for installing or replacing expansion cards in PCI Express slots.
Replacing the Heat Sink and Fan Assembly
Instructions for removing and installing the CPU cooler assembly.
Replacing the Microprocessor (CPU)
Detailed procedure for removing and installing the Central Processing Unit.
Replacing the System Board (Motherboard)
Instructions for removing and installing the computer's main motherboard.
Need help?
Do you have a question about the 10UR and is the answer not in the manual?
Questions and answers