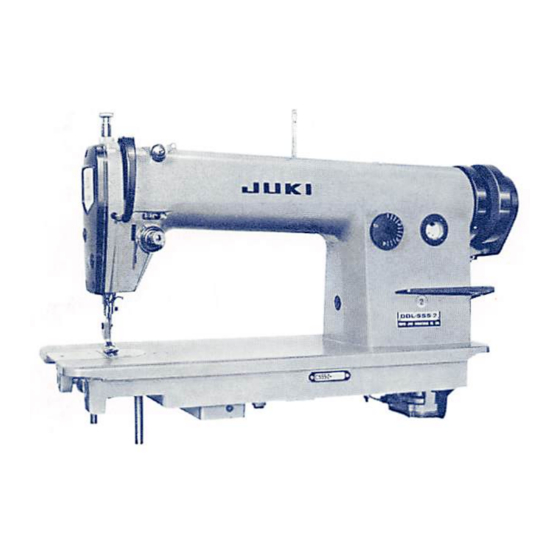
Table of Contents
Advertisement
Advertisement
Table of Contents

Summarization of Contents
I. General Description
Outstanding Features
Details the key operational and efficiency features of the sewing machine.
Main Specifications
Lists technical specifications including sewing speed, motor type, and electrical requirements.
II. How to Install the Machine
Table and Motor Installation
Covers table preparation, motor installation, rotational direction, and connection.
Low-Speed Rotation and Belt Length
Specifies low-speed rotation limits and provides belt length data.
Control Box and Machine Head Installation
Covers control box installation with cushioning and machine head setup.
Pedal Installation and Adjustment
Covers installing and adjusting the pedal's position, angle, and connecting bar.
Motor Lever Switch Operation and Adjustment
Details the construction and adjustment of the motor lever switch, including safety features.
Cord Functions and Connections
Identifies and describes the function of various cords and their connections to the machine.
Motor Lever Switch System Wiring
Illustrates specific cord connections for Hitachi and National motors in a lever switch system.
Connecting Power and Control Cords
Step-by-step instructions for connecting power source cords and control box connections.
Control Box Handling and Cautions
Guidance on control box wiring, fuses, ground wire, and general cord handling for safety.
Clutch Gap Adjustment
Explains how to adjust the clutch gap to ensure proper operation and prevent motor overheating.
III. How to Operate the Machine
Operation Cautions
Provides essential safety precautions and operating guidelines before starting the machine.
Lubrication and Oiling
Details the procedure for lubricating the machine and adjusting the oiling amount.
Machine Trial Run
Outlines steps for a trial run to verify correct machine operation after setup and adjustments.
Pedal Operation for Trimming and Safety
Describes pedal use for thread trimming and verification of safety device function.
Four-Stage Pedal Functionality
Details the four-stage operation of the pedal: stopping, low speed, high speed, and thread trimming.
Threading the Machine
Guides the user through the correct procedure for threading the sewing machine.
Thread Tension Adjustment
Explains how to adjust thread tension, noting differences due to the thread trimmer.
Thread Take-up Spring and First Tension Disc
Discusses the thread take-up spring and how to adjust the first thread tension disc.
Second Tension and Bobbin Tension Adjustment
Covers adjustment of the second thread tension and bobbin thread tension.
Needle Stop Position After Trimming
Describes adjusting the needle's stop position after thread trimming using a specific control knob.
Disabling Low Speed Sewing
Provides instructions on how to disable the low-speed sewing function when not required.
Component Selection for Sewing
Guides the selection of presser feet, throat plates, hooks, and feed dogs for optimal sewing.
IV. Adjusting the Machine
Thread Trimming Cam Timing
Explains how to adjust the thread trimming cam timing for correct thread length post-trimming.
Moving Knife Position Adjustment
Details adjusting the moving knife's position for proper thread scooping and cutting performance.
Fixed Knife Installation
Describes correct fixed knife installation, including distance and angle for optimal cutting.
Second Tension Disc Floating Range
Explains how to verify and adjust the floating range of the second thread tension disc.
Knife Blade Sharpening
Provides instructions on sharpening the knife blade to ensure optimal cutting power.
Changing the Moving Knife
Details the procedure for removing and replacing the moving knife component.
Bobbin Thread Presser Adjustment
Explains adjusting the bobbin thread presser for correct thread trimming and preventing slippage.
Slide Shaft Adjustment
Covers adjusting the slide shaft's moving range and related components for proper function.
Knife Installing Base Procedure
Details the procedure for removing and installing the knife installing base assembly.
Synchronizer Position Adjustment
Guides the adjustment of the synchronizer's position for optimal machine operation.
Electrical Malfunction Troubleshooting
Lists common electrical malfunctions, their causes, and corrective measures for diagnosis.
V. Wiper Adjustment
Wiper Position Adjustment
Explains how to adjust the wiper's position based on the thickness of the sewing cloth.
Wiper Magnet Position Adjustment
Details adjusting the wiper magnet's position relative to the needle center for proper function.
VI. Automatic Reverse Sewing
Automatic Sewing Operation
Describes how to use the automatic reverse sewing function via the push button control.
Reverse Sewing Adjustments
Covers adjusting the reverse sewing switch lever height and the pitch of reverse sewing.
VII. Malfunctions and Corrective Measures
Skipped Stitches and Thread Slippage
Addresses skipped stitches at the start of sewing and needle thread slippage.
Bobbin Thread Issues
Covers malfunctions related to bobbin thread being too short or idle spinning.
Needle Thread Length and Cloth Dirt
Diagnoses issues with long needle thread, cloth dirt, and thread tension problems.
Thread Cutting Failures
Covers malfunctions where needle or bobbin threads are not cut properly.
Uncut Threads and Stop Position
Addresses issues where threads are not cut or the machine stops at incorrect positions.
Low Speed Sewing Malfunctions
Details malfunctions occurring during low speed sewing, including belt and torque issues.
Machine Stopping Position Uncertainty
Covers problems with the machine not stopping at fixed positions or indefinite needle stopping.
Sensor and Pedal Malfunctions
Addresses malfunctions of sensor components and issues with pedal operation at stopping.
Needle Breakage and Bed Sounds
Covers needle breakage and unusual sounds heard from the bed part during initial sewing.


Need help?
Do you have a question about the DLN-415-2 and is the answer not in the manual?
Questions and answers